How to print and frame digital art downloads at home
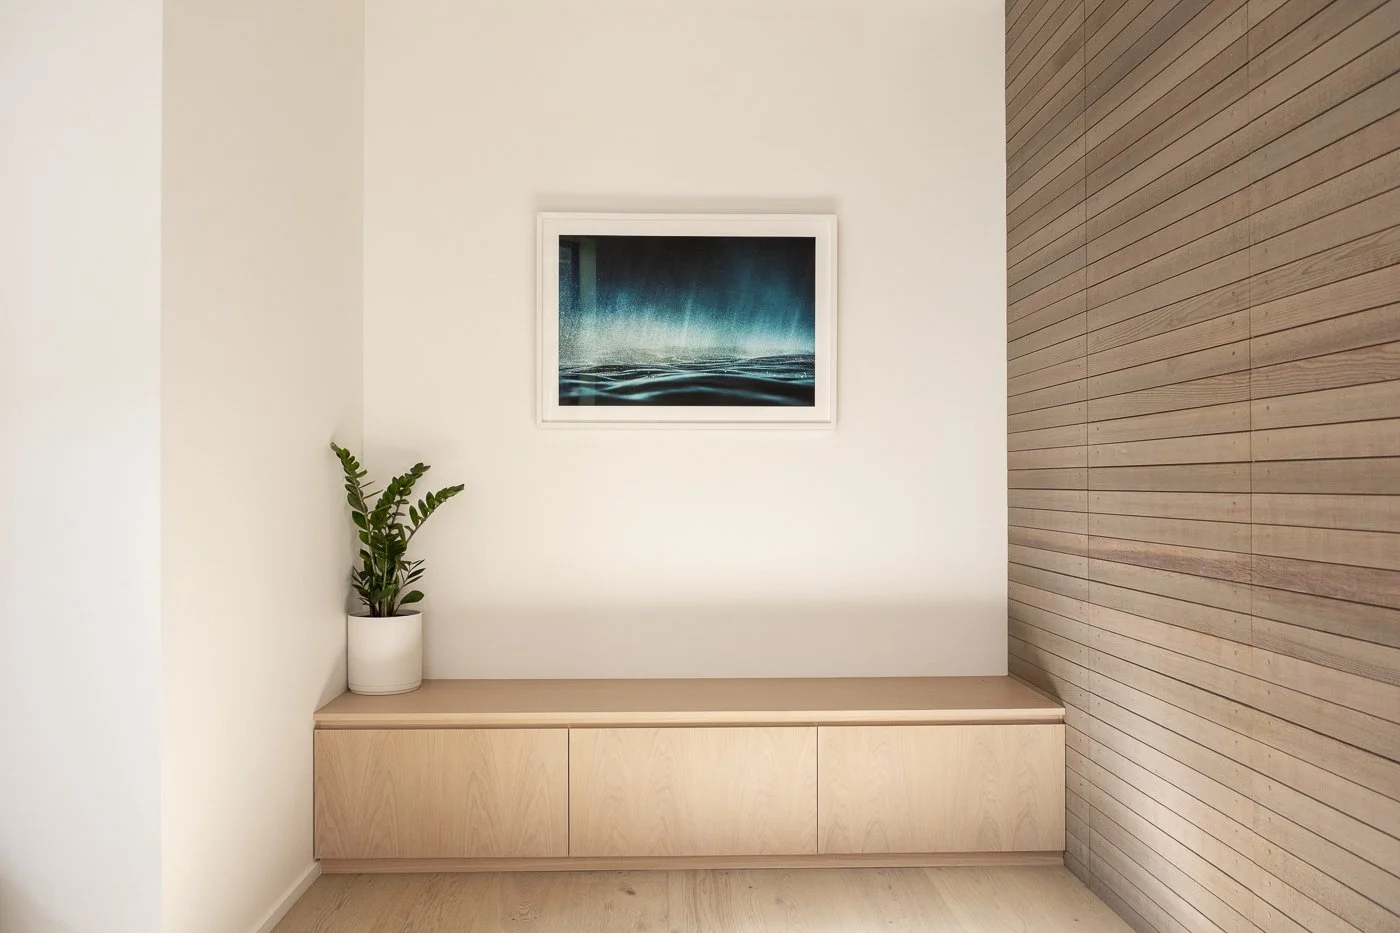
Cosmic Underworld from my fine art print collection, printed to A1 size with mat board and white frame, displayed in this architectural beachfront home.
Buying a digital art print is the easy part. Printing it in a way that actually looks like a gallery piece on your wall is where most people get stuck.
A high-resolution digital artwork is capable of producing a beautiful, archival-quality print, but the result depends on choosing the right file size, paper, and framing approach. Small decisions here make a noticeable difference to how the finished piece feels in your space.
If you love the look of relaxed coastal interiors — like Three Birds Renovations projects for example — the way artwork is printed and framed plays a big role in achieving that calm, intentional finish rather than something that feels temporary.
Over the years I’ve learned a lot about printing and framing my own work. I’m not a professional printer or framer, but I’ve worked closely with people who are, especially while preparing my photographs for exhibition and fine art releases. Along the way I’ve picked up a few things that I always recommend to clients, making even a digital fine art print into something that feels like a real piece of gallery art.
This guide walks through how to print and frame digital art downloads at home so the finished piece feels like a true print rather than something you just ran off the printer.
Jump to what you need
1. Choose the right file ratio
High-quality digital art downloads usually include several file formats designed to match standard frame sizes.
For example, artwork from my Quiet Coastlines collection of digital art prints is supplied in four ratios. The 3:2 format works well for larger photographic prints, while the 4:5 ratio suits many ready-made frames used in interior styling. Square versions work nicely on smaller walls or when displaying sets together, and ISO A-series files are designed to fit A4 through to A1 frames without cropping.
If you’re unsure which file to print, choose your frame first and then select the matching ratio. This keeps the composition intact and avoids trimming important parts of the image later.
2. Printing at the correct resolution
Most professional digital artwork is supplied at 300 DPI, which allows it to print cleanly even at larger sizes.
A4 and A3 tend to suit shelves, bedside areas, or gallery walls made up of multiple pieces. A2 works well on most walls without feeling oversized. A1 creates more presence and allows detail to be appreciated from further away.
If this is your first time printing digital artwork, A2 is usually the easiest place to start.
3. Selecting the best paper
Paper choice makes more difference than people expect.
For photographic artwork and coastal imagery especially, matte archival paper produces a softer and more natural finish than glossy stock. Cotton rag fine art paper is closest to what galleries use and has a subtle texture that holds colour beautifully in landscape work. This is the same paper I use when printing pieces from my Liminal Tides collection for collectors. Matte archival poster paper is a more affordable option that still produces a strong result for everyday display.
Whichever option you choose, look for paper around 250gsm or heavier so the print feels substantial once framed.
If your goal is a premium result, paper choice usually matters more than the printer itself.
4. Printing at home vs using a studio
Home printing can work well for smaller sizes if you have a good printer and suitable paper.
For larger prints, or if you want something closer to a gallery finish, a local fine art print studio usually produces more consistent results. Most studios offer giclée printing using archival pigment inks designed specifically for photographic artwork rather than standard poster reproduction.
Uploading your file directly through a studio website is usually straightforward, and they will often flag sizing issues before printing if something doesn’t look right.
For anything A2 or larger, a fine art studio almost always produces a noticeably better result than standard home printing.
5. Choosing a frame style
Stacked from my fine art print collection, printed to A1 size, is displayed on the wall facing the staircase in this architectural beachfront home.
Simple framing almost always works best with photographic prints.
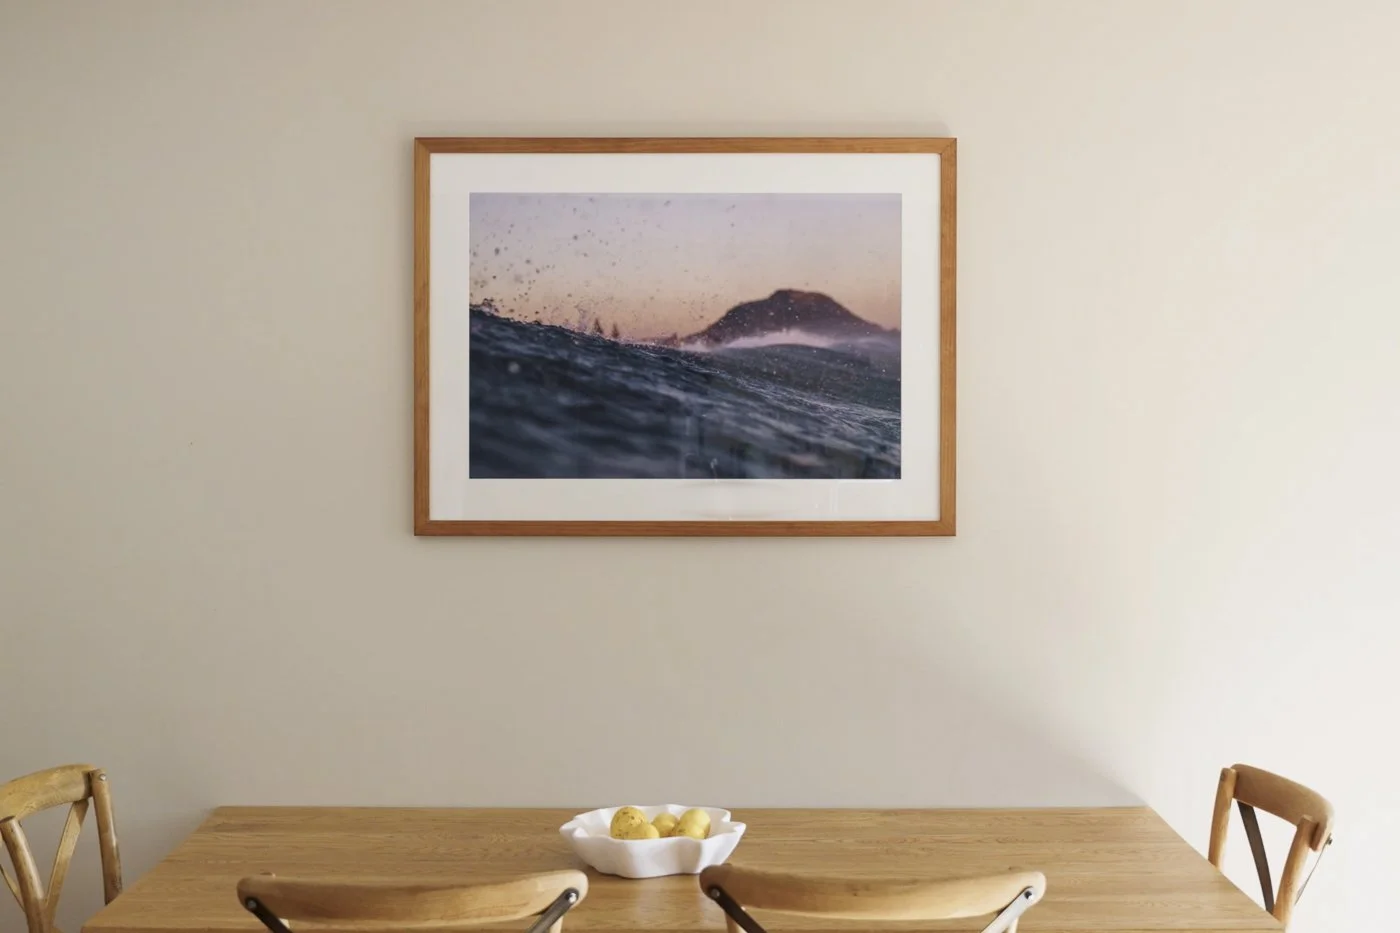
Light oak or natural timber frames tend to suit coastal imagery particularly well, especially when paired with a slim frame profile and a white or off-white mat board. A mat board adds breathing space around the artwork and gives the finished piece a more considered feel.
I also always recommend choosing non-reflective glass where possible. It reduces glare and helps the artwork feel softer and more natural on the wall. I didn’t use this in some of the earlier pieces I printed for my own home and I’ve definitely noticed the difference since switching.
If you prefer a cleaner look, framing edge-to-edge without a mat works well in more minimal interiors.
6. Selecting the right print size for your wall
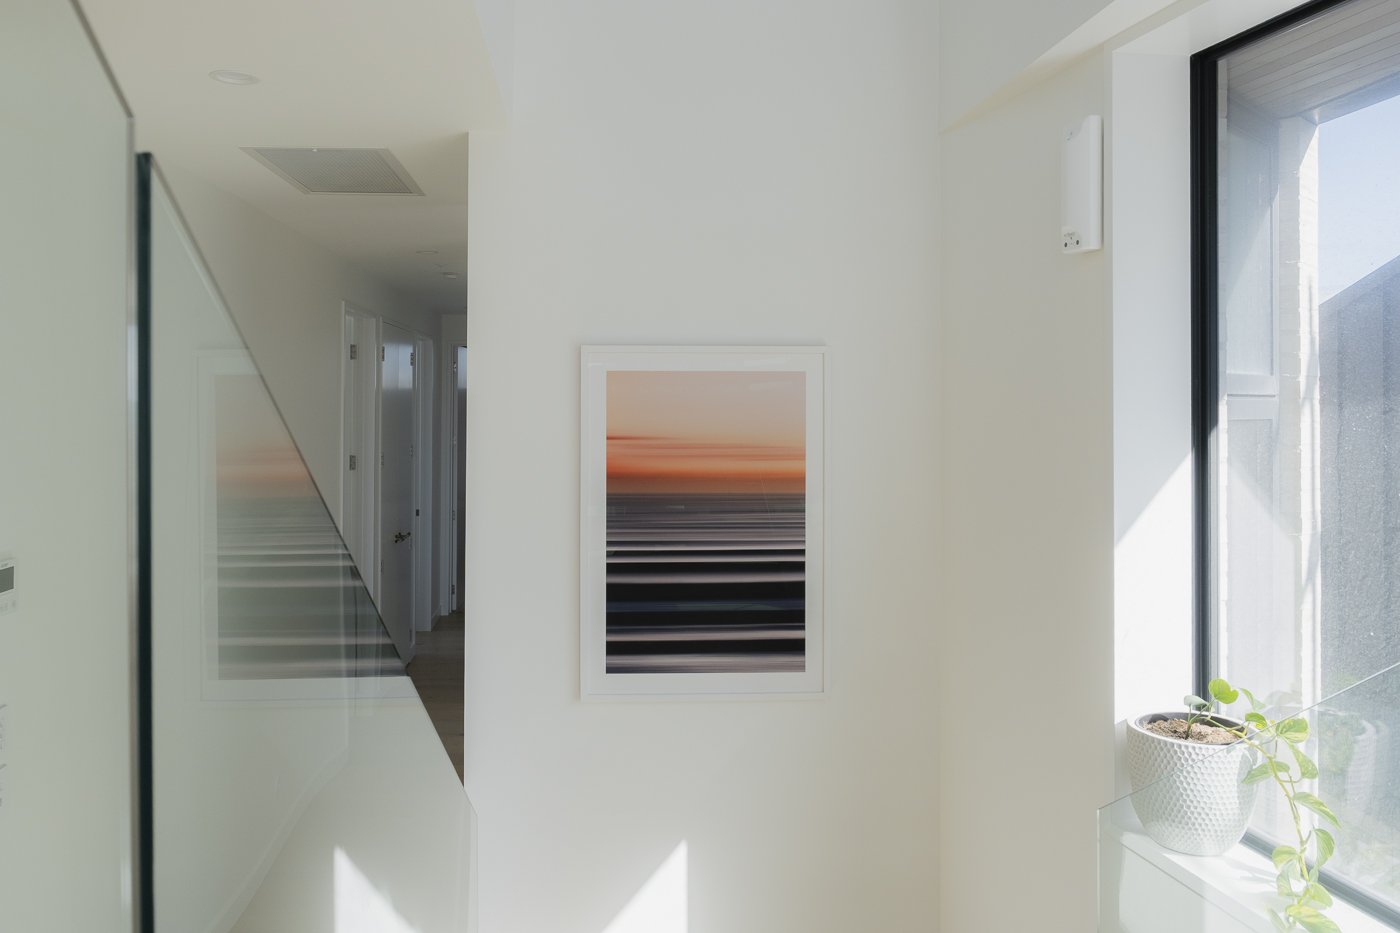
Larger prints like A1 tend to feel more balanced on open walls and narrow spaces like hallways or open plan dining tables, where smaller formats can easily disappear visually.
Instead of choosing a print size based only on what’s available, it helps to think about how the artwork will be viewed in the room.
Smaller prints such as A4 and A3 work well on shelves or within gallery walls. A2 tends to feel balanced in most living spaces. A1 works particularly well above beds, sofas, or hallway consoles where the artwork has room to sit comfortably.
Printing slightly larger than you first expect usually creates a stronger result once the piece is on the wall.
7. Understanding colour differences between screen and print
Screens display colour differently from paper, so it’s normal to see slight variation between what you see on your monitor and the finished print.
Professional print studios calibrate their printers carefully, which helps keep tones as close as possible to the original artwork.
Many people are surprised by how different the same artwork can look depending on how it’s printed. Using archival paper and the correct file ratio is often what turns a digital download into something that feels like a finished piece rather than a temporary print.
8. Where to print digital artworks in New Zealand
For all my fellow kiwis out there, this one’s for you.
If you’re printing in New Zealand, using a local fine art print studio usually produces the most reliable result, especially for larger sizes like A2 or A1.
Most professional studios offer giclée printing on archival paper using pigment inks designed for photographic artwork. This keeps colours stable over time and avoids the flatter finish that standard poster printing can create.
If you’re based in Mount Maunganui, Tauranga, or elsewhere in the Bay of Plenty, it’s worth searching for a nearby fine art printer rather than ordering internationally. Local studios are often happy to recommend paper types, check file sizing before printing, and adjust colour profiles if needed.
For smaller prints like A4 or A3, many people also have good results printing through OfficeMax, Warehouse Stationery, or Harvey Norman Photo Centres. Choosing their heavier matte stock instead of standard poster paper usually improves the finish noticeably.
If you’re unsure which file size to upload, select the version that matches your frame ratio and print at 100% scale without cropping.
9. A simple gallery-style setup that works
If you’re unsure where to begin, printing at A2 on matte archival paper and framing with a white mat board and light oak frame is a reliable combination, especially for coastal homes.
This is the approach I often use for my own home, or recommend to clients with coastal interiors, because it works across a wide range of spaces and keeps the attention on the artwork itself.
That’s a wrap
Digital art downloads give you flexibility that traditional prints don’t. You can scale them to suit your space, change frames later, or build a gallery wall gradually over time.
Once you understand file ratios, paper types, and sizing, printing artwork at home becomes straightforward. Choosing archival materials and the correct proportions is what turns a digital file into something that feels intentional and lasting on the wall.
L ✌️
FAQs About Printing Digital Art Downloads
What is the best paper for printing digital art at home?
Matte archival paper usually produces the most natural result. Cotton rag paper is closest to a gallery finish, while heavier matte poster paper works well as a more affordable option.
Can I print digital art on a home printer?
Yes, especially for A4 or A3 sizes. For larger prints like A2 or A1, a fine art print studio usually produces a noticeably better result.
What size should I print digital artwork?
A2 is often the easiest size to start with because it creates presence without overwhelming a space. Smaller sizes suit shelves and gallery walls, while A1 works well as a statement piece.
Why does my print look different from what I see on screen?
Screens display colour differently from paper. Professional print studios calibrate their printers to keep tones as close as possible to the original artwork.
Do I need a mat board when framing artwork?
Not always, but mat boards help create space around the image and give the finished piece a more considered look.