
How to protect your camera at the beach (sand, salt and wind explained)
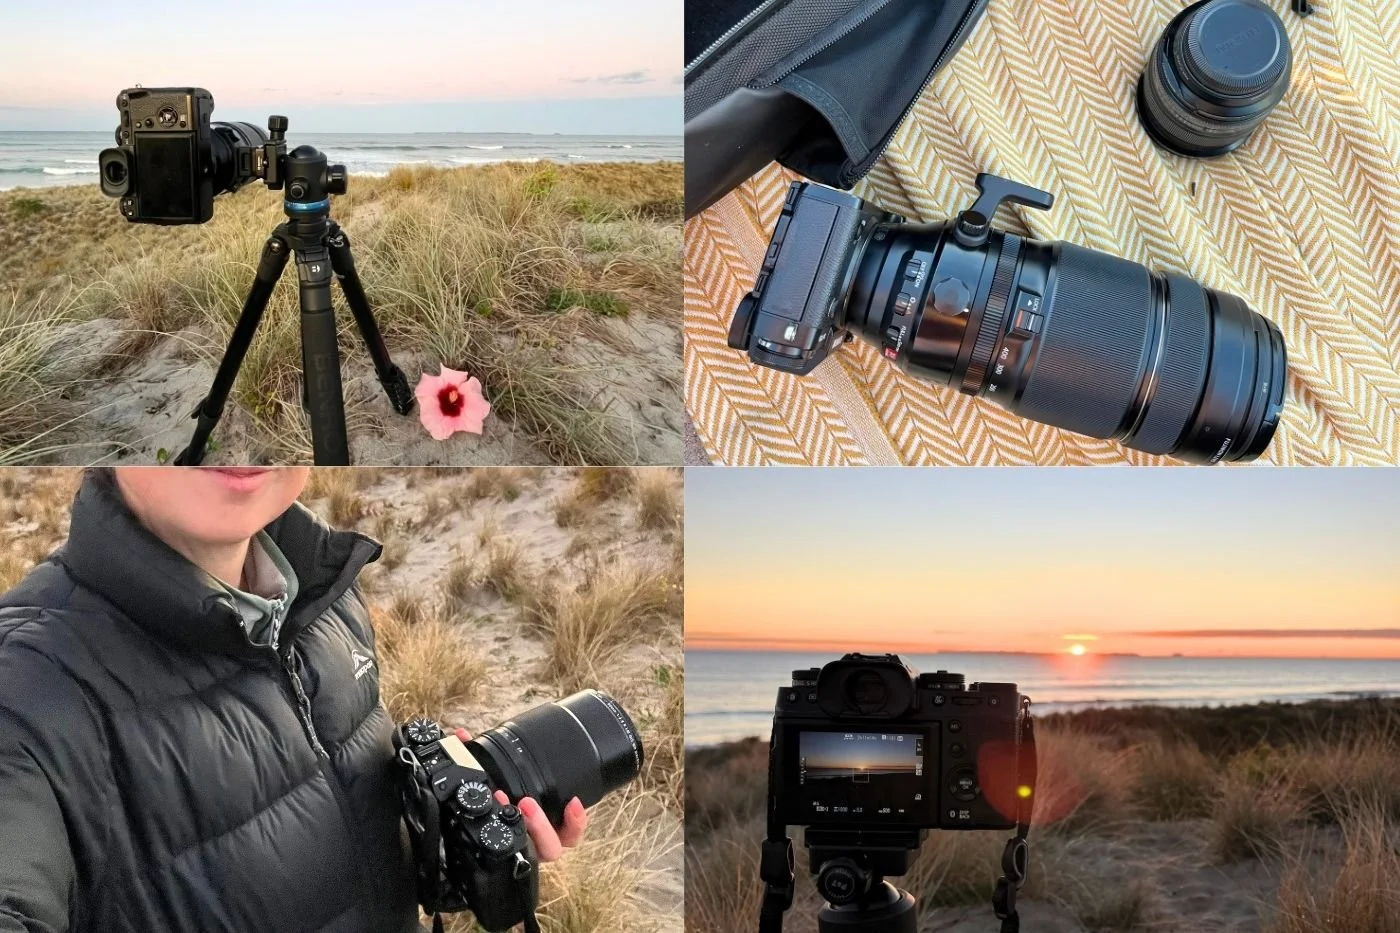
Beaches are one of the harshest environments you can take a camera into.
Sand gets everywhere. Salt sits in the air even when the ocean looks calm. Wind changes quickly and carries fine particles that settle on lenses and sensors without you noticing. It’s actually a pretty crazy environment when you think about it like that. And then we want to go and take our precious camera gear AMONGST it?! Heck yes we do!
The good news is you don’t need specialised gear to photograph the coast safely. A few simple habits make a huge difference. In this blog post, I’ll share my non-negotiables for gear and habits, alongside a few strong recommendations when photographing in the beach environment and on the shoreline!
These are the ones I rely on whenever I’m shooting along the shoreline.
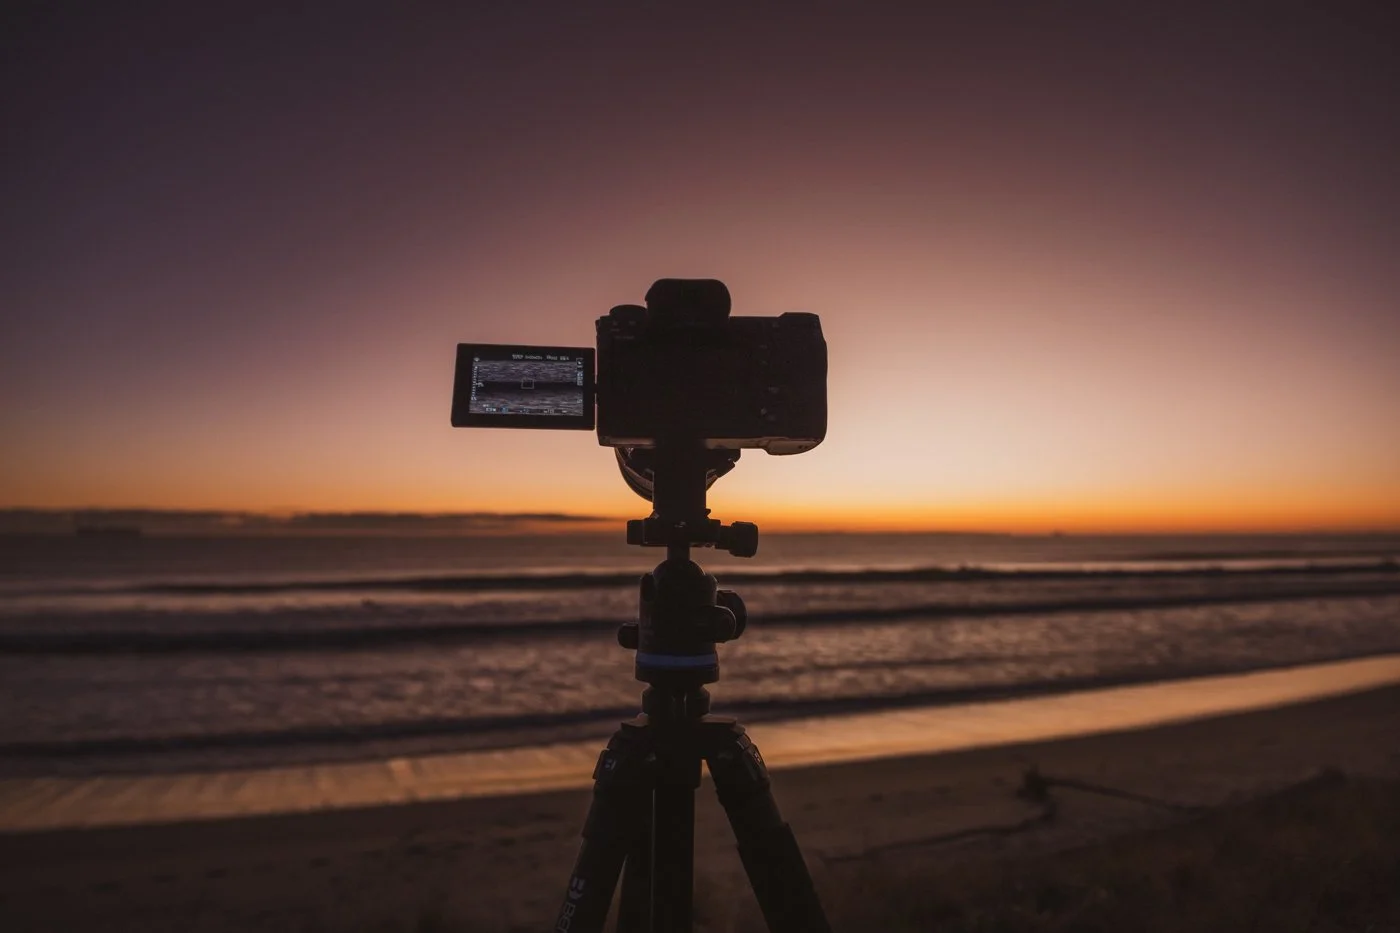
One of my favourite ways to photograph the coast: tucked into the edge of the dunes, above the sand and shoreline.
How to protect your camera at the beach
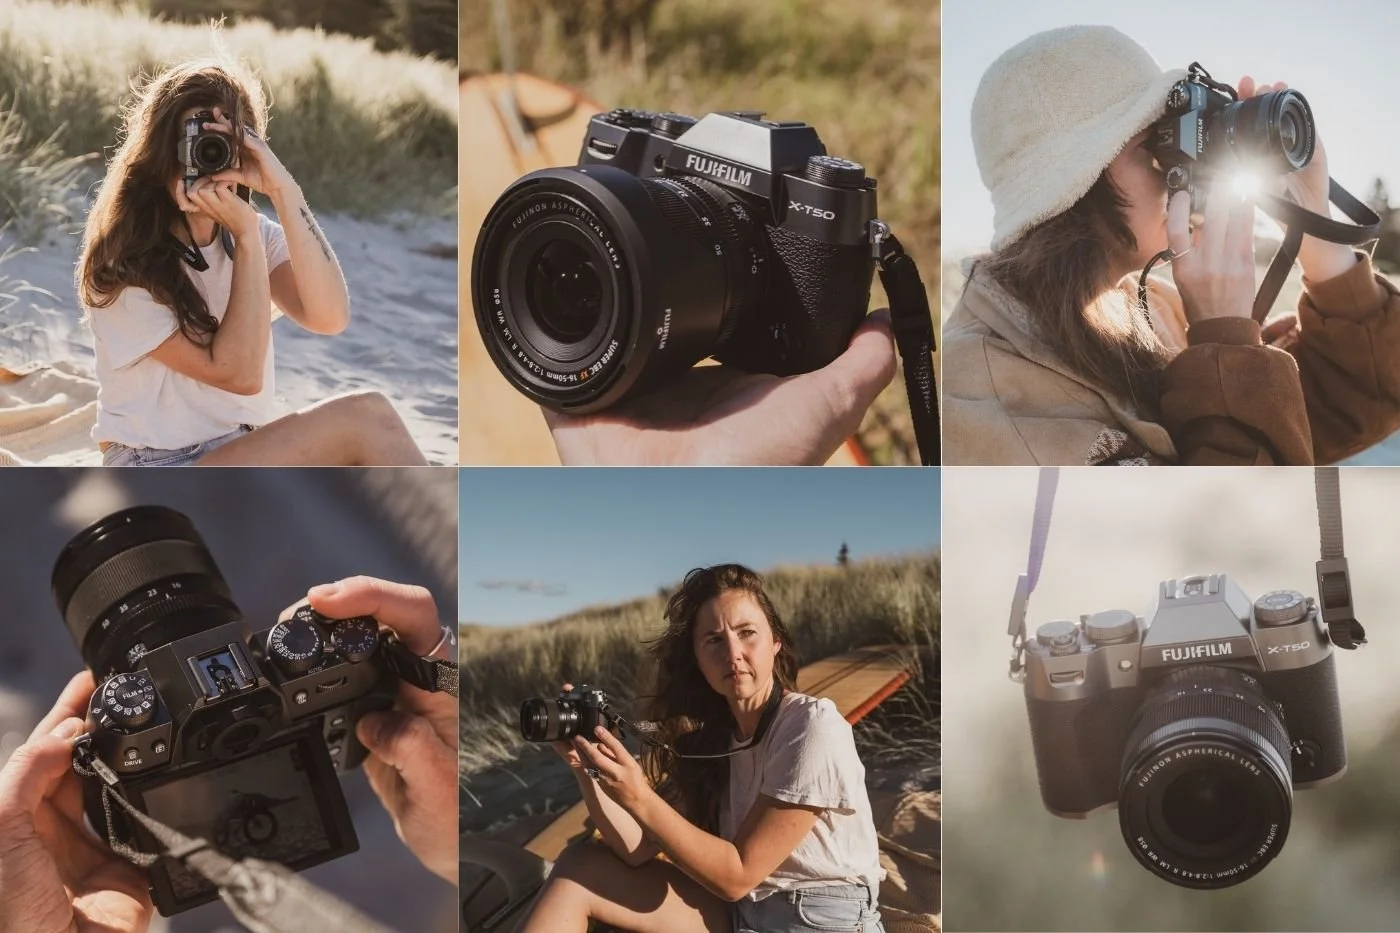
My cameras spend a lot of time around sand, salt and sea air, which is exactly why I’m so particular about looking after them.
My one absolute non-negotiable: UV filter to protect the glass
This one is going first, because it’s what I recommend actioning immediately if you are planning to photograph at the beach or in coastal environments (or any kind of harsh natural environments to be honest!)
I keep a UV filter on my lens as an extra layer of protection from salt spray, sand, dust and general wear and tear when shooting outdoors. And now that I am a parent… from little fingerprints getting on the precious glass.
Sand is the biggest risk (not water)
Most people worry about waves, but in reality, sand causes more damage.
Fine grains get into zoom rings, focus rings, lens mounts, tripod locks, camera buttons. The list goes on… basically any nook and cranny imaginable. Once inside, they’re difficult to remove.
This is especially troublesome on drones! One grain of sand can royally f*ck up your gimbal. There’s nothing quite like the crunch of a single grain of sand inside your gimbal, followed by your drone refusing to do anything you ask it. And I swear here because it’s the most annoying complication I’ve experienced with my drone. My partner recently got a fishing drone and we experienced the exact same issue. So I cannot stress this one enough: the easiest protection is awareness of where you place your camera.
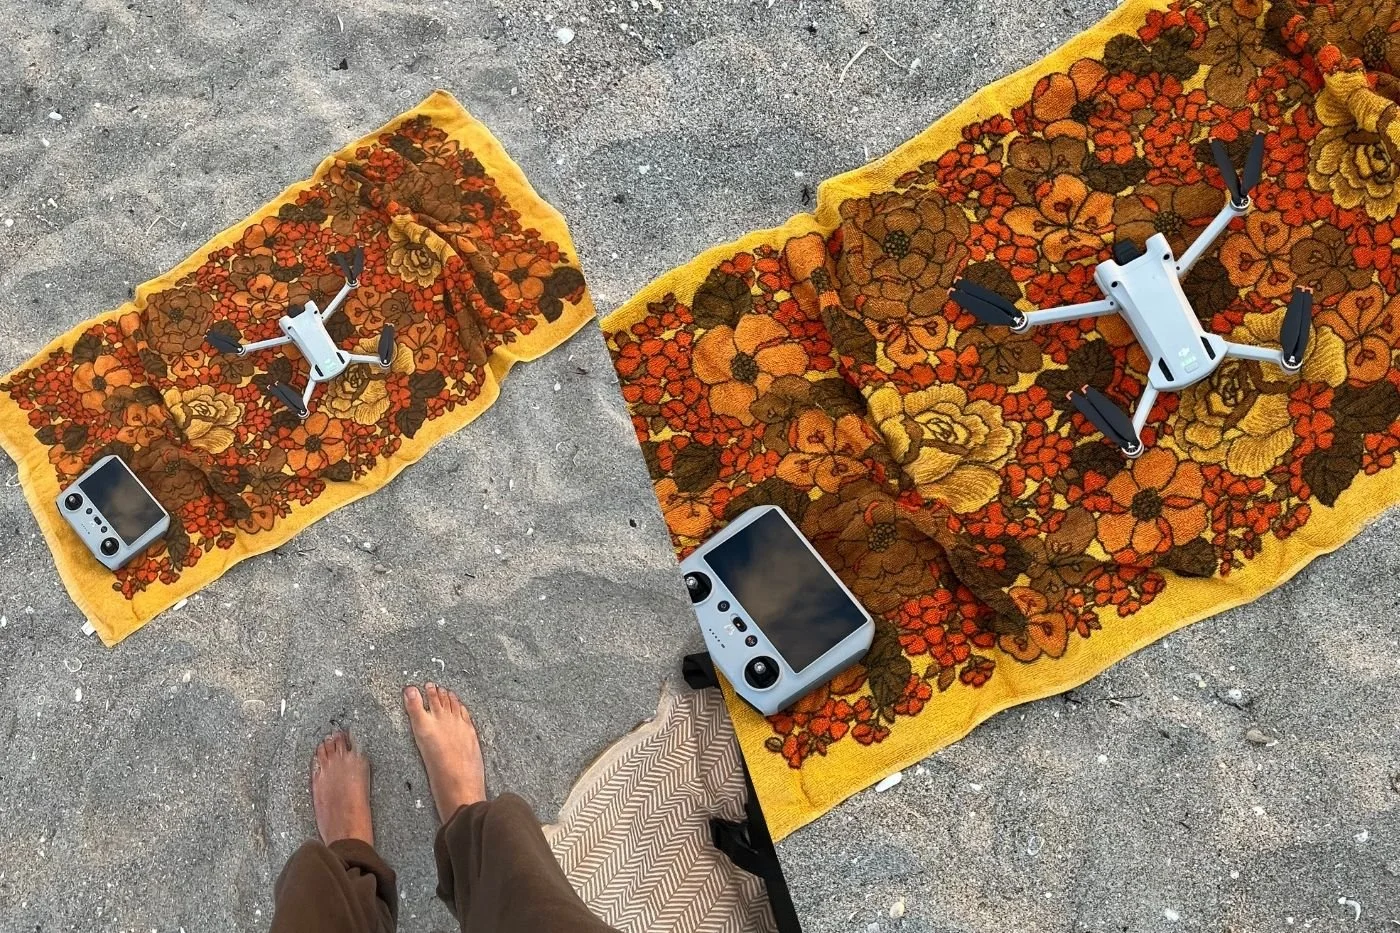
My very glamorous drone launch pad! A towel is one of the easiest ways I keep sand away from the drone and gimbal.
Never put your camera or drone directly on the sand. If you don’t have a beach blanket with you, use your bag, a rock surface, a boardwalk edge, or grass when possible. I personally always use a beach blanket/towel or my Hinza bucket bag / plastic surf bucket. Small habits like this extend the life of your gear significantly.
If I’m carrying more camera gear with me, this is also where having a proper camera backpack comes in handy. I use my WANDRD PRVKE backpack to keep everything contained and off the sand, especially spare lenses and anything I don’t want exposed to blowing sand and salt air.
Watch the wind before you change lenses
Lens changes are when cameras are most exposed. And if wind is blowing onshore, sand is moving through the air whether you can see it or not.
So if it’s windy, find a sheltered position in the dunes or away from the sand before you even think about changing lenses!
Sometimes you need to change lenses anyway, so if you can’t find a sheltered position, take these steps when you need to swap lenses:
turn your back to the wind
use your body as a shield
change lenses quickly
or best case scenario, step behind a structure like dunes or a vehicle
I won’t even change lenses inside a jacket because I get paranoid that bits of fluff might sneak into the sensor. So either inside the car or tucked somewhere out of the wind. It’s a small step that prevents long-term sensor dust issues.
Salt air affects your camera even when the ocean looks calm
Salt isn’t only a problem when you physically hold your camera close to the ocean. Still mornings at the beach can carry fine sea spray through the air that settles on glass and metal surfaces. Over time this leaves residue.
After shooting near the sea or in coastal environments, take these steps to help reduce salt air wear and tear:
wipe your lens gently with a microfibre cloth
clean camera surfaces
store gear somewhere dry when you get home
You don’t need to overthink this one, just make it part of your routine.
Keep a microfibre cloth in your pocket
This sounds simple, but it’s one of the most useful things you can carry at the beach.
Salt spray builds quickly on front elements, especially at sunrise and sunset when the air is cooler and moisture sits near the surface.
Wiping your lens regularly keeps images sharp and prevents haze creeping into highlights.
I usually keep one cloth in my pocket and another in my bag so there’s always a dry option available.
Shooting low creates better photos (but stay outside the splash zone)
Getting close to the sand often improves compositions dramatically.
Foreground textures appear stronger, reflections become clearer, waves feel larger, and images gain depth. But stay aware of incoming sets!
Unexpected surges can travel further up the beach than expected, especially around rocks and headlands. Start further back than you think you need to.
And if you want to get so much closer to the action, I’ve written a whole article about waterproof housings for your camera. I use my camera in a waterproof housing if I want to get right down to sea and wet sand level!
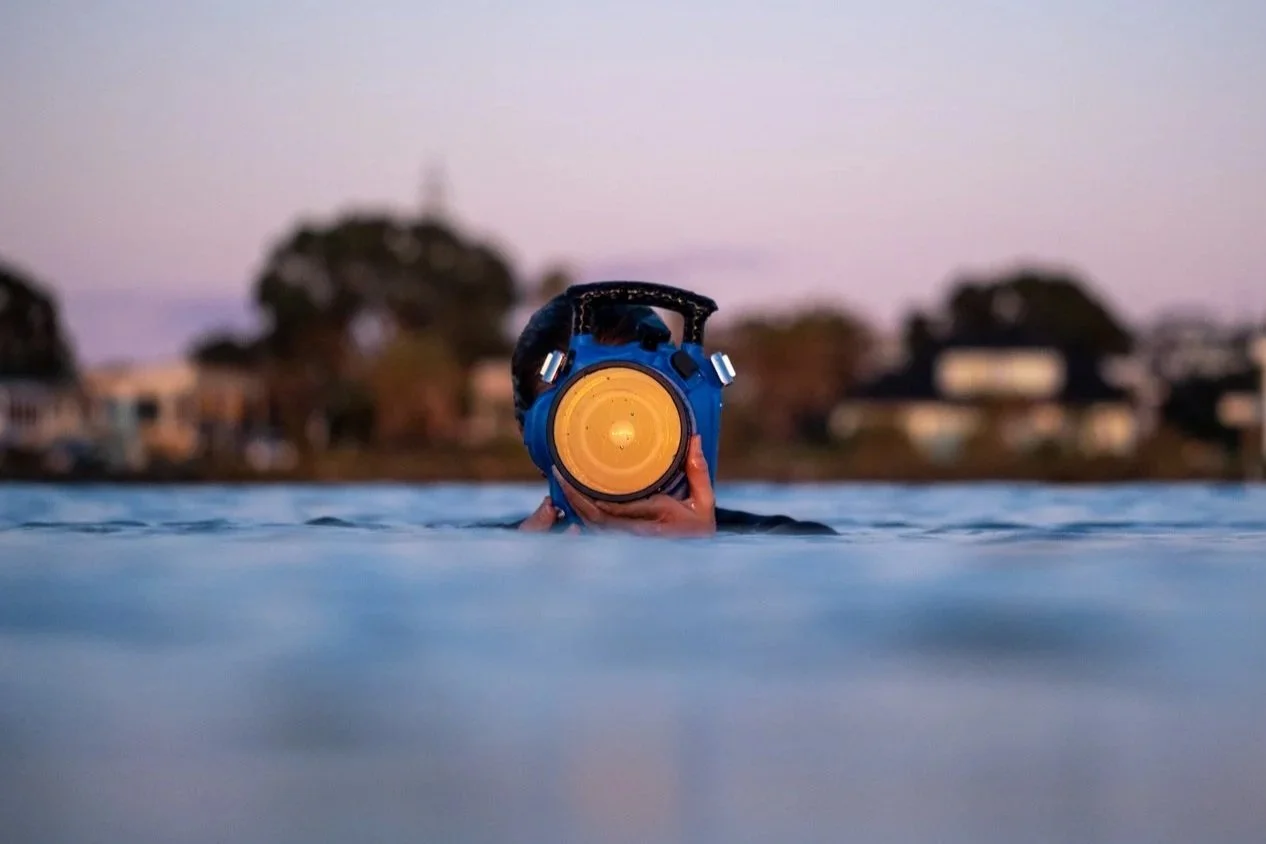
When I want to get this close to the water, my camera goes into a proper waterproof housing.
Avoid setting tripods directly into wet sand
Tripods sink slowly over time when positioned in wet sand. This one is certainly a nice to have, because I’ve lost count of how many times I’ve positioned my tripod in wet sand to get the shot. But I also have first hand experience of the trouble all that crunchy sand causes in my tripod feet!
Where possible look for:
firm wet sand
rock platforms
boardwalk edges
grass banks above beaches
Some of my favourite stable tripod positions locally are actually slightly above the shoreline rather than on it so I can capture a larger proportion of ocean in the composition.
If you do need to be in the wet sand for ‘the shot’ I highly recommend giving your tripod feet a rinse with fresh water and a scrubbing brush to it when you return home.
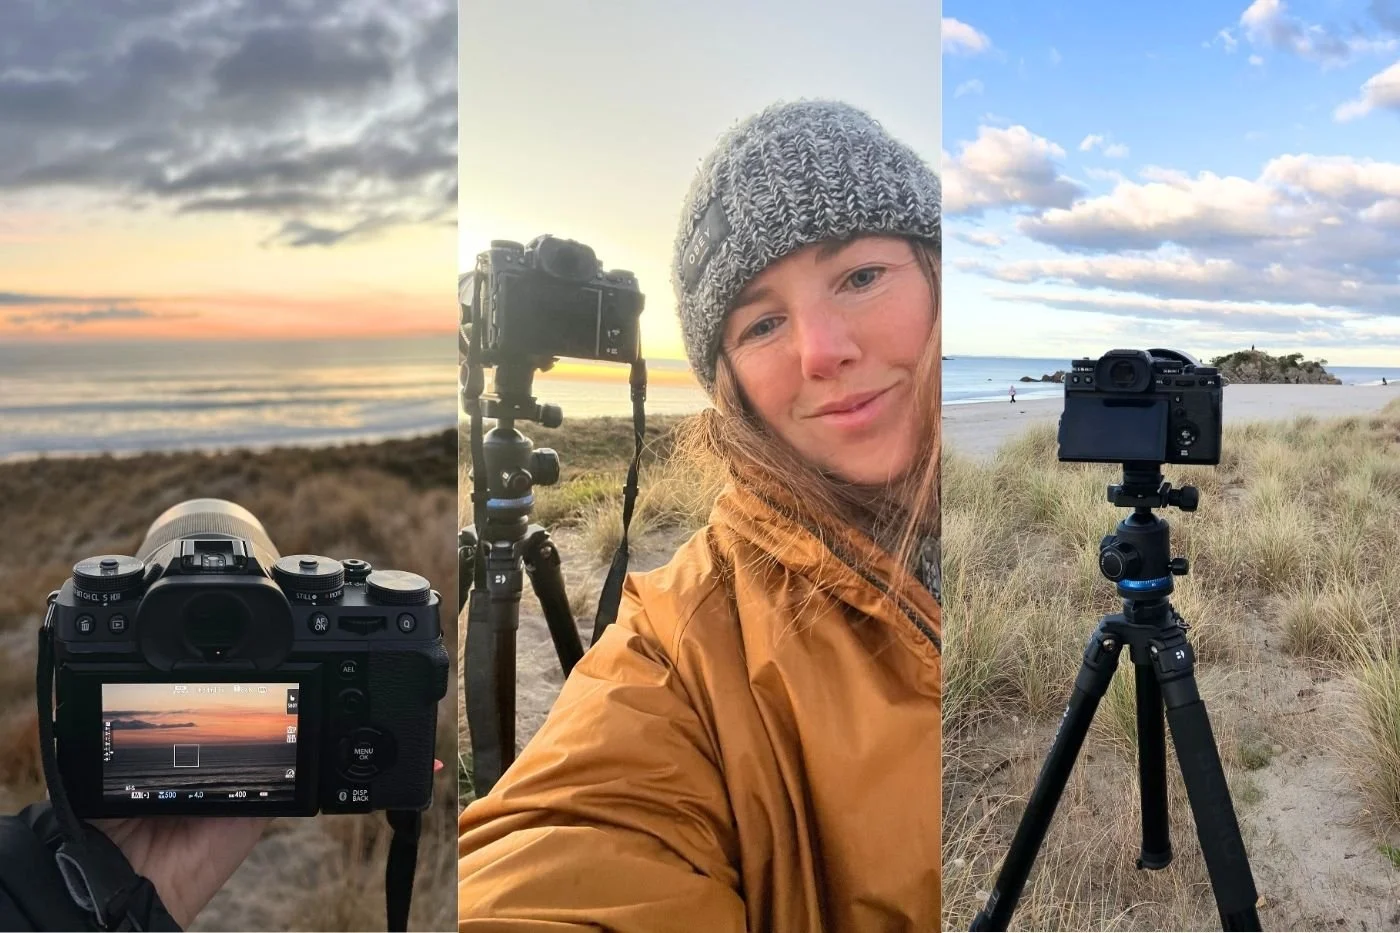
A few real-life setups from the edge of the dunes, keeping my tripod on firmer ground while still getting plenty of ocean in the frame.
Weather-sealed cameras help (but they’re not waterproof)
Weather sealing makes a difference in coastal environments. My Fujifilm X-T5 is weather-resistant which is amazing in the rain or stormy ocean conditions. I definitely feel peace of mind with being able to shoot in coastal environments thanks to the feature of my gear.
However, I still regularly take my rocket blower and a microfibre cloth to my camera and give it a good clean to remove any pesky sand and dust particles that still make their way onto my gear.
Weather-resistant gear helps protect against light spray, mist, fine particles, humidity.
But it doesn’t mean your camera can handle waves.
If you plan to photograph from inside the water itself, that’s when a proper waterproof housing becomes essential. And FYI dry bags are not designed for moving surf… read more in my gear guide here.
When it’s worth getting closer to the water
You don’t need to stand in the ocean to make strong beach photographs. I’ve sold prints and licensed imagery of photos I’ve taken from the land.
Some of the most interesting compositions happen along the edge of receding waves, in tidal reflections, near rock textures, around shallow shoreline pools. So, start from dry sand and move closer gradually as you learn how waves behave.
That confidence builds quickly over time.
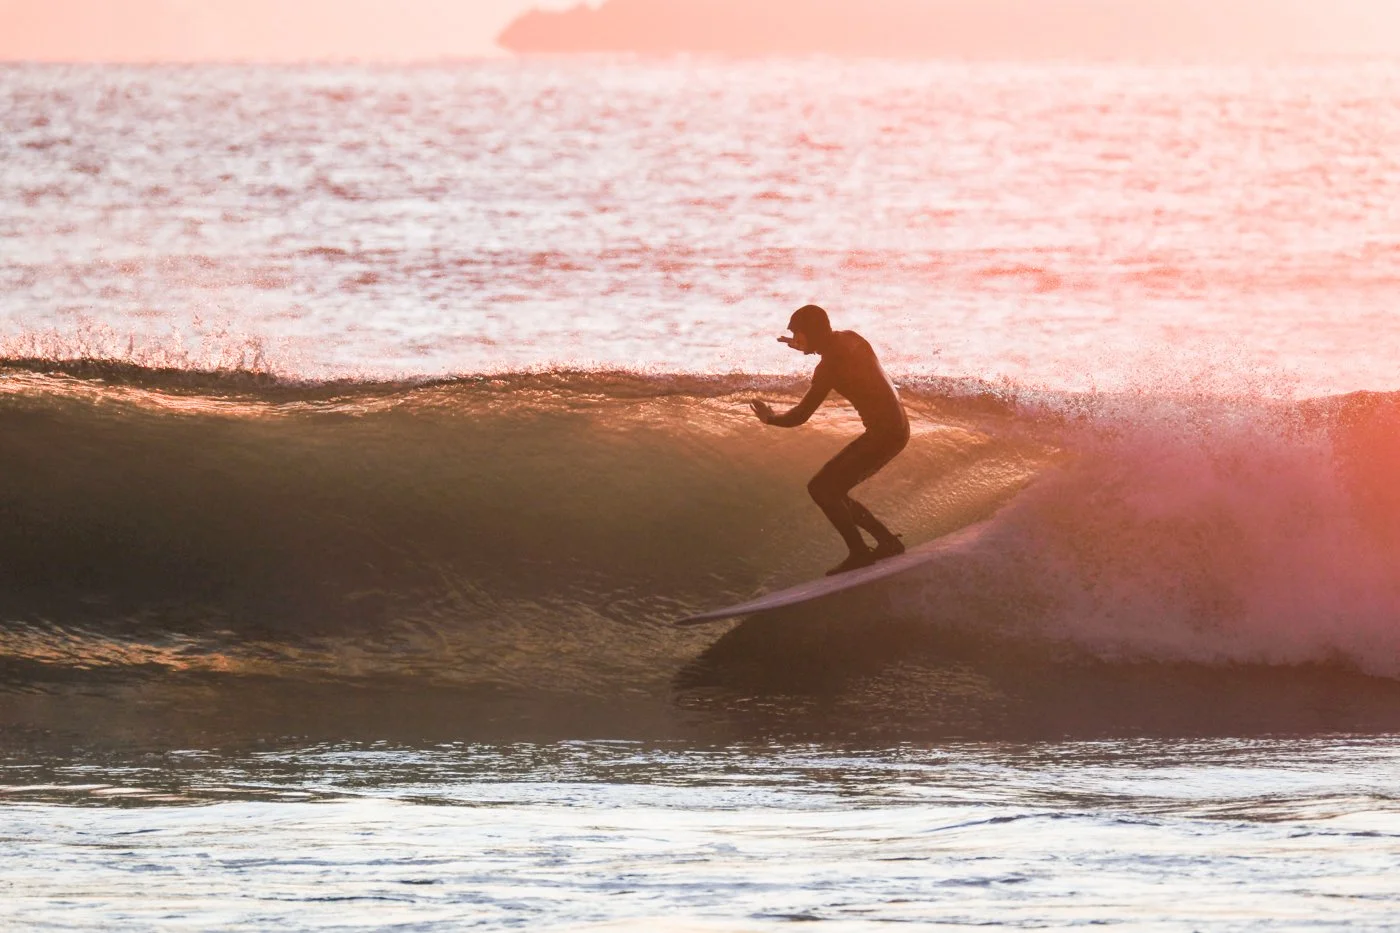
You don’t need to be in the water to get close to the action. Some of my favourite ocean images have been photographed from the land.
A simple routine after shooting at the beach
At the end of a coastal shoot I usually do these things to help look after my gear:
wipe down lenses
check tripod locks
remove visible sand
store gear somewhere dry
tip out any sand that’s made its way into my bag
It takes a few minutes and prevents most long-term issues.
The beach is such a rewarding place to photograph. And with a few small habits, it’s also completely manageable for your camera gear. Trust me, mine has lasted almost 10 years! The only thing that has an expiry date in my opinion is a waterproof camera housing, but I think that’s pretty understandable considering the conditions it’s immersed in. I’d say approximately 3 years until it needs replacing from general wear and tear and exposure to salt water over time.
FAQs about how to protect your camera at the beach
How do you protect a camera from sand at the beach?
The easiest way to protect your camera from sand at the beach is to never place your camera or lenses directly onto the sand. Keep your gear on a beach towel, inside a camera bag, in a bucket or on another clean surface. Be particularly careful when changing lenses in windy conditions because fine sand can be moving through the air even when you can’t see it.
Can salt air damage camera gear?
Salt air can leave residue on lenses and camera surfaces when you regularly photograph around the ocean. I make a habit of wiping down my gear after photographing in coastal environments and storing everything somewhere dry when I get home.
Should I use a UV filter at the beach?
I personally keep a UV filter on my lens when photographing at the beach because it gives the front glass an extra layer of protection from salt spray, sand, dust and general wear and tear.
Can I change lenses at the beach?
You can, but I avoid changing lenses when I’m exposed to blowing sand. If I need to swap lenses, I find somewhere sheltered, turn my back to the wind and use my body as a shield. My preference is to change lenses inside the car or somewhere completely out of the wind.
Is a weather-sealed camera waterproof?
No. Weather-resistant camera gear gives me extra peace of mind when I’m photographing in rain or stormy coastal conditions, but I don’t treat weather sealing as waterproofing. If I want to photograph from inside the water, I use a proper waterproof camera housing.
What should I do with my camera after shooting at the beach?
My routine is simple: wipe down my lenses, check my tripod locks, remove visible sand, store my gear somewhere dry and tip out any sand that has found its way into my camera bag.
New to photography? You might also like my guide: 11 beginner photography mistakes I made (so you don’t have to)