Best waterproof camera housings for beginner surf photography
Surf photography isn’t the same as underwater photography, even though the gear sometimes overlaps.
Most of the time you’re working right on the surface of the water, watching how waves move, where surfers position themselves, and how light changes across the ocean. A lot of photographers start practicing surf photography from land first without even realising they’re already learning the most important part of the process.
If you’re just getting started in surf and water photography, my essential surf and water photography tips for beginners article walks through the early skills that make moving into the water much easier later on.
Working from the shoreline teaches timing. It teaches patience. And it gives you space to understand the ocean before you add equipment into the mix.
This guide walks through those stages and the waterproof camera housings that make sense at each step.
Best waterproof camera housings for surf photography:
Jump to:
Do you actually need a surf housing yet?
Not necessarily.
A lot of surf photographers (me included!) start from the shoreline where there’s so much you can learn there before taking a camera into the ocean.
Shooting from land teaches you things like timing, composition, and how to read the ocean. Longer lenses are my fave way to shoot from the land, and super effective for strong surf photography shots.
At some point, you'll want to get amongst the action. And that's when a waterproof housing becomes essential.
If you want to begin swimming out, working on the inside, and creating immersive surf imagery, you’ll need some kind of waterproof protection for your gear.
Until then, there’s nothing wrong with staying land-based while you build your confidence, timing and way of seeing.
That said… you're probably here because you're frothing to get in, so let's get into it!

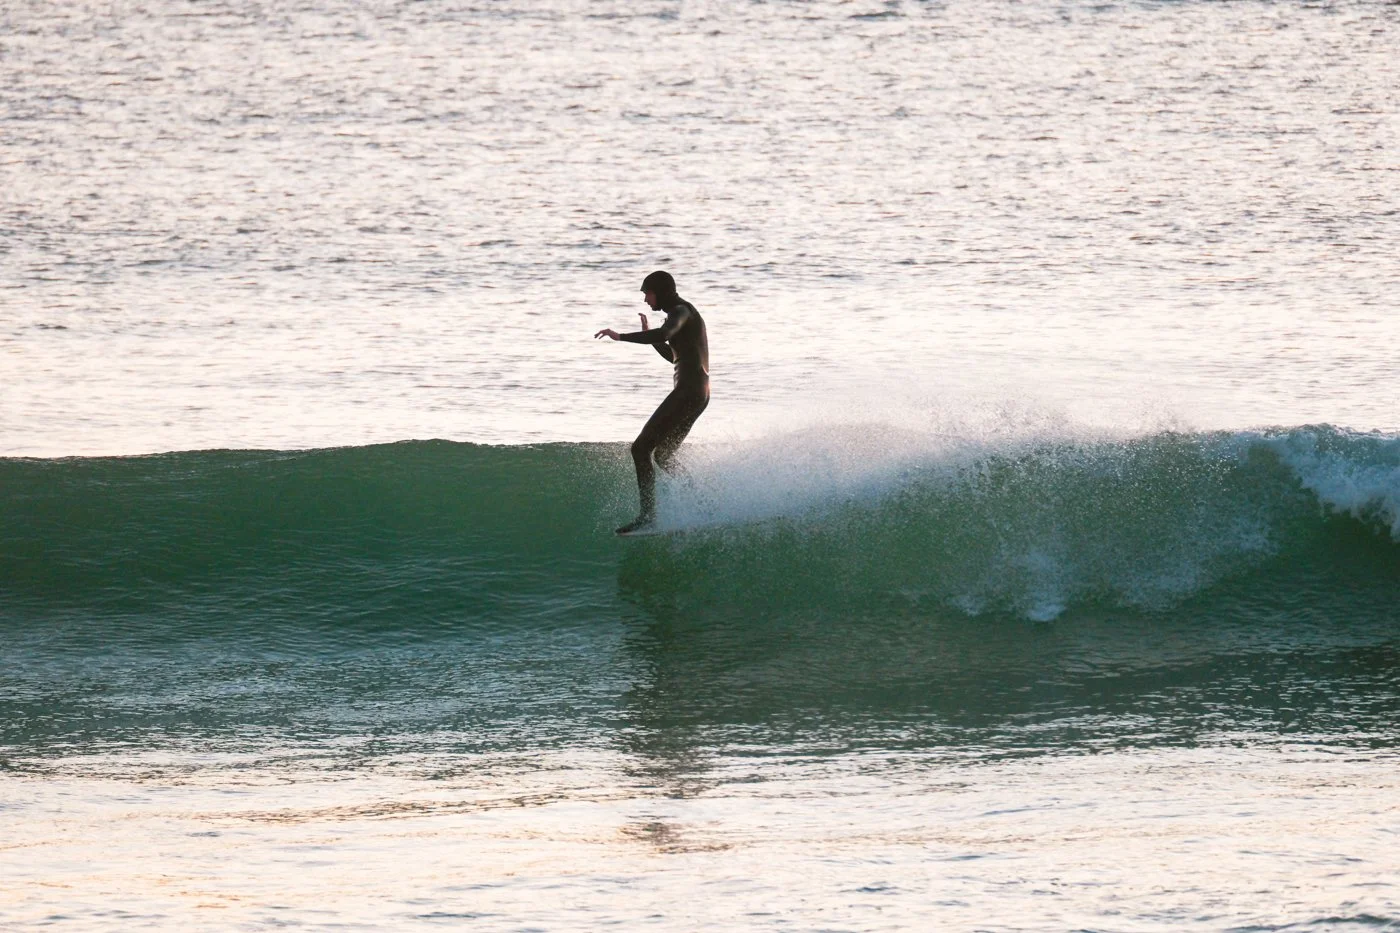
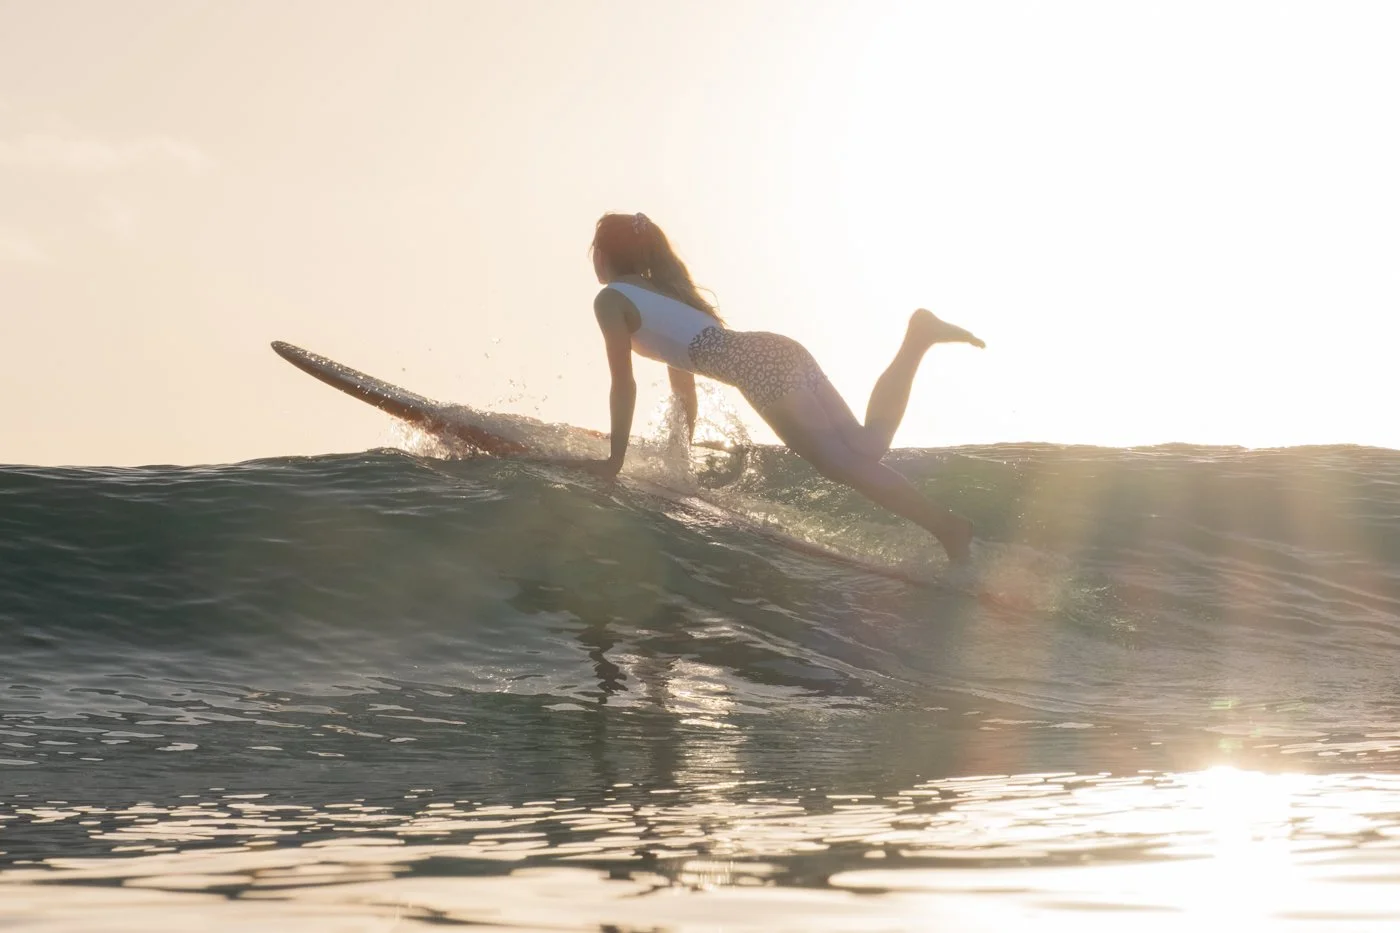
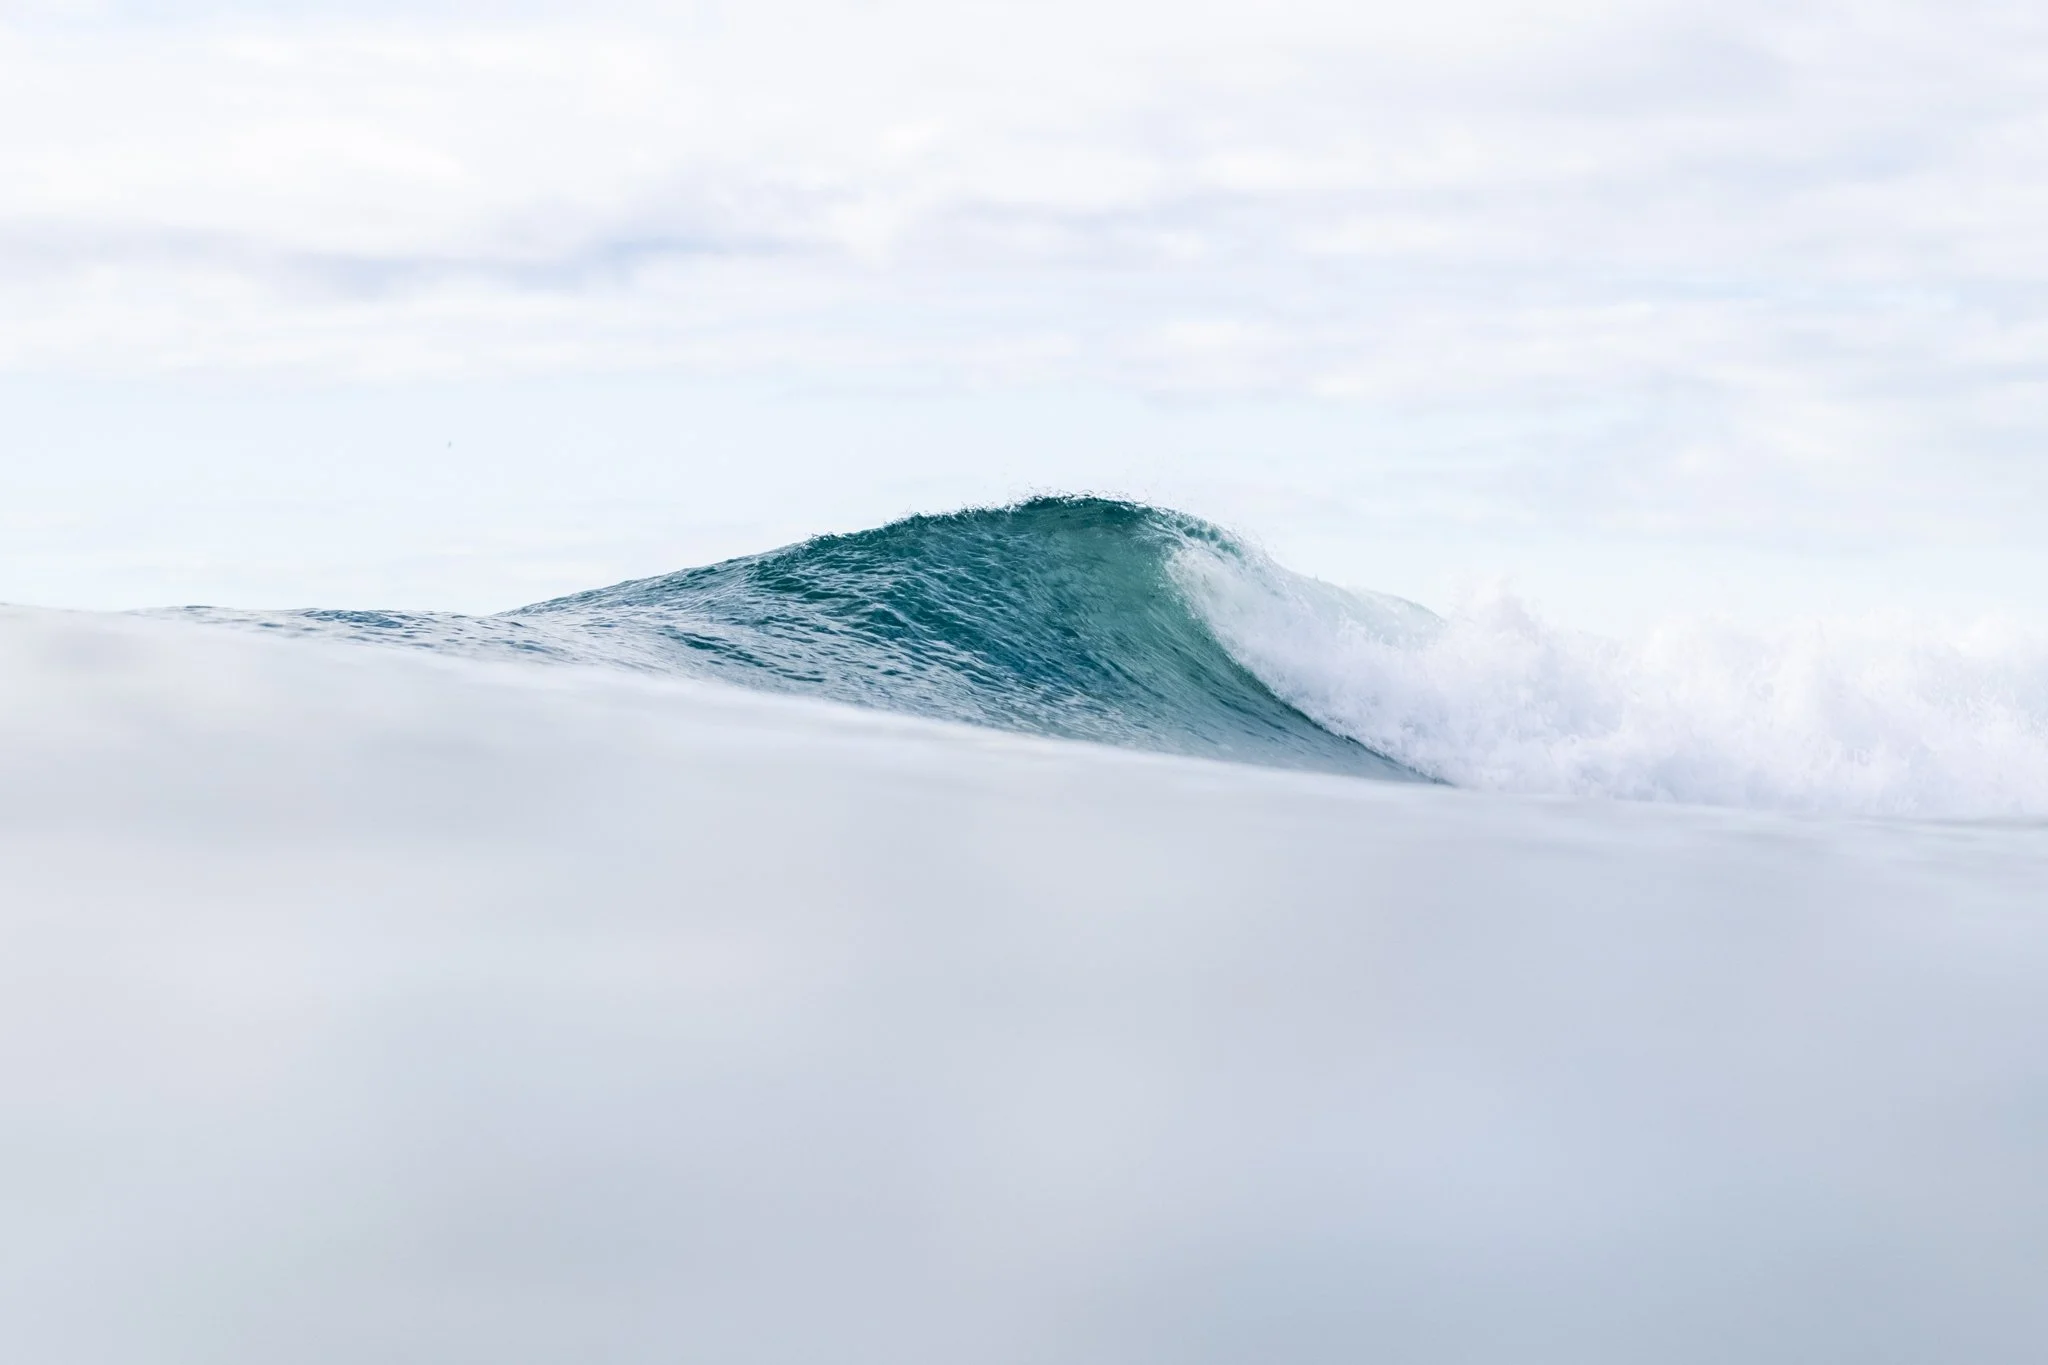
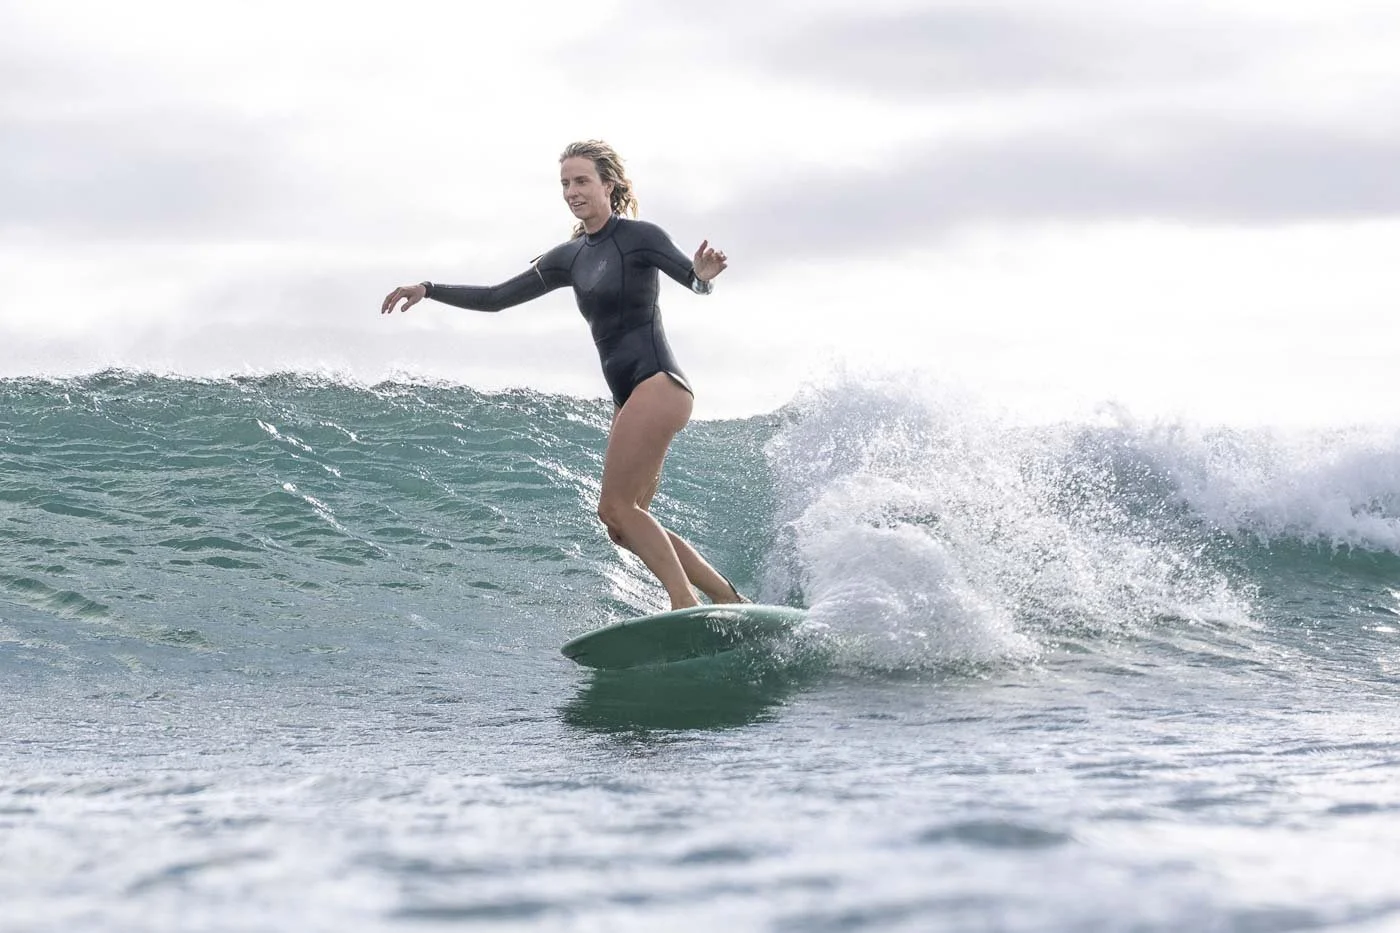
You can still capture striking surf photography compositions from the land before you even get in the water.
Entry-level surf housings: your first step into the water
When I first experimented with taking a camera into the surf, I tried using a dry bag housing.
It lasted three sessions before leaking and damaging my camera.
The ocean puts a surprising amount of pressure on equipment. Waves move differently to calm water, and basic waterproof bags just aren’t designed for that kind of impact. It’s something I didn’t really understand until my first housing leaked after only a few sessions.
Read more of my beginner surf photography mistakes here.
If you’re curious about entering the water without committing to a full camera housing yet, something like a smartphone surf housing such as AxisGO or JOBY SeaPal can be a safer first step. It lets you experiment with positioning and movement before introducing a larger setup.
At this stage, the goal is learning how it feels to move in the water with gear.
Starting with a GoPro in the surf
Before I ever used a mirrorless camera in the water, I started with a GoPro.
It’s one of the easiest ways to learn how waves move around you without the pressure of managing a larger setup. You can experiment with positioning, timing, and getting comfortable in the surf while still coming home with usable images.
Working with a small camera also helps you build confidence swimming through whitewater and understanding how the environment feels around you. That confidence becomes much more important once you move to a dedicated waterproof camera housing.
Early on I experimented with a dome port as well, but I found I preferred working with a flat port once I moved to a mirrorless housing. Dome ports can be useful with very wide lenses or underwater scenes, but they didn’t suit the kind of surface shooting I was most interested in.
A GoPro won’t replace a mirrorless setup, but it’s one of the best ways to learn to take photos in a new environment before you start swimming with something bigger.
An early photo from when I first started experimenting with water photography using a GoPro.
GoPro vs phone housing vs mirrorless housing
If you’re deciding how to enter the water for the first time, these three setups each suit a different stage of confidence in the surf.
| Setup | Best for | Advantages | Limitations |
|---|---|---|---|
| GoPro | Learning wave movement and positioning | Small, durable, simple to manage in whitewater | Limited image control and lower image quality |
| Phone housing (AxisGo / JOBY SeaPal) | Practising composition from inside the surf | Easy entry point with better framing flexibility than GoPro | Still limited compared to dedicated cameras |
| Mirrorless housing | Intentional surf photography from inside the lineup | Full creative control, stronger image quality, lens flexibility | Requires more confidence swimming with equipment |
When I look back at my own photography journey, I can clearly see these stages unfolding one after another. The only step I didn’t move into at the time was using a phone housing (phone cameras weren’t quite there yet). Now though, phone housings offer the opportunity of capturing candid ocean content alongside your main photography work.
Starting small helps you build confidence in the water first. Once positioning begins to feel instinctive, upgrading to a dedicated waterproof camera housing makes much more sense.
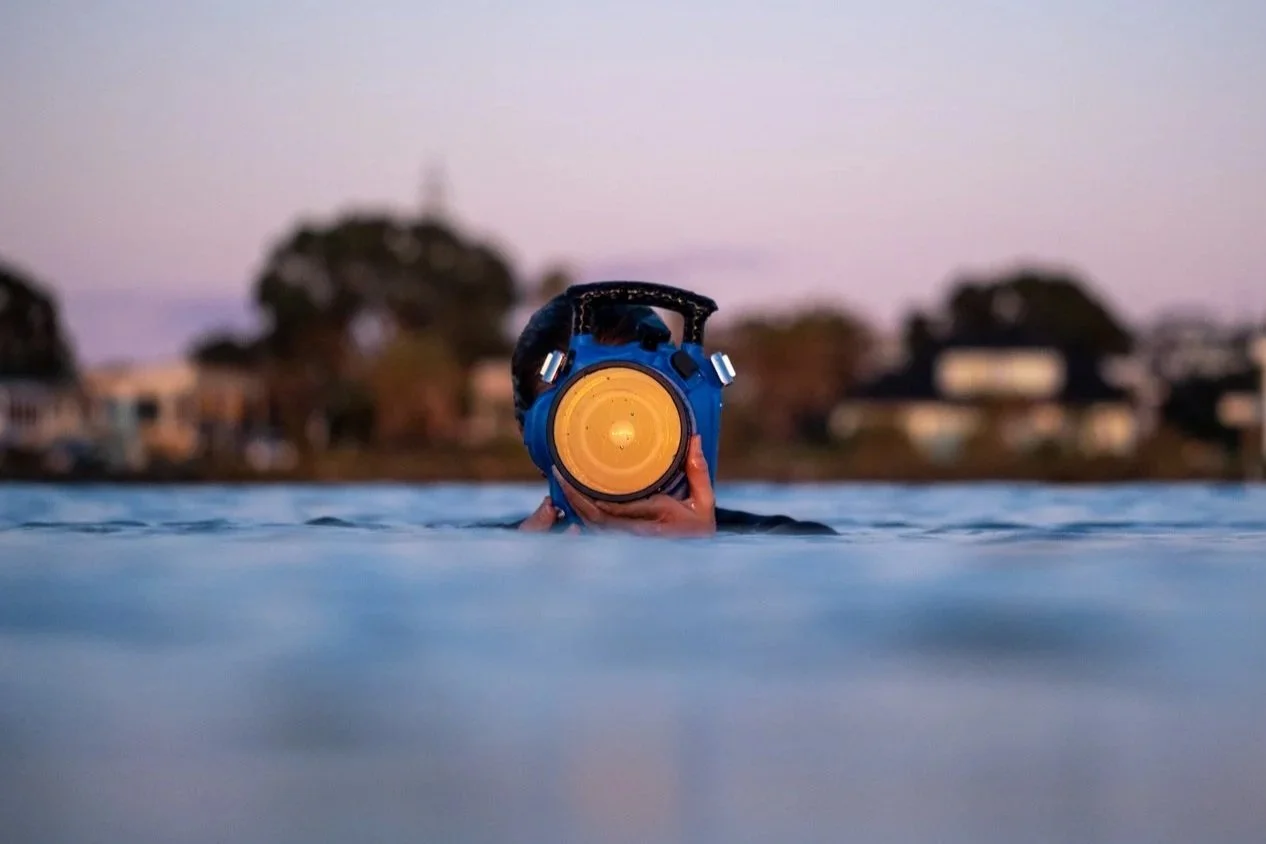
Mid-tier surf housings: building confidence with a mirrorless setup
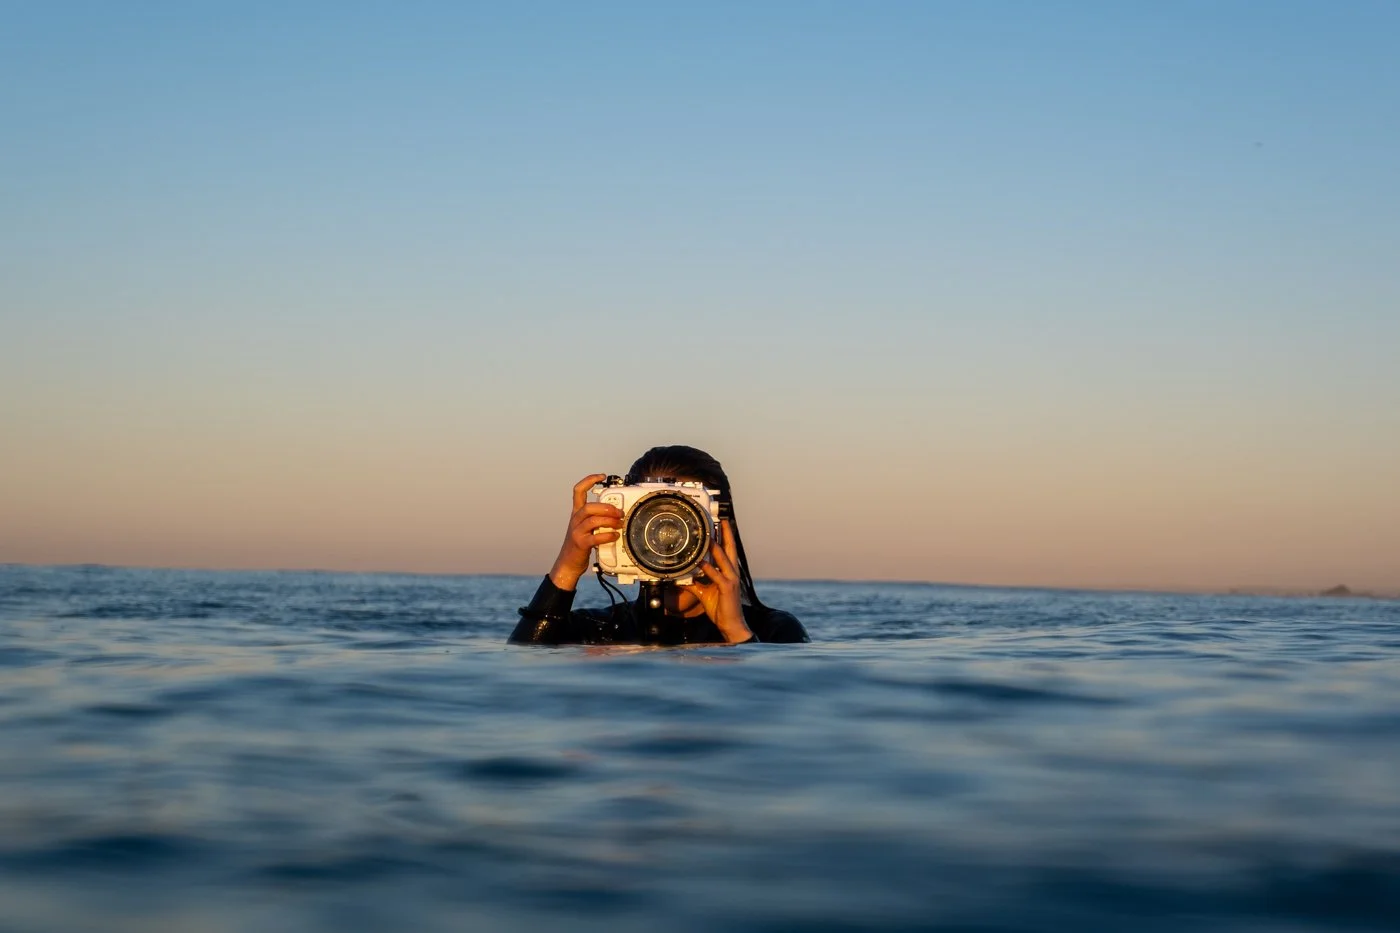
Once I started spending more time shooting from inside the surf, I moved to a Seafrogs housing for the Fujifilm X-T3 with a flat port.
Even though the X-T3 isn’t the newest body now, it’s still a very capable setup for learning to work inside the surf and has been completely reliable for me in moving conditions.
This housing has handled strong waves and whitewash, including sessions in head-high surf, without leaking. It allowed me to begin working more intentionally with reflections, surface detail, and positioning around surfers while still keeping the setup simple enough to experiment with.
One limitation with the Fujifilm version is that it doesn’t support a pistol grip. If you’re shooting Sony, the pistol-grip models available there are something I’d strongly recommend.
I keep the housing leash loosely attached around my wrist but always hold the housing in my hand as well. In bigger surf I sometimes add the side handles for extra stability, although I rarely use them in smaller conditions.
From a safety perspective, I always swim with the housing down by my hip rather than in front of me. It’s the same principle as surfing. You don’t want anything between your head and an incoming wall of water.
This was around the stage I started swimming with a mirrorless housing more regularly and learning how to position myself closer to surfers.
Professional surf housings: when reliability starts to matter more
As I started spending more time shooting in moving water rather than from the shoulder or channel, reliability began to matter a lot more than experimentation.
This is usually the stage where people move toward dedicated surf housing systems like AquaTech Imaging Solutions.
Over the years I’ve seen many photographers working with Aquatech housings in moving conditions, including Russ Ord, who I spoke with at the Fujifilm X-T50 launch in Sydney about shooting in surf environments. Their systems are designed specifically for wave-impact conditions and longer sessions in the water.
For a lot of photographers, this is the stage where the housing stops being something you experiment with occasionally and starts becoming part of how you shoot. At this point it’s a business expense well worth the investment.
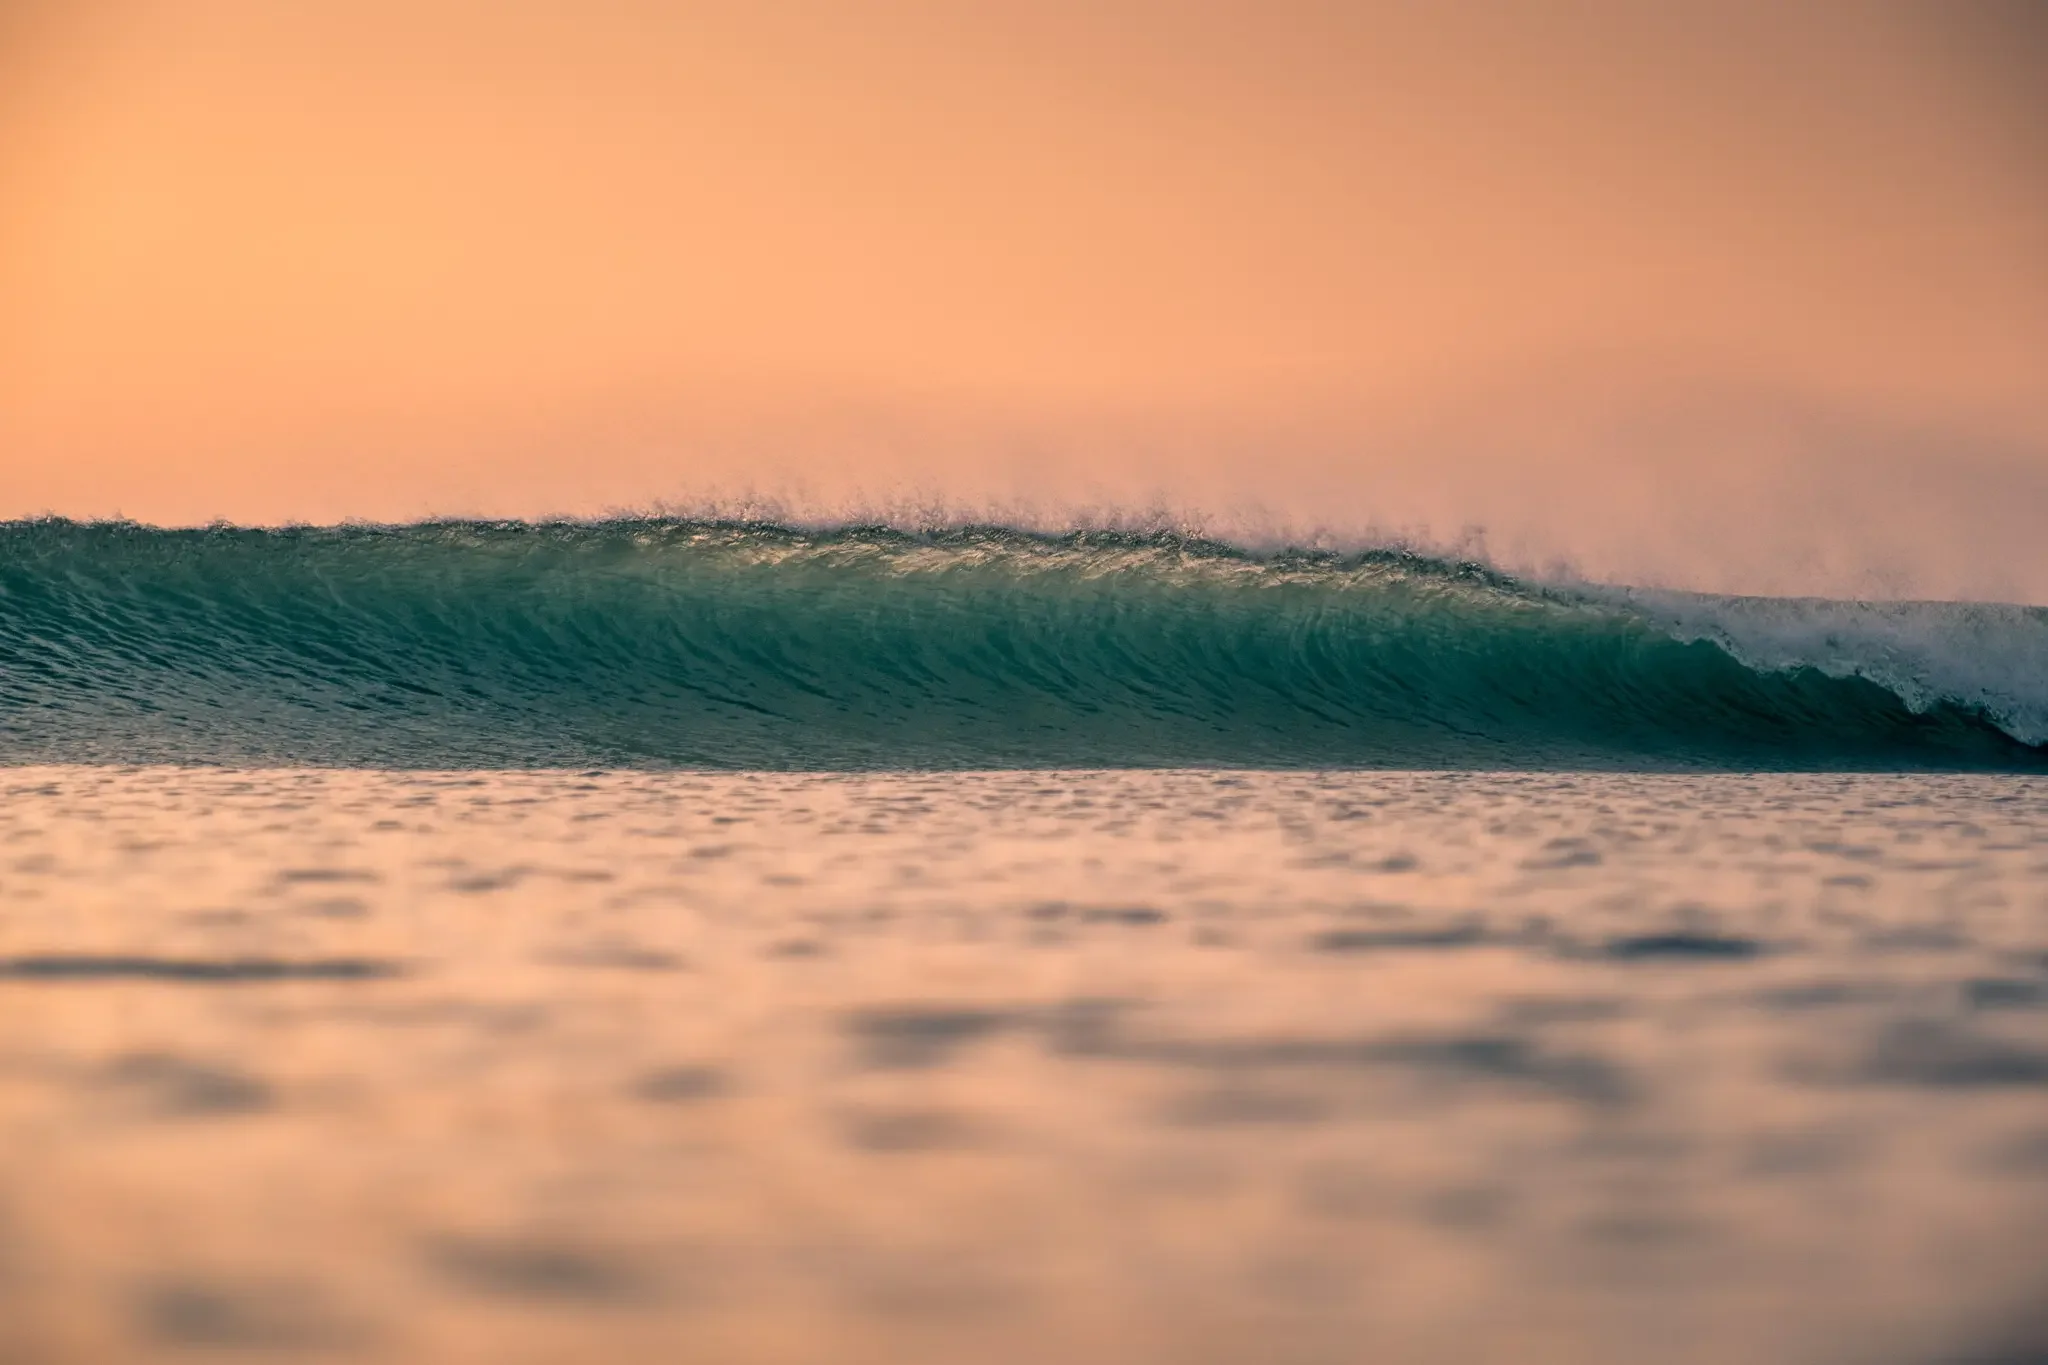
Flat port vs dome port: which should you choose?
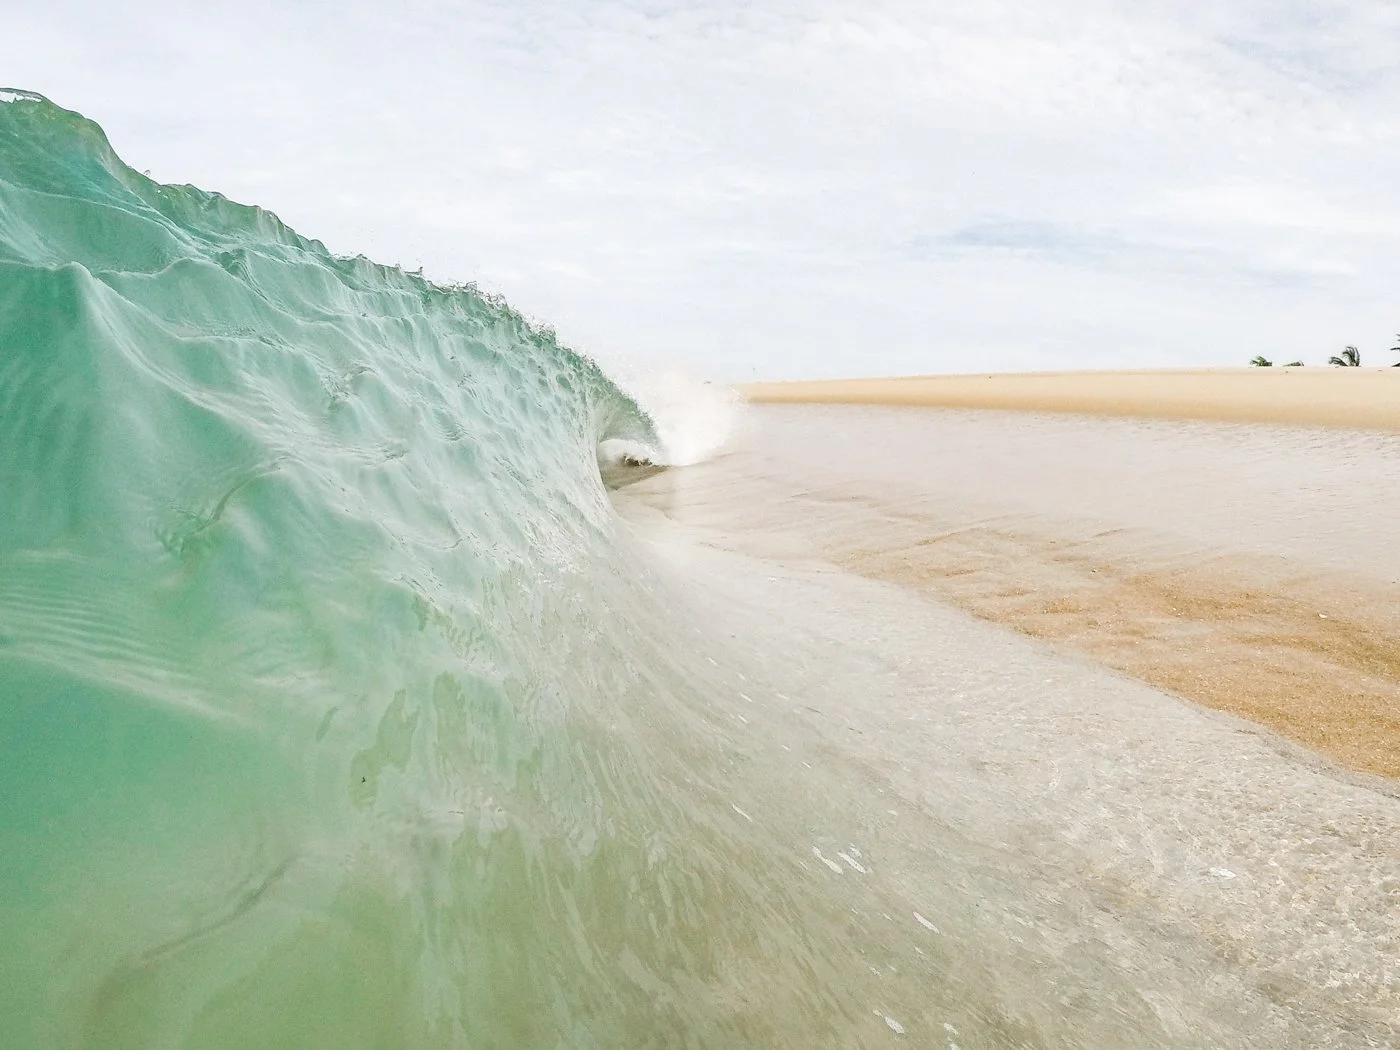
Flat ports tend to suit photographers who spend most of their time working at the surface rather than shooting underwater. They handle reflections and shifting detail across wave faces in a way that feels closer to what you actually see from the lineup.
Earlier on I experimented with dome ports using a GoPro but never really connected with the way they rendered surface scenes, so I stayed with a flat port setup as I moved into mirrorless housings.
Dome ports start to make more sense once your shooting moves below the surface or toward very wide perspectives where the surrounding environment becomes part of the frame.
The right port usually becomes obvious once you notice what you’re naturally drawn to photographing.
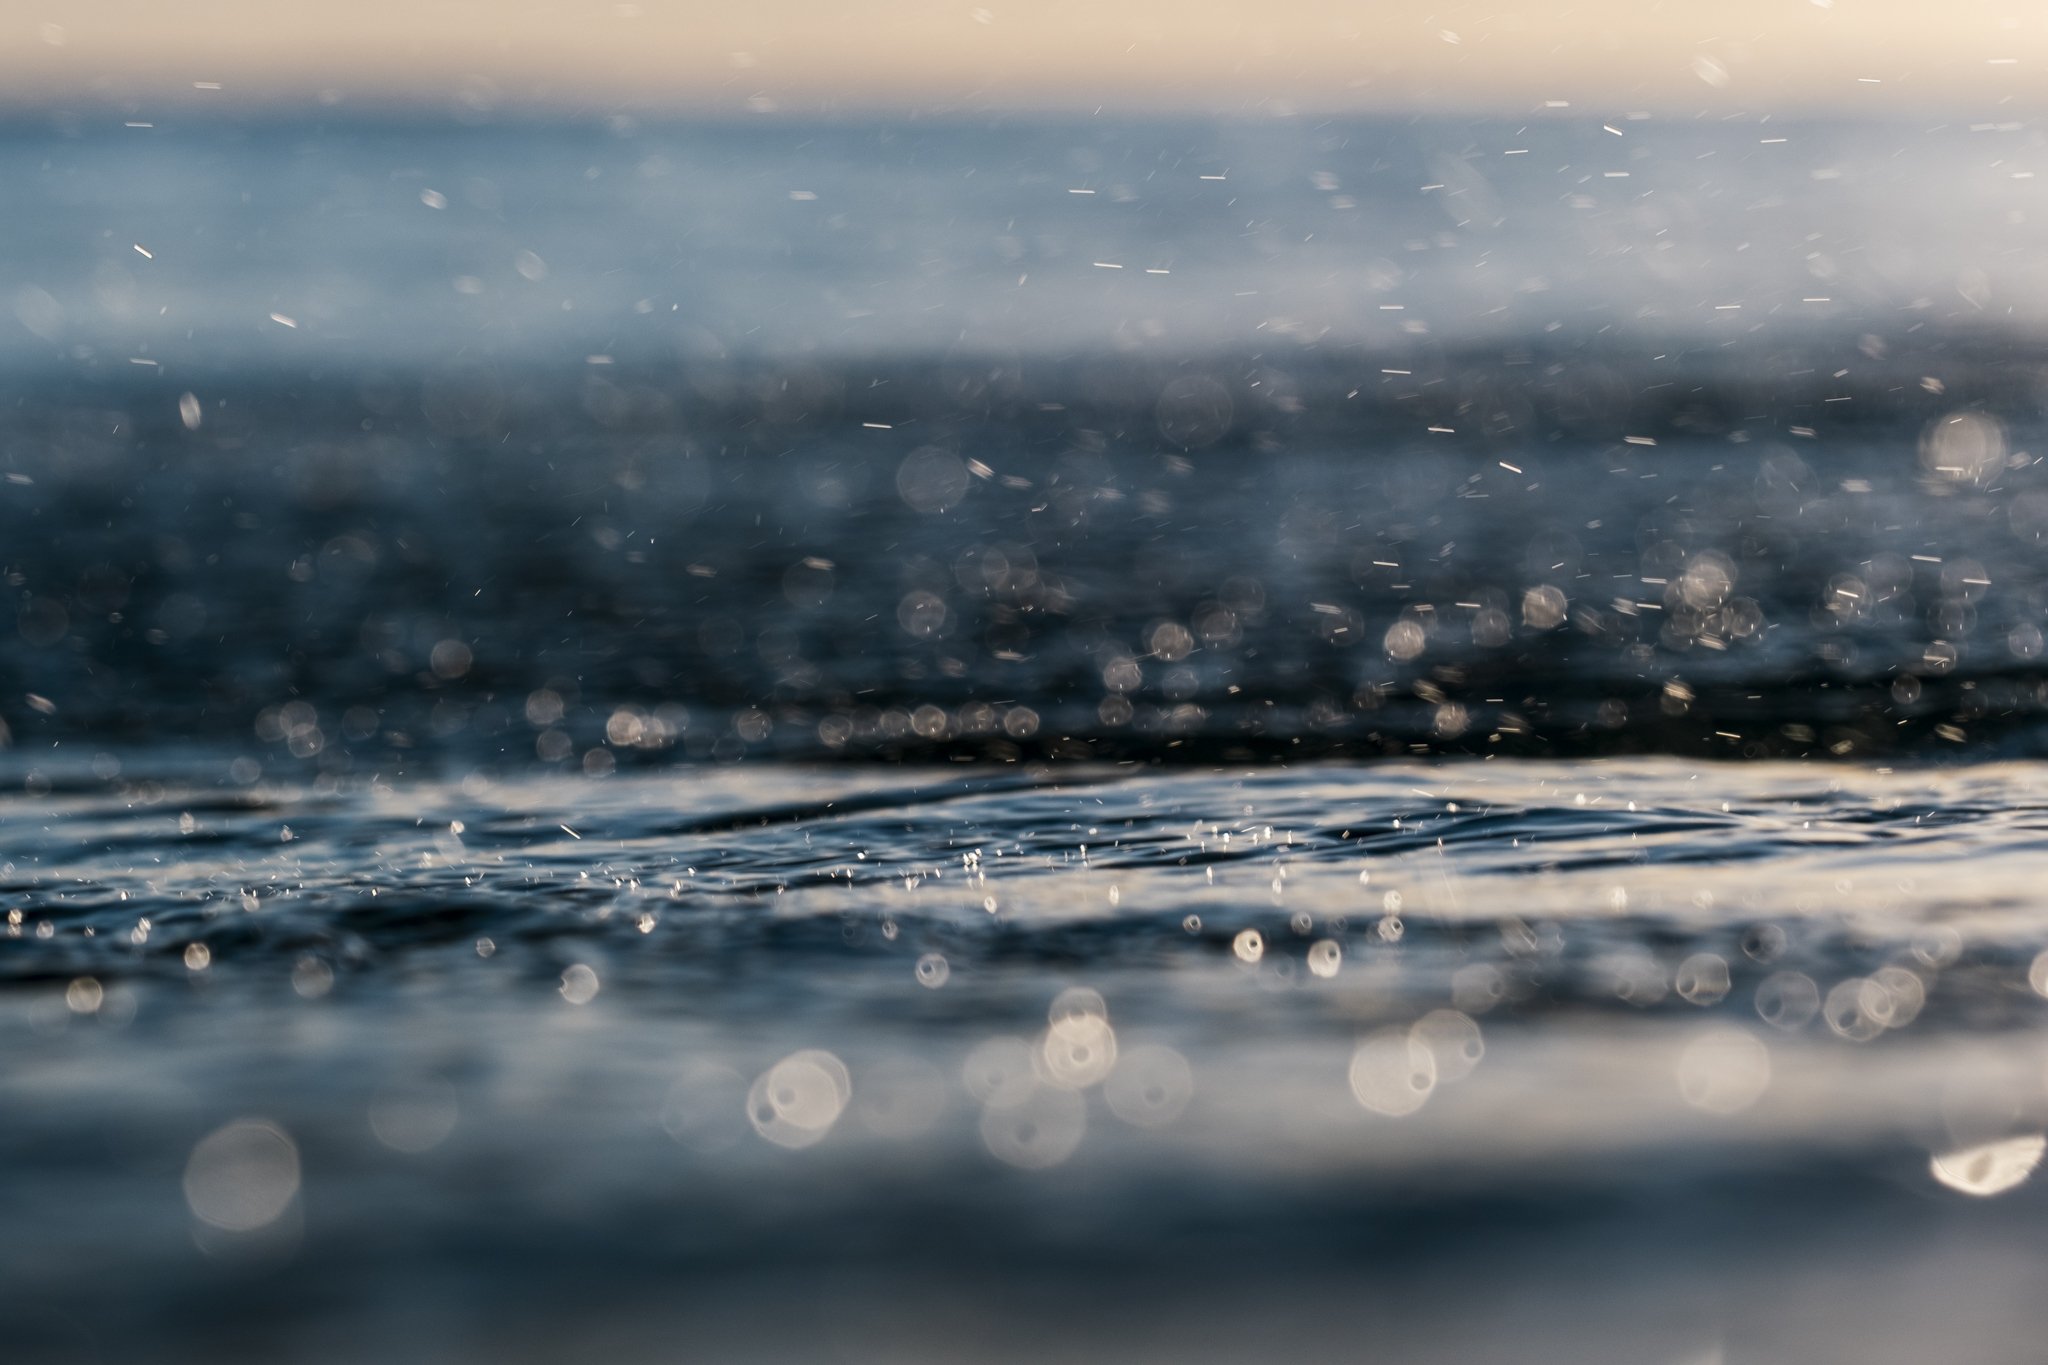
Surface detail like this becomes easier to notice once you start spending more time moving with the ocean rather than watching it from shore.
What to look for in a waterproof camera housing for surf photography
Surf conditions change what matters in a housing more than people expect.
You’re not floating in calm water. You’re swimming through whitewater, duck diving, and reacting to waves that don’t always arrive the way you think they will. The housing has to work with that, not against it.
Things worth paying attention to include:
Seal reliability
Always check seals before entering the water and test new housings in freshwater first.
Port choice
Flat ports suit reflections and surface shooting. Dome ports suit wide underwater compositions.
Control access
Being able to adjust settings while swimming becomes more important as your shooting becomes more intentional.
Handling in surf conditions
Your housing should feel manageable while swimming and duck diving, not just while standing on the beach.
Leash setup
Keeping a leash loosely attached to your wrist adds security without limiting movement.
Depth rating differences
Surf housings and dive housings are designed for different environments. Aquatech housings are built for surface shooting in wave environments rather than deep diving, while housings like Seafrogs are often rated to around 40 m and specialist dive housings go deeper still.
Choosing the right waterproof camera housing for surf photography depends on how and where you plan to use it.
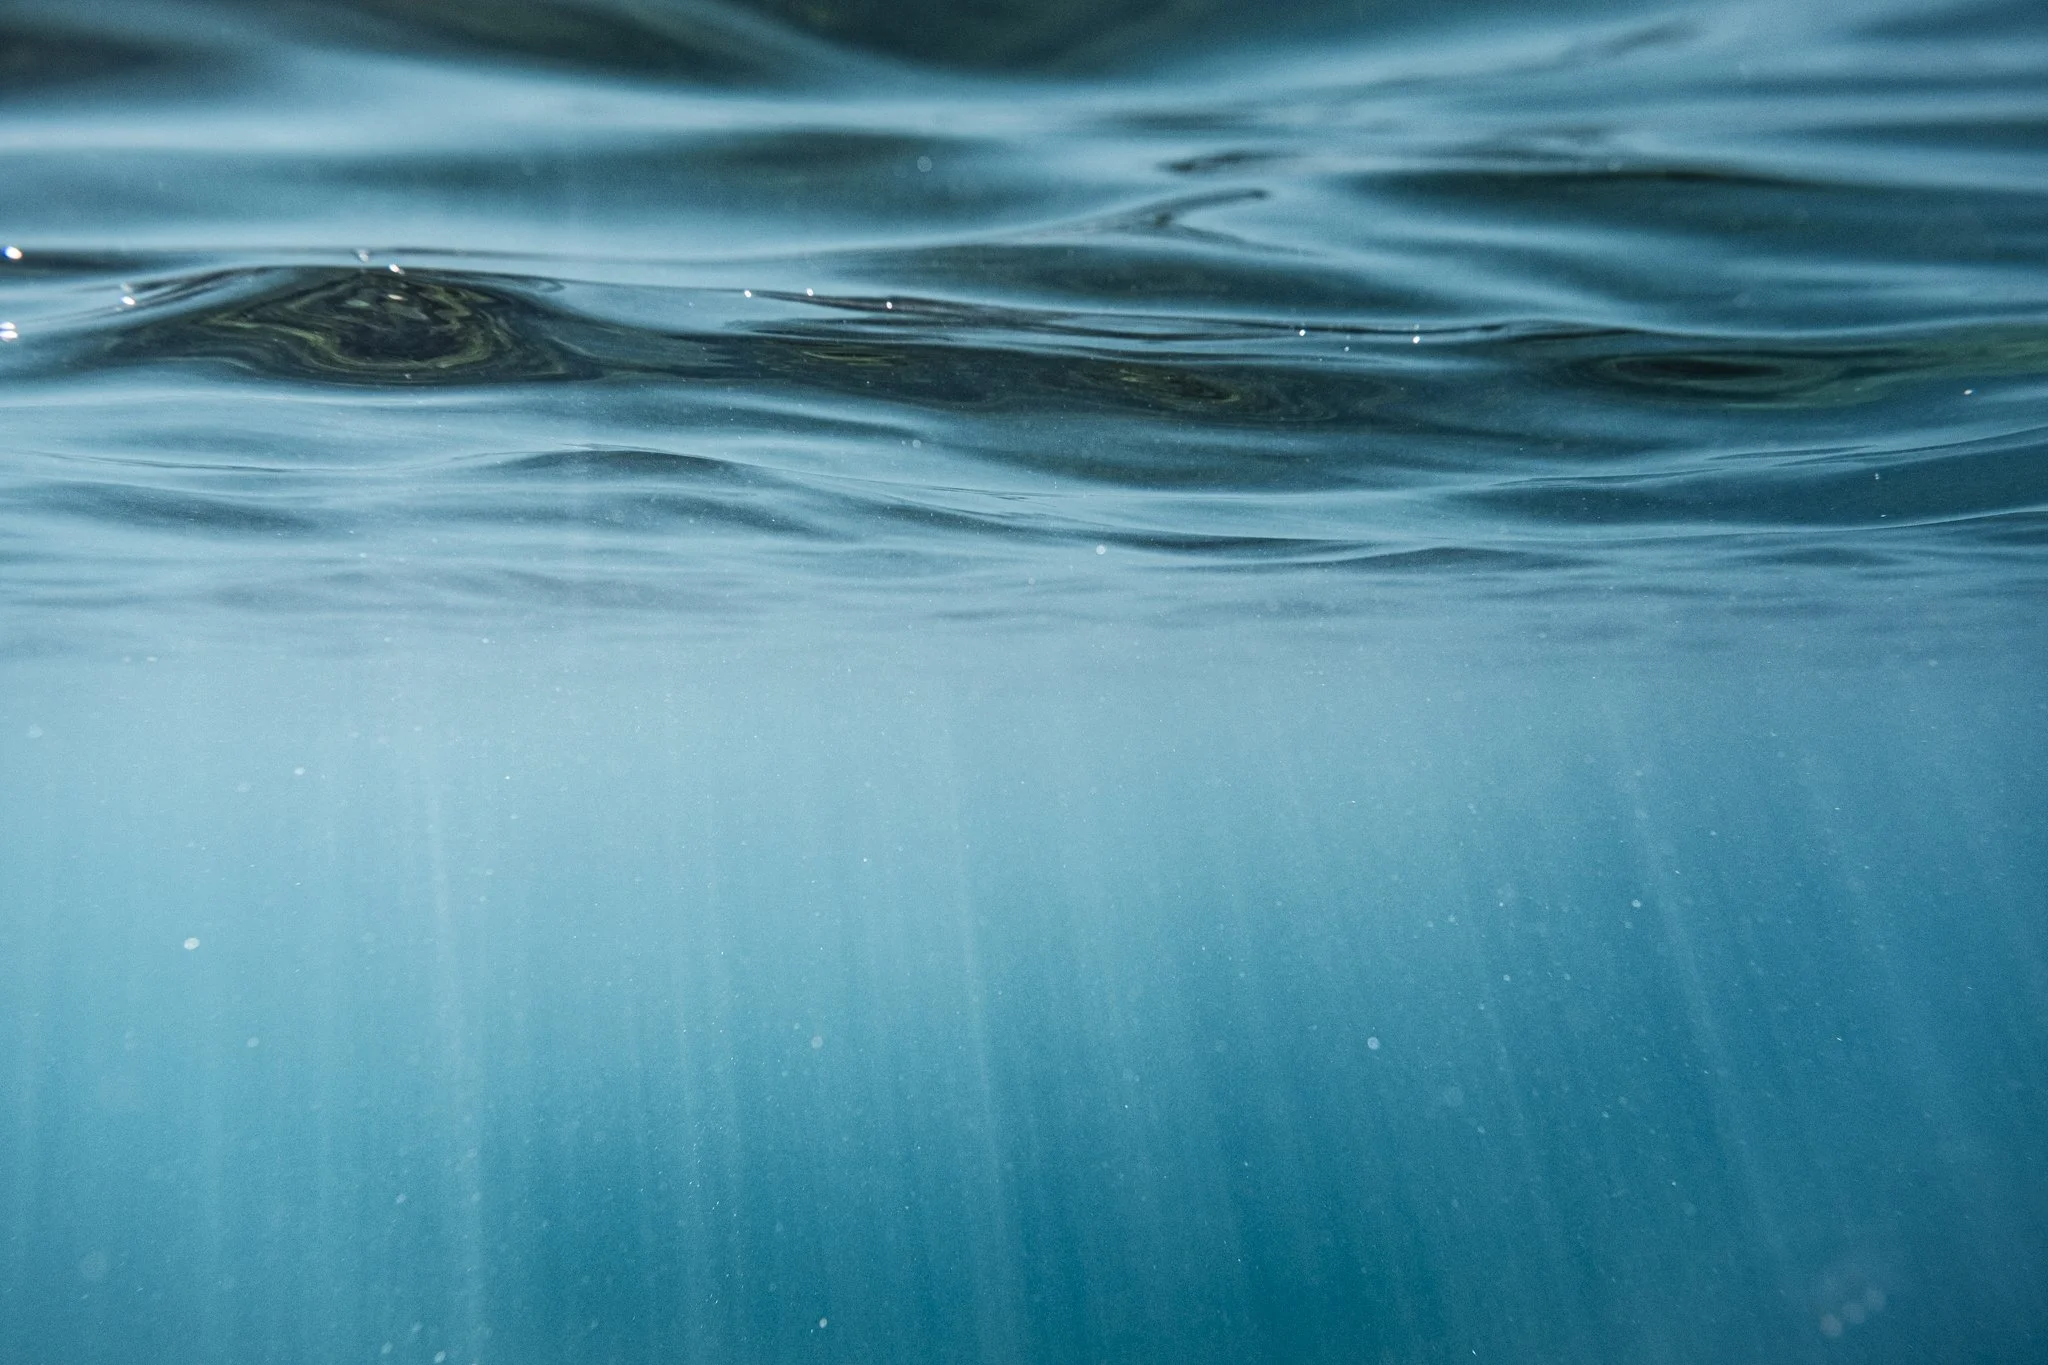
The housing I use and why
I currently use a Seafrogs housing for the Fujifilm X-T3 with a flat port.
It suits the way I like to photograph from the surface of the water, especially when working with reflections and softer movement across the frame. It’s been reliable in moving conditions and has helped me become more confident positioning around surfers while still keeping the setup simple enough to experiment with different approaches.
Like most surf photographers, my setup has evolved gradually over time rather than changing all at once.
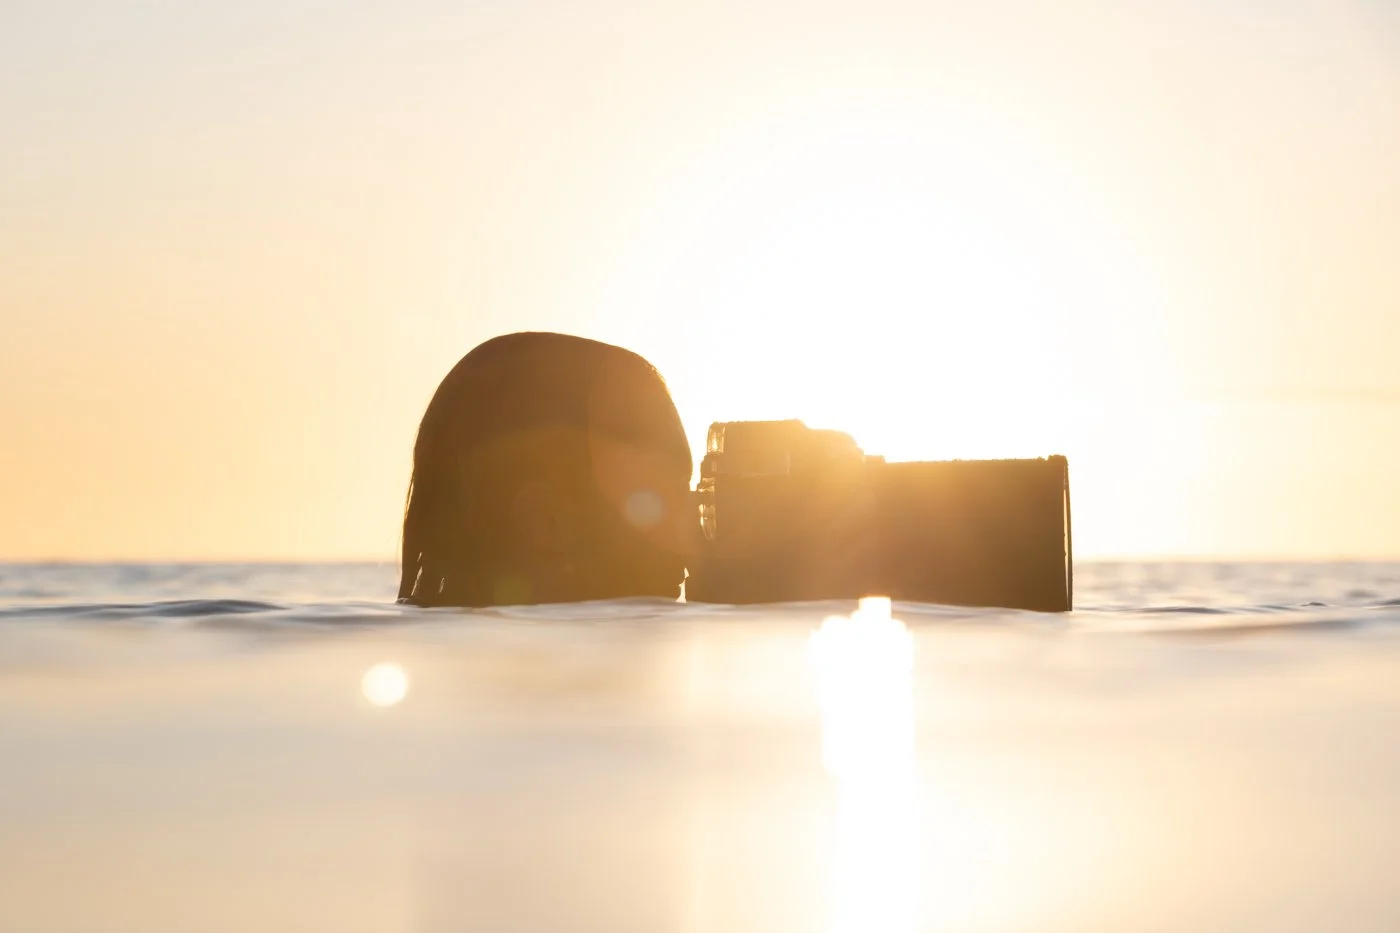
Most of the time I’m using this housing to photograph surface detail like this from the lineup.
When it makes sense to upgrade to a dedicated surf housing system
Most photographers begin thinking about upgrading once they’re spending consistent time inside breaking waves rather than photographing from safer positioning zones.
At that stage, durability becomes more important than flexibility, and housing systems designed specifically for surf environments begin to make more sense.
Upgrading isn’t about owning the most advanced equipment. It’s about choosing a system that supports the way your time in the water is changing.
Confidence in the water matters just as much as your equipment
Understanding movement in the ocean shapes your photography more than equipment ever will.
It’s easy to assume that buying a waterproof camera housing is the biggest step in surf photography.
In reality, confidence in the ocean makes a much bigger difference.
Learning how waves move, understanding positioning, and becoming comfortable swimming with fins will shape your photography long before equipment upgrades do, especially as you start developing your own creative voice in the water.
Once you feel comfortable moving in the water, the right housing choice usually becomes obvious.
Which stage are you at right now, shoreline, whitewater, or impact zone? I’d love to hear.
Save this guide for later if you’re planning your first in-water session.
Until next,
L ✌️
FAQs about waterproof camera housings for surf photography
Do I need a waterproof camera housing to start surf photography?
No. Lots of photographers begin from the shoreline using longer lenses. A camera housing becomes useful once you want to move into the water and work closer to the surface.
Can I use a dry bag instead of a camera housing?
Dry bags are not designed for breaking waves and repeated impact. They can work briefly in calm conditions but aren’t reliable in surf environments.
Are waterproof camera housings for surf photography the same as dive housings?
No (and yes!) Camera housings for surf photography are designed for surface shooting in moving water. Dive housings are designed for depth pressure and underwater use. Saying that, if you have a dive housing, you may want to experiement with it on the surface before investing in more gear
Is a dome port necessary for surf photography?
Not always. Dome ports are most useful with wide-angle lenses or underwater scenes. Flat ports work very well for surface shooting and reflections.
What is the best beginner waterproof camera housing for surf photography?
A great budget option to start with is a smartphone housing like AxisGO or JOBY SeaPal before moving to mirrorless systems such as Seafrogs once you begin swimming in breaking waves. I answer more beginner gear questions like this in my surf and water photography FAQs as well.
Where should I hold a camera housing when waves are breaking?
Keeping the housing down near your hip rather than directly in front of your body improves safety when duck diving or moving through whitewater.
Do surf photographers always use pistol grips?
Not always, but heaps of the pros prefer them because they improve stability in moving water.