11 Common mistakes in surf photography (and how to avoid them)
When I first started taking my camera into the ocean, I didn’t really know what I was doing.
I had the curiosity and the excitement, but I was still figuring out how to swim with gear, how to read the waves, and how to change settings quickly enough to catch what was happening in front of me.
I even tried using a dry bag before I owned a proper housing. It lasted three sessions and then leaked and killed my camera. That was a hard lesson, but it taught me quickly that the ocean is a powerful environment to work in, and it asks something different from your gear and from you.
If your surf photos feel harder to capture than expected or inconsistent, chances are one of these common surf photography mistakes is getting in the way. The good news is, these are easy to avoid once you know what to look for.
If you’re new to photography more broadly as well, you might find this guide to beginner photography mistakes helpful alongside learning how surf photography works in the ocean.
In this article, I’ll share the mistakes I see most often, including a few I learned the hard way myself.
Common surf photography mistakes to avoid:
Jump to a section:
Why surf photography feels different from other kinds of photography
1. Skipping practice on land first
2. Not having the right surf photography gear in the water
3. Trying to shoot everything at once
4. Not understanding where to position yourself in the surf
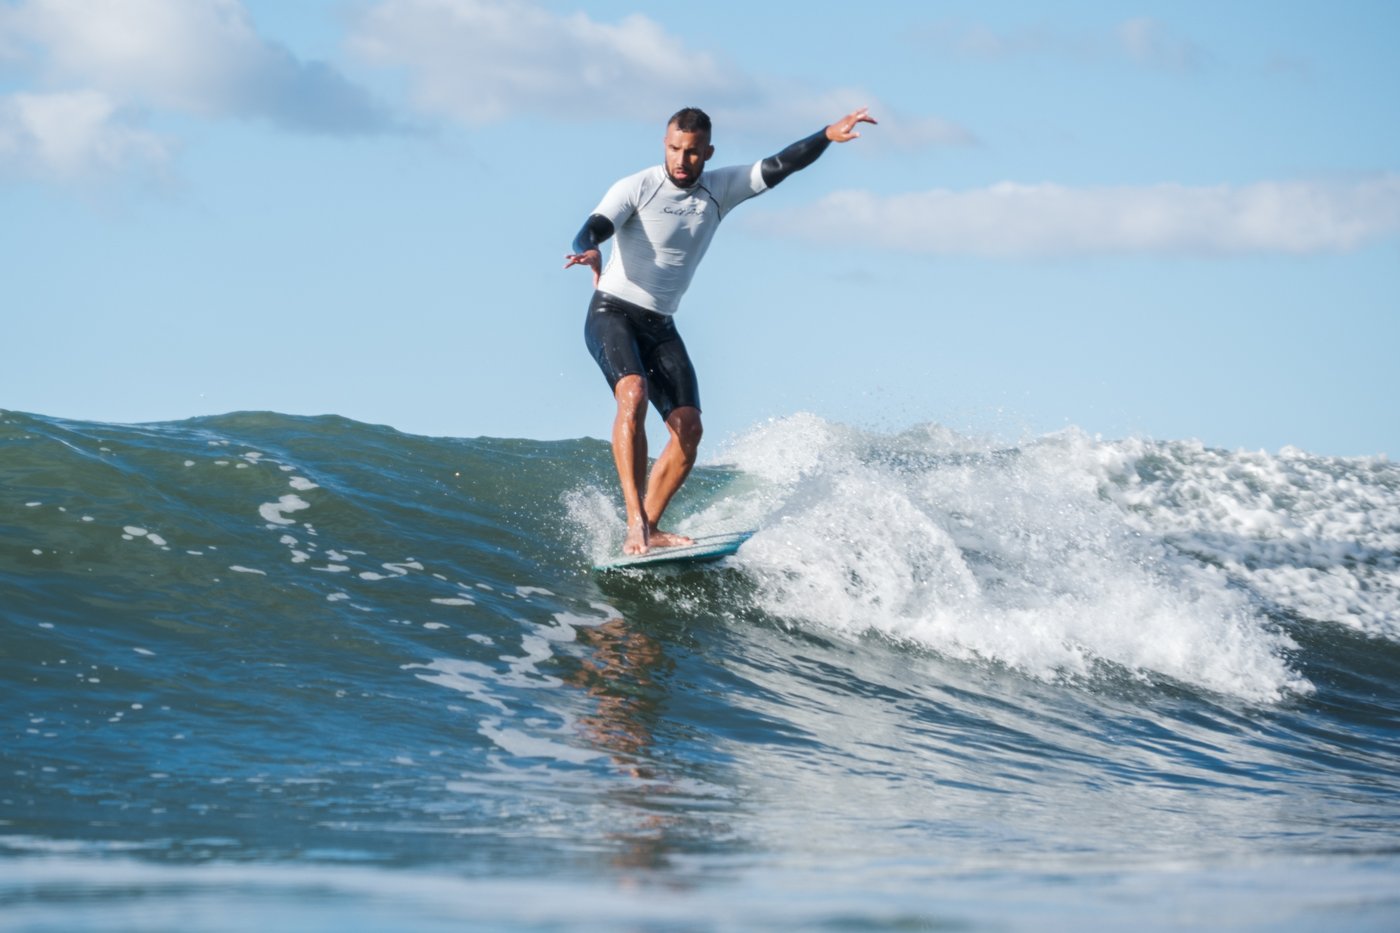
5. Only looking for action shots instead of surf storytelling moments
7. Overcomplicating your surf photography gear setup
8. Forgetting that confidence in the ocean matters more than camera settings
9. Not staying aware of what’s happening around you
Why surf photography feels different from other kinds of photography
Surf photography asks something different from you than most other types of photography.
You’re working in a moving environment where the light changes quickly, the subject moves unpredictably, and your own position in the water is constantly shifting. You’re not standing still and composing a frame. You’re reacting to what the ocean is doing in real time.
This is one of the biggest surprises for people learning surf photography for the first time. Positioning, timing, and awareness in the water become just as important as camera settings.
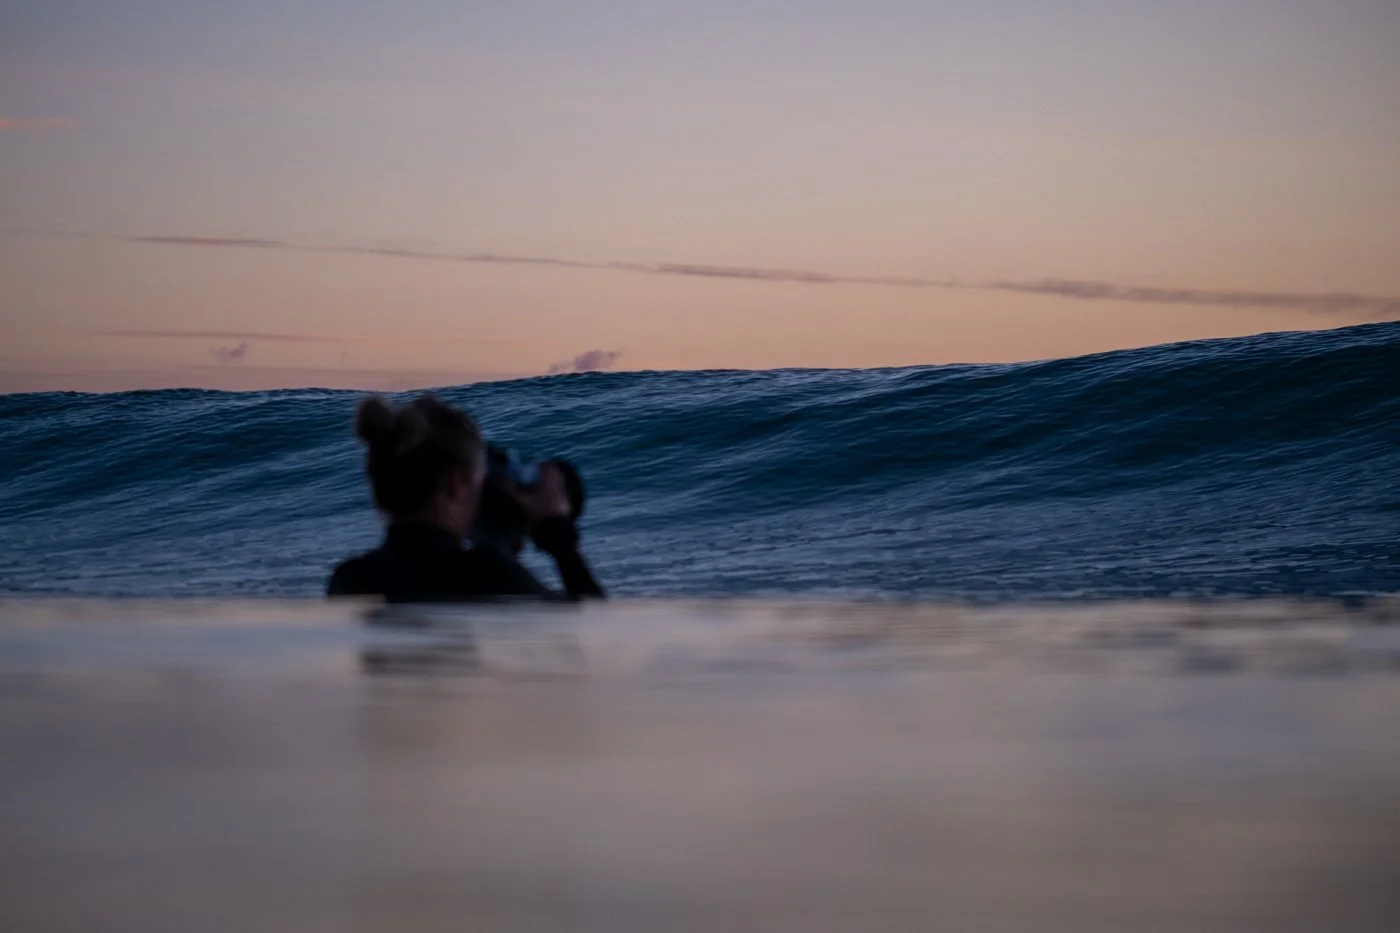
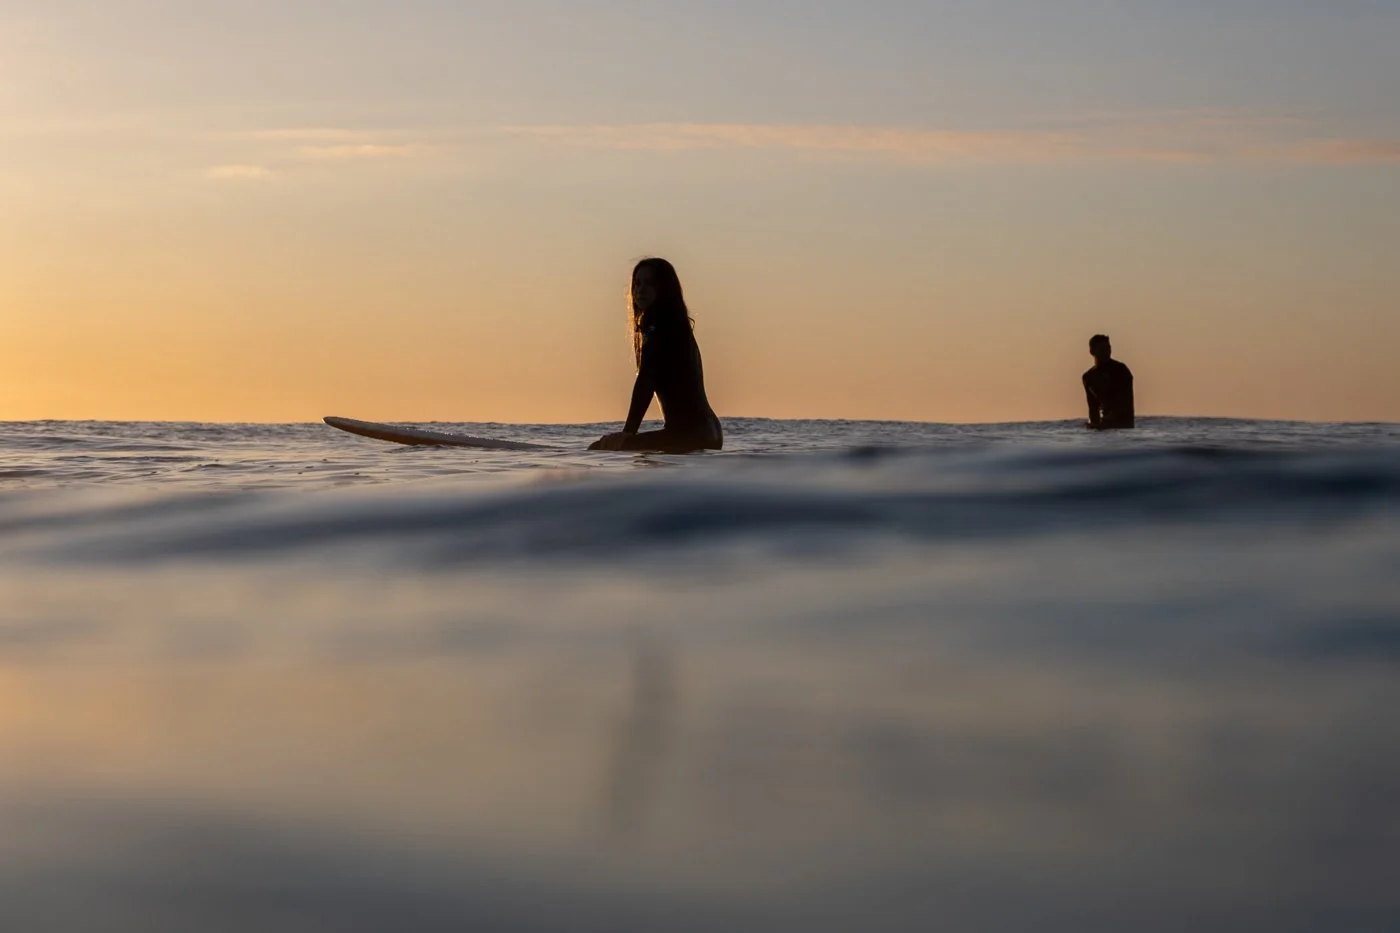
It also goes beyond photographing surfers on waves. Some of the most meaningful moments happen between sets. Reflections on the surface, textures in whitewater, someone resting quietly on their board, the colour of the sky shifting across the horizon.
These quieter details are often overlooked by beginners, but noticing them is one of the most valuable beginner surf photography tips if you want your images to feel more natural and immersive.
For me, surf photography feels less like documenting a subject and more like being part of the scene itself. You’re floating in it, moving with it, and responding to what unfolds around you.
That’s what makes surf and water such a rewarding subject to photograph.
Light moves quickly on the ocean. Learning to notice it changes everything.
1. Skipping practice on land first
One of the most common beginner surf photography mistakes is heading straight into the water before feeling confident shooting from land.
The ocean moves quickly. If you’re still thinking about settings while you’re swimming, you are highly likely to miss the moments you came out to capture.
Before I started swimming out with a housing, I spent a lot of time photographing surf from the beach. This helped me understand how waves break, where surfers position themselves, and how the light changes across the water through the morning.
It also meant that once I was in the ocean, I could focus on positioning rather than fumbling with my camera.
If you’re new to surf photography, land is the best place to start. And ff you’re still deciding when to move from shore into the water, this guide on how to get started in water photography walks through the transition step by step.
Photographing from land helps you understand how waves break before entering the water.
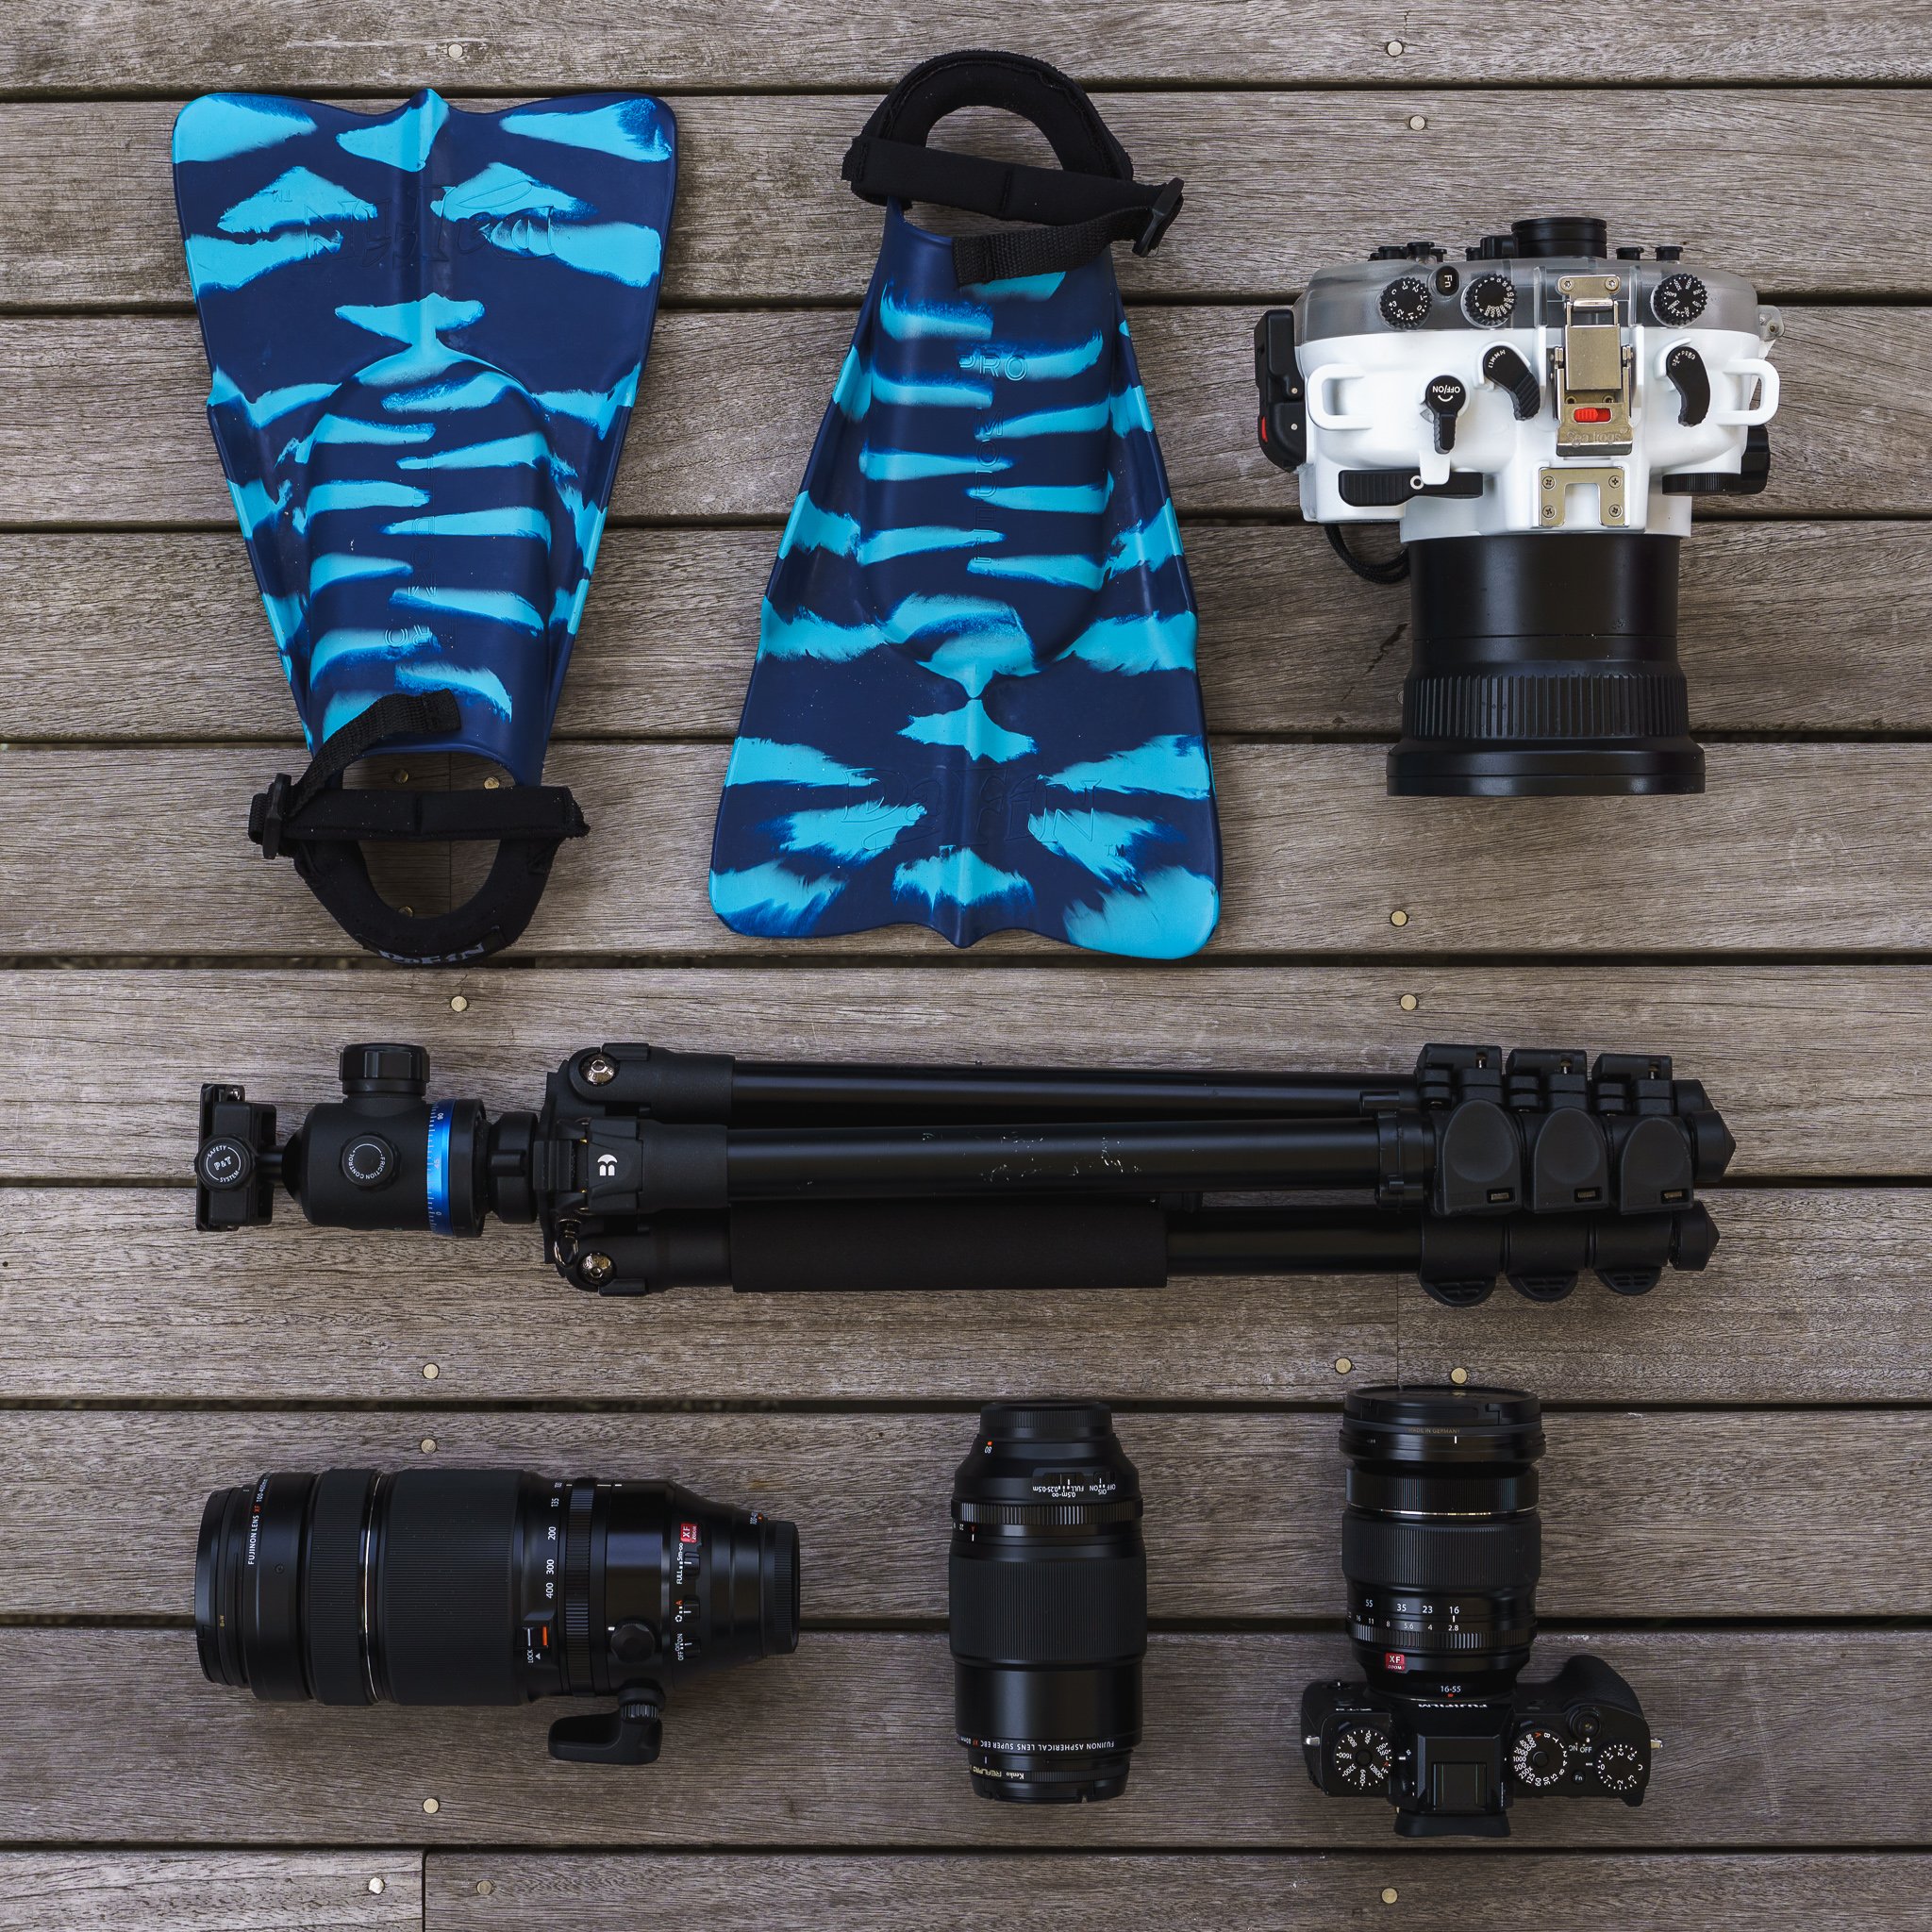
2. Not bringing the right surf photography gear in the water
You don’t need lots of equipment to begin, but the surf photography gear you do use needs to be reliable.
A good pair of fins is essential. They allow you to move safely through currents, dive under waves and reposition yourself when the bank shifts.
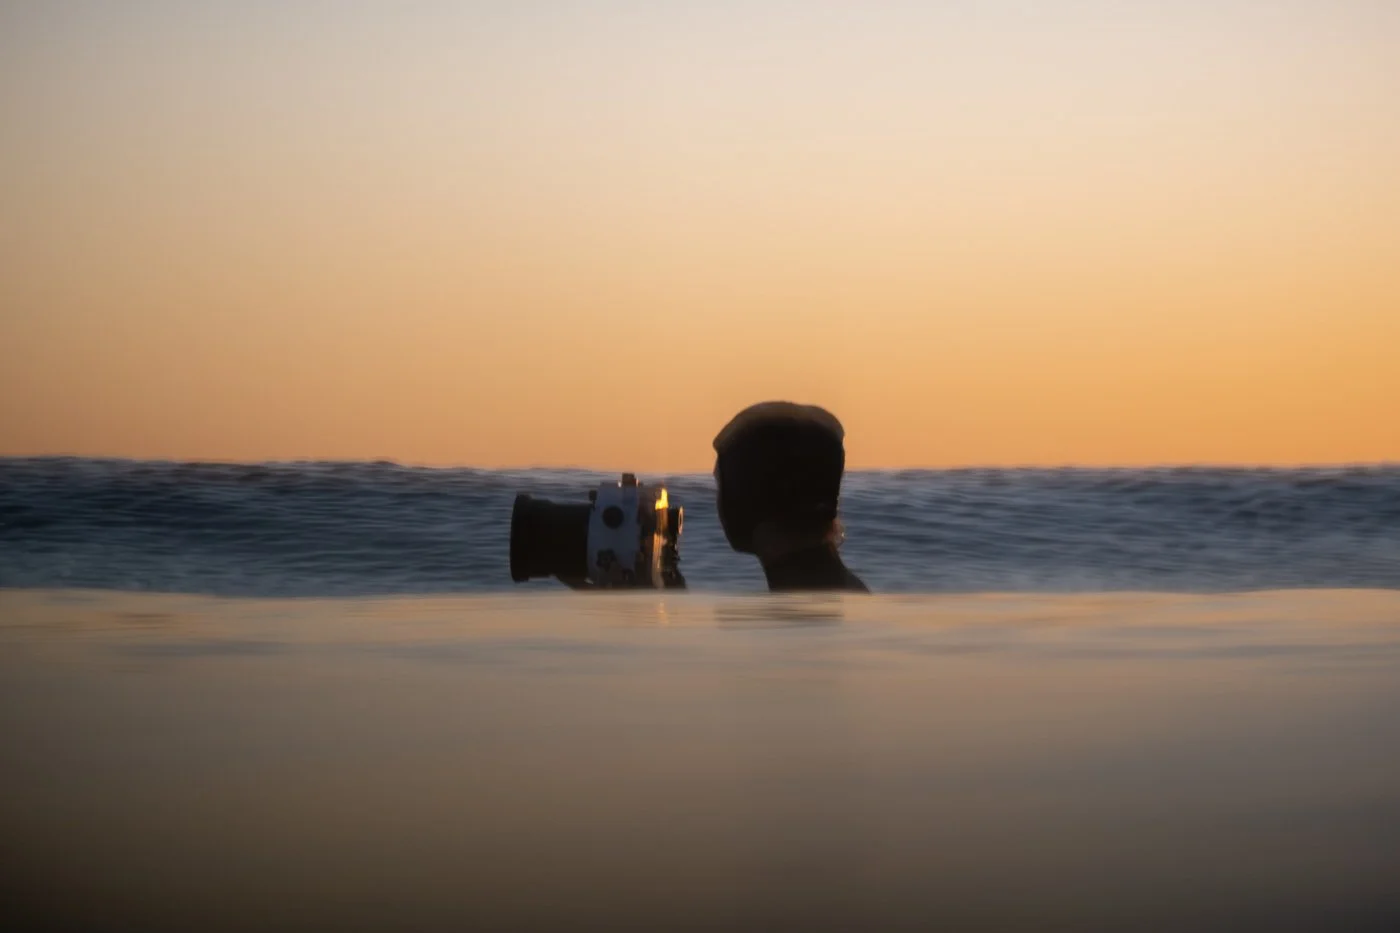
A proper water housing is just as important. I learned this after trying a dry bag early on. It was not designed for waves and it failed quickly.
If you’re planning to take your camera into the surf, invest in a housing designed specifically for ocean conditions. It gives you confidence in the water and protects your camera when the environment becomes unpredictable.
Still figuring out what gear you actually need before heading out? I’ve answered some of the most common beginner questions in this water photography FAQs guide.
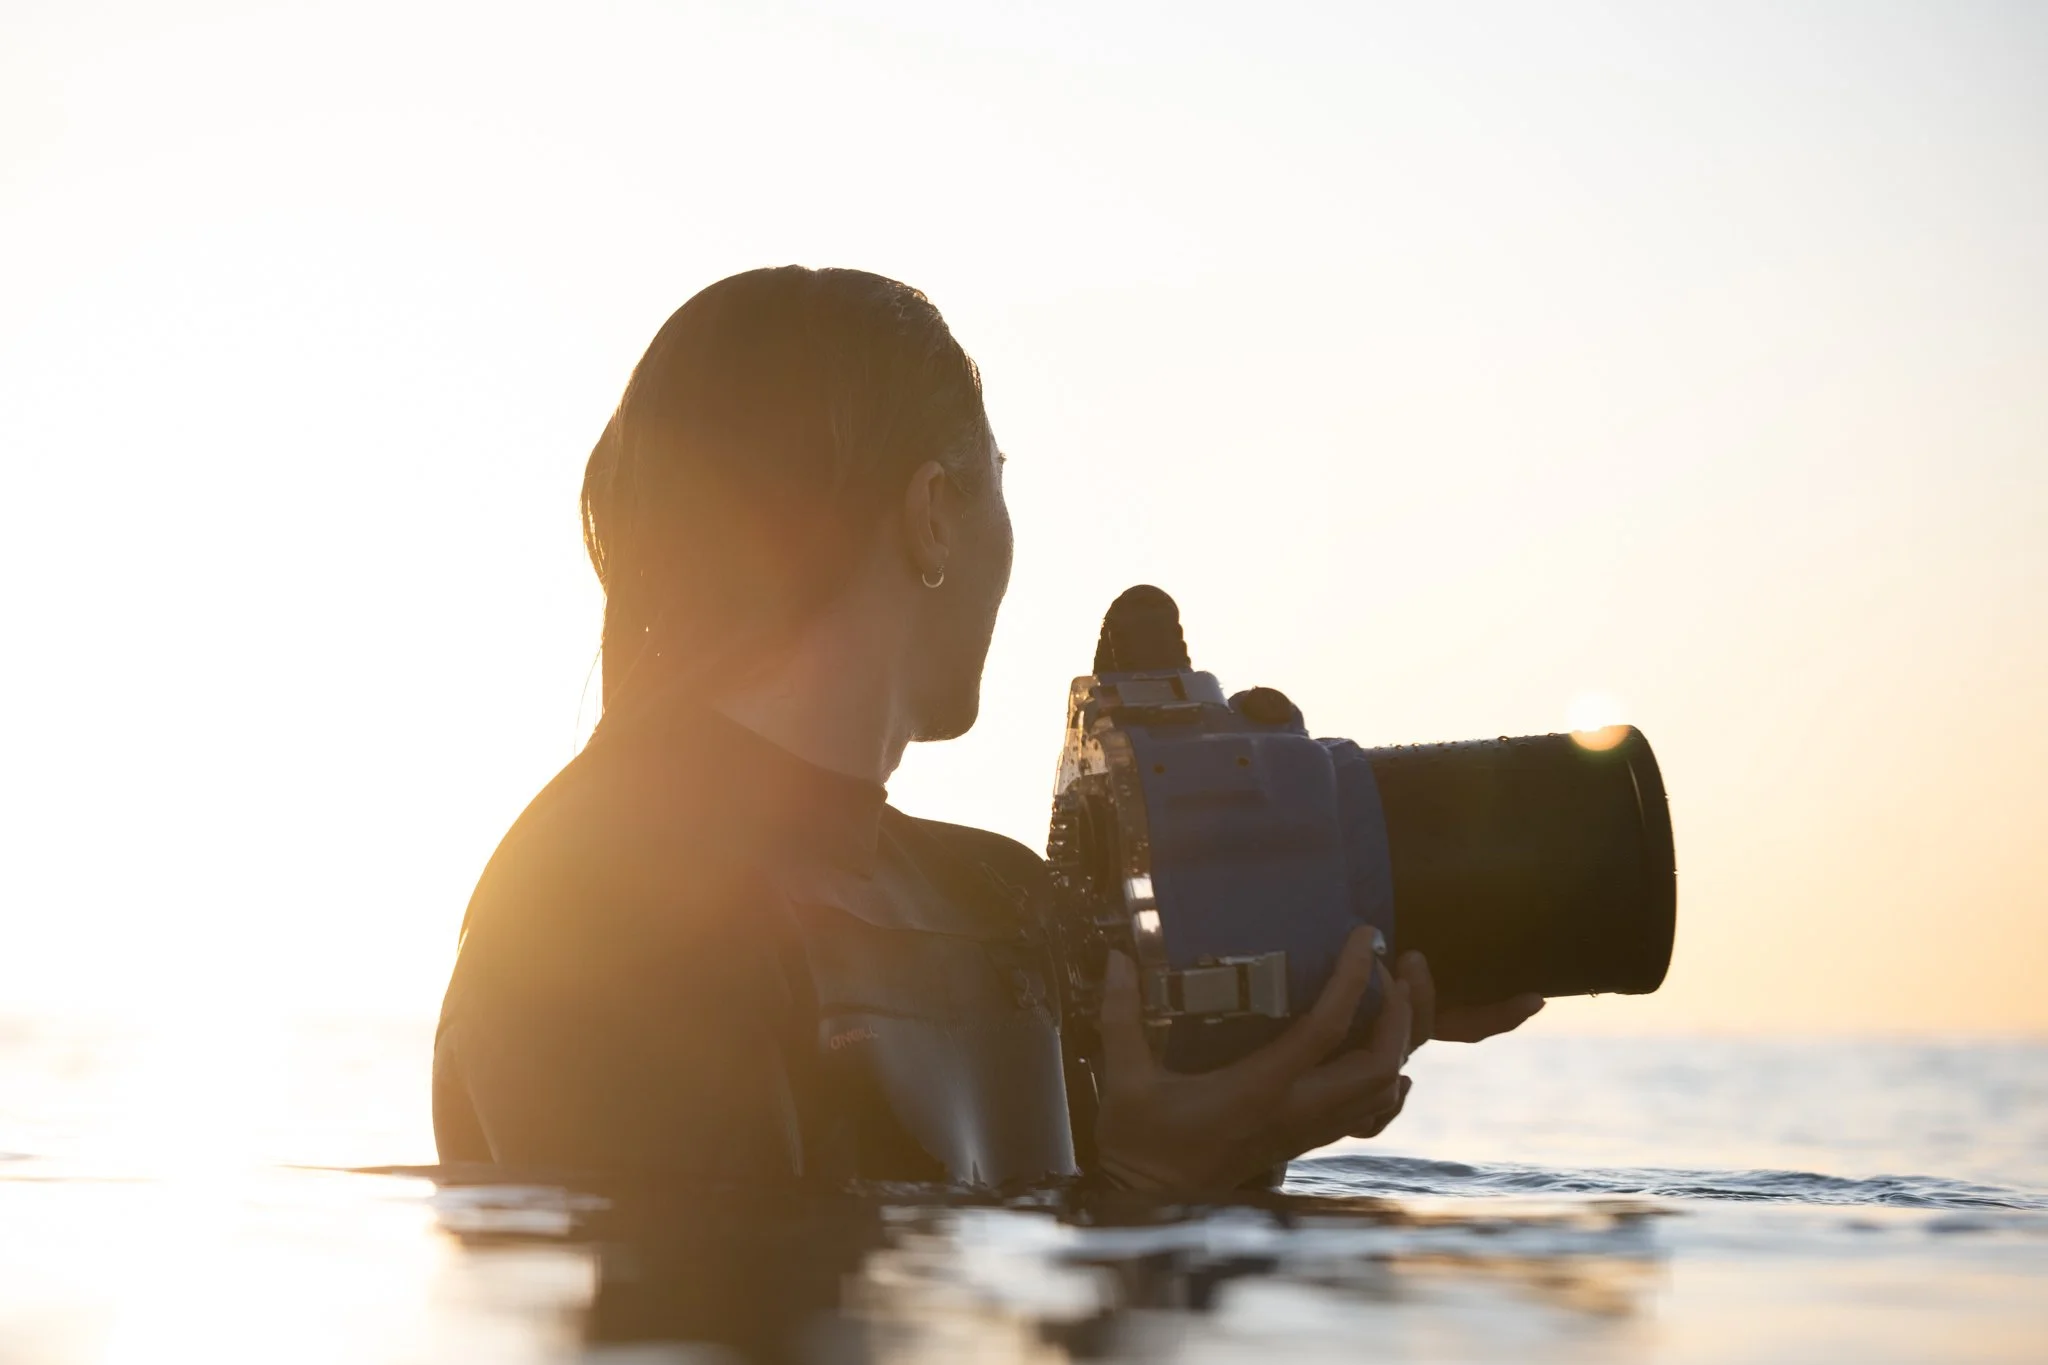
A proper water housing gives you confidence in the ocean and protects your camera when conditions change.
3. Trying to shoot everything at once
It’s easy to arrive at the beach with too many ideas and too many gear choices.
A wide lens, a zoom lens, sunrise colour, action shots, portraits, reflections. When everything is possible it becomes harder to decide what to focus on.
Choosing one perspective for a session makes things much simpler.
It might be shooting from the shoreline with a long lens, swimming inside the break for closer angles, or sitting further out the back for quieter moments between waves.
Start with one approach and learn what works from there. This is one of the simplest beginner surf photography tips that improves your results immediately.
Choosing one moment to follow often leads to stronger images.
4. Not understanding where to position yourself in the surf
Position matters more than most people expect.
If you want to photograph someone sitting on their board out the back, you need to swim out there. If you want someone coming down the line towards you, you need to sit on the inside and anticipate where the wave will break.
Beach breaks change constantly. Banks shift with the tide and the current moves you without you noticing at first.
Spending time watching the water before getting in helps you recognise where the channels are and where waves are likely to peel.
If you’re a surfer you’ll be well aware of that classic paradox where you can see perfect waves from the shore, but once you get out there, it’s harder to perceive where those banks are. So that observation time prior to heading out gives you a rough idea of where to position yourself, and makes a big difference once you’re in the surf.
Positioning is one of the biggest differences between shoreline surf photography and in-water surf photography. The more time you spend watching how waves break before entering the ocean, the easier it becomes to anticipate where surfers will appear.
Positioning becomes easier once you start watching how surfers move across the bank.
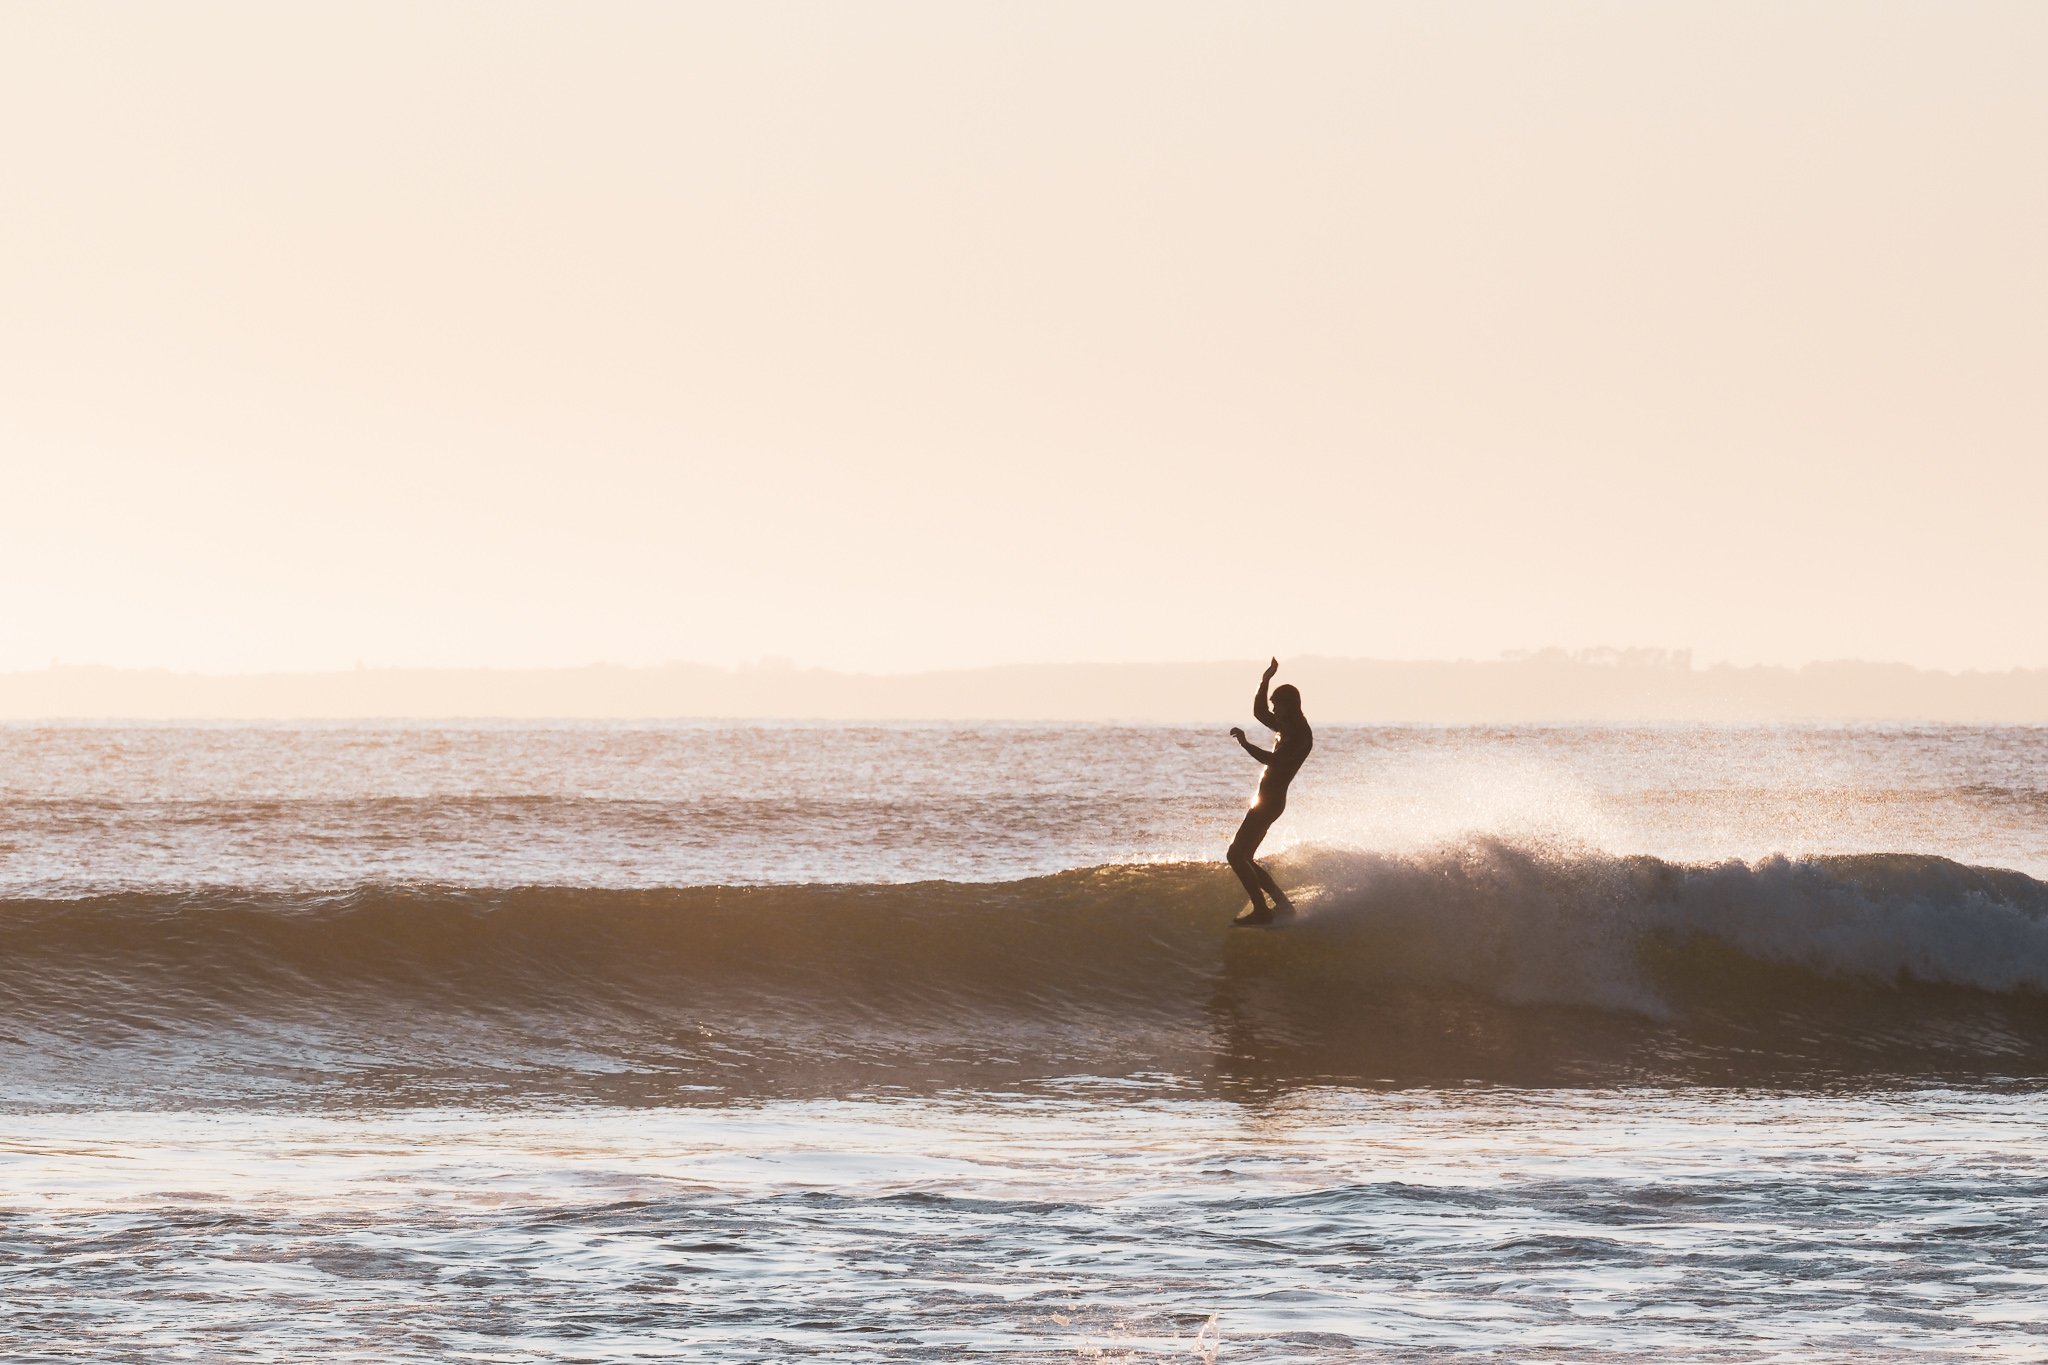
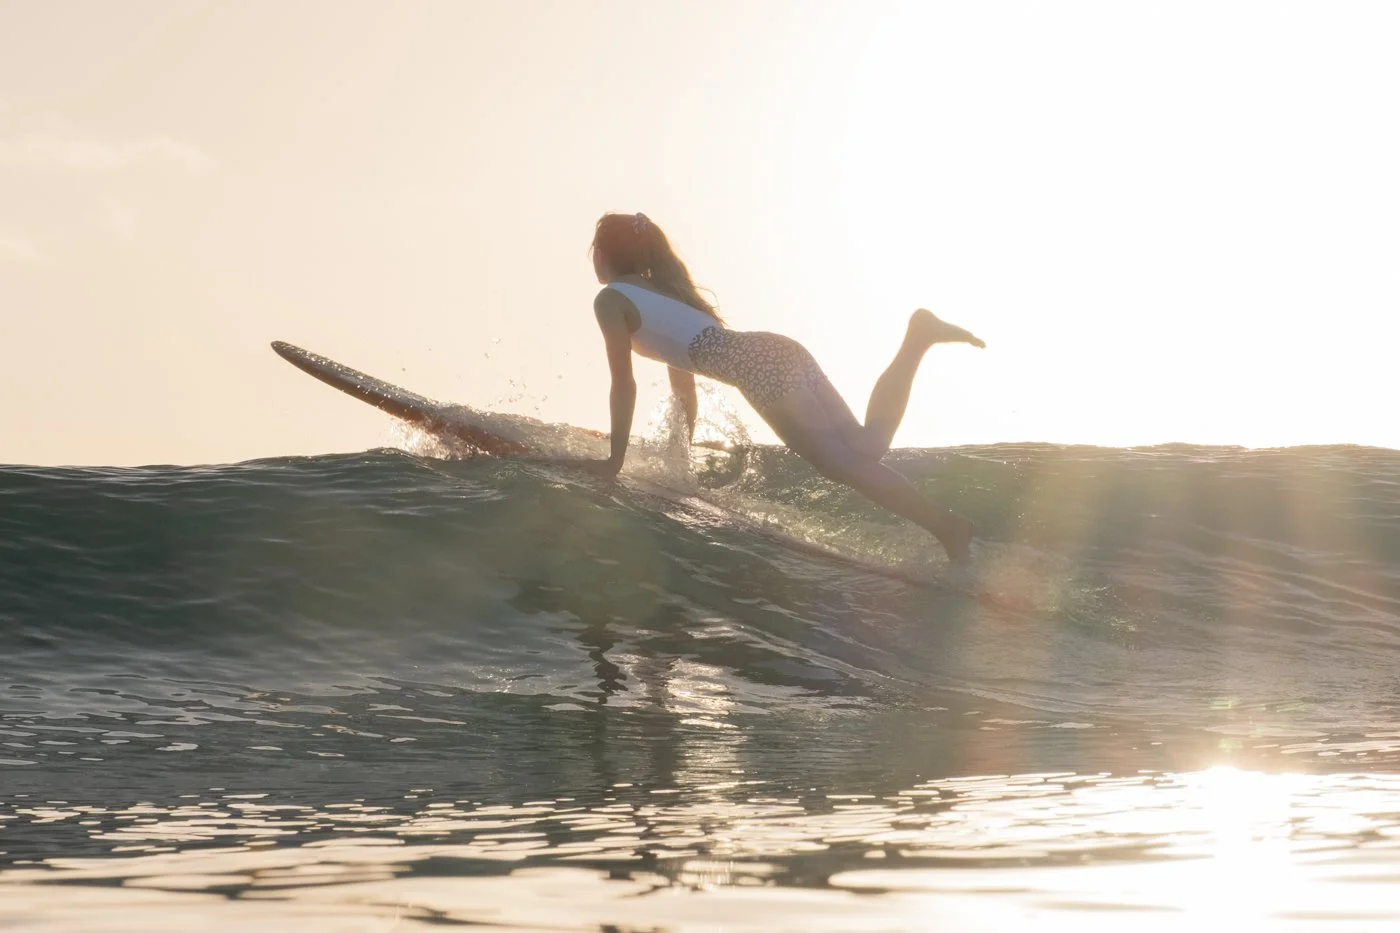
5. Only looking for action shots instead of surf storytelling moments
Surf photography is often thought of as photographing turns and spray, but some of the most interesting moments happen between waves.
Reflections on the surface, the way light moves through whitewater, small textures across the face of a wave, or someone resting on their board waiting for the next set.
These quieter moments are part of the story as much as the ride itself.
Paying attention to them changes how you see the ocean and helps you develop your style faster.
Action shots are fun to capture, but they are only one part of the story. In-between moments of calm make for beautiful storytelling too.
6. Not experimenting enough
Some of my favourite images came from trying something without knowing exactly how they would turn out.
When I was studying textile design at uni, the first stage of almost every project was experimentation. You weren’t expected to get it right straight away. You were expected to explore materials, colour, texture and pattern, and it was often during that stage that the most unexpected ideas appeared.
That same mindset and research methodology I learned in my Bachelors degree, now applies to how I approach photographing the surf and ocean. Experimentation is where photography starts to feel like art rather than documentation.
I often approach a session with a simple question in mind.
What happens if I change this setting?
What happens if I shoot from a different position?
What happens if I stay in the shallows instead of swimming out?
That curiosity has shaped my work more than any piece of equipment.
Experimentation is also where your visual style begins to take shape, which I talk more about in this guide to finding your creative voice in surf and water photography.
7. Overcomplicating your surf photography gear setup
It’s easy to think you need multiple lenses or specialised equipment to start. This is one of the most common surf photography mistakes to avoid when learning.
For a long time I used one main lens in the water and learned what it could do in different conditions.
That familiarity helped me react more quickly when something interesting happened.
Simple setups are often the most useful when you’re learning surf photography.
8. Forgetting that confidence in the ocean matters more than camera settings
Before I started taking a housing into the surf, I spent time swimming beyond the break with a local ocean swim group.
Later I completed a freediving course which gave me more confidence under the surface and helped me stay calmer when duck diving with a camera.
That confidence changes how you shoot.
Instead of focusing on getting back to shore, you can focus on what is happening around you.
If you’re unsure in the water, spend time building that confidence first. It makes everything else easier.
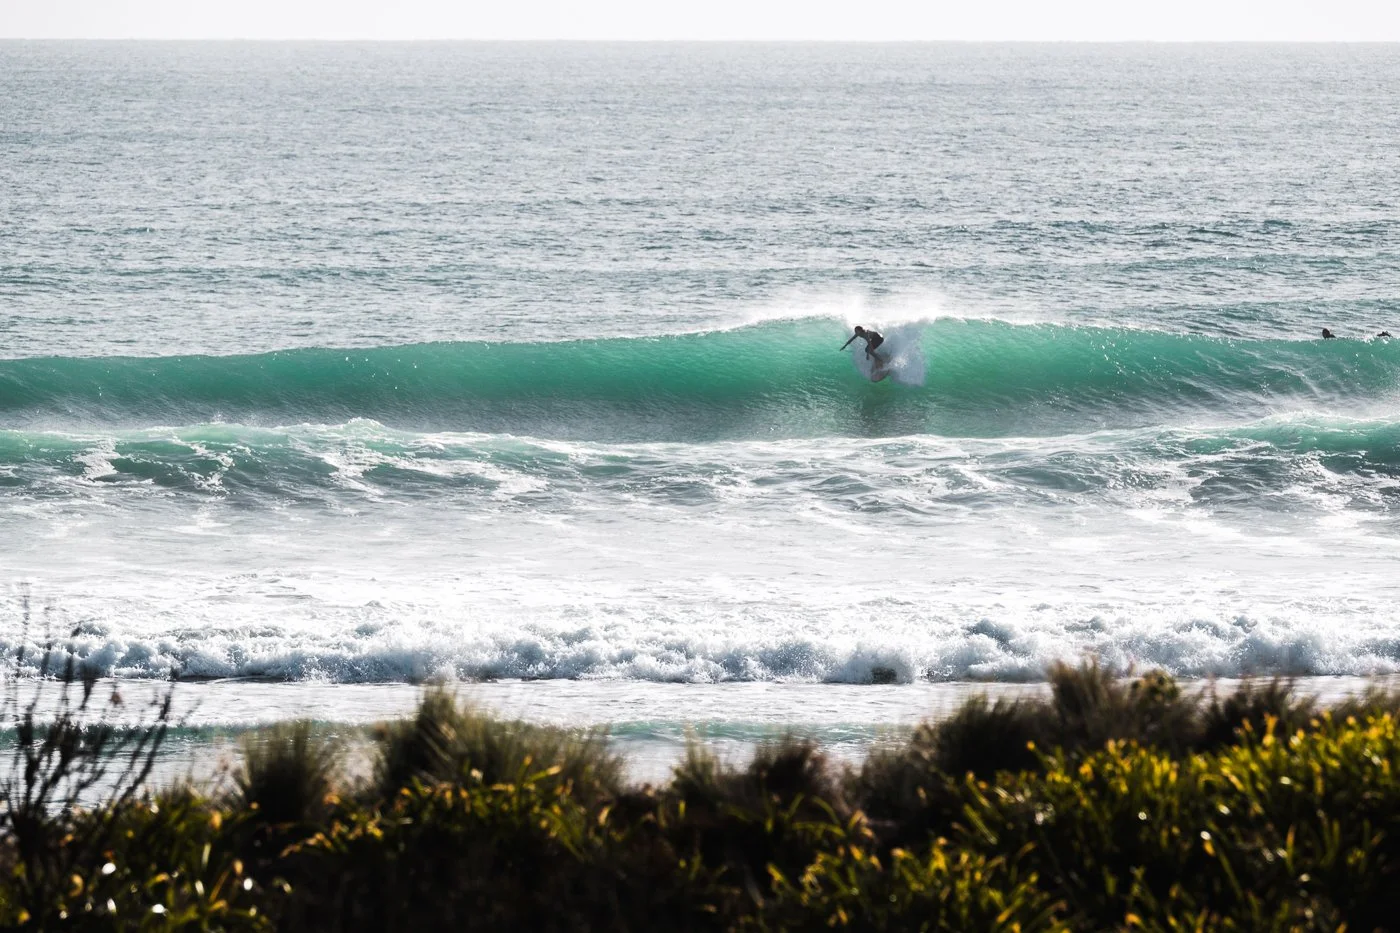
9. Not staying aware of what’s happening around you
When you’re photographing in the ocean, your awareness needs to extend well beyond what’s in your frame.
It’s easy to focus on the surfer in front of you and forget there may be someone else approaching from further up the bank or paddling in behind you. This becomes especially important when you’re shooting on the inside, where surfers can be coming towards you from multiple directions at once.
The more people in the water, the more your attention needs to stay 360 degrees.
Some of the scariest and most exhilarating shoots I’ve done were during the men’s finals at the West End Wiggle. Those guys move quickly down the line, and when you’re positioned on the inside you need to be ready to duck dive out of the way at any moment. On smaller days especially, it also makes a difference knowing how much water you have underneath you before committing to a position.
Learning to stay aware of the whole lineup, not just the person you’re photographing, makes your sessions safer and helps you feel more comfortable staying in position when something interesting starts to unfold around you.
Photographing from the inside during the West End Wiggle men’s finals meant staying aware of surfers approaching quickly from multiple directions.
10. Using the wrong bag for your gear
I started with a camera bag that worked well enough at the time, but once my kit grew and I began travelling further with it, I realised how important durability and comfort were.
Now I use a WANDRD backpack because it protects my gear properly and holds everything I need for long walks to the beach or through the forest.
A good bag makes it easier to take your camera with you more often, which means more opportunities to shoot.
A comfortable camera backpack makes it much easier to carry your gear to the beach and shoot for longer sessions.
11. Waiting for perfect conditions
Some of the most useful sessions happen when conditions are not ideal.
Flat days are good for studying light on the surface. Smaller waves make positioning easier. Early mornings with little wind help you notice details that are harder to see when the ocean is busy.
Every time you go to the beach with your camera, you learn something.
You don’t need perfect surf conditions to begin. But you do need safe conditions! So make sure it’s calm, and there aren't any strong currents when you’re starting out!
How to avoid the most common surf photography mistakes
Most beginner surf photography mistakes are part of learning. I made many of them myself while figuring out how to take surf and water photos in the ocean.
The important thing is to keep showing up, stay curious about what you’re seeing, and give yourself time to get comfortable in the water.
That’s where real progress happens.
If you’re learning how to start surf photography, this curiosity and experimentation stage is where your style begins to form.
If you’re working on editing ocean tones as well, my Lightroom presets can help simplify that process and keep colours consistent across sessions.
And if one of these beginner surf photography tips helped you this week, I would love to hear which one changed things for you most.
FAQs about common surf photography mistakes
What are the most common surf photography mistakes to avoid?
The most common surf photography mistakes include entering the water before understanding the break, using unreliable gear, positioning yourself too far from the action, and focusing only on big action shots instead of the quieter moments that help tell the full story.
Why do surf photos often look flat or poorly timed?
Surf photos often look flat when you are too far from the wave, shooting from the wrong angle, or reacting a moment too late. Watching how waves break before you shoot and choosing a clear subject usually makes timing and composition much stronger.
Do you need a water housing for in-water surf photography?
Yes, if you plan to take your camera into the ocean, a proper water housing is essential. A real surf housing protects your camera in moving water and gives you far more confidence than dry bag style options, which are not designed for waves.
If you are shooting from land, though, you can absolutely start without one and learn a lot about timing, wave behaviour, and surfer positioning first.
Is it better to shoot surf photography from land or in the water?
For most photographers, starting from land is the easiest way to learn how the break works and where surfers tend to appear on a wave. Shooting in the water becomes much easier once you already understand positioning, timing, and how the ocean is moving on that day.
Is surf photography dangerous in the water?
Surf photography can be challenging in the water because currents, shifting peaks, and other surfers all affect your position. It becomes much safer when you build confidence in the ocean first, choose calm conditions, and stay aware of what is happening around you between sets.
What focal length works best for surf photography?
The best focal length depends on where you are shooting from. A mid-range zoom works well for in-water surf photography, while longer telephoto lenses are usually better from shore because surfers often sit much farther beyond the break than people expect.
Why are my surf photos not sharp?
Soft surf photos are usually caused by distance, poor positioning, shutter speed that is too slow, or missing the cleanest part of the action. Getting closer to where the wave is breaking and being more selective about when you shoot often improves sharpness quickly.
What surf photography gear makes the biggest difference first?
The biggest upgrades are usually swim fins, a reliable water housing, and a camera and lens setup you can use quickly without thinking too much. In the water, simple gear that helps you move well and react fast matters more than carrying everything at once.
How do you choose where to position yourself for surf photography?
Positioning depends on where the wave is breaking, where surfers are sitting in the lineup, and how currents are moving between sets. Spending a few minutes watching the ocean before you shoot makes it much easier to predict where the best moments will happen.