Camera settings for surf photography from shoreline to in-water shooting
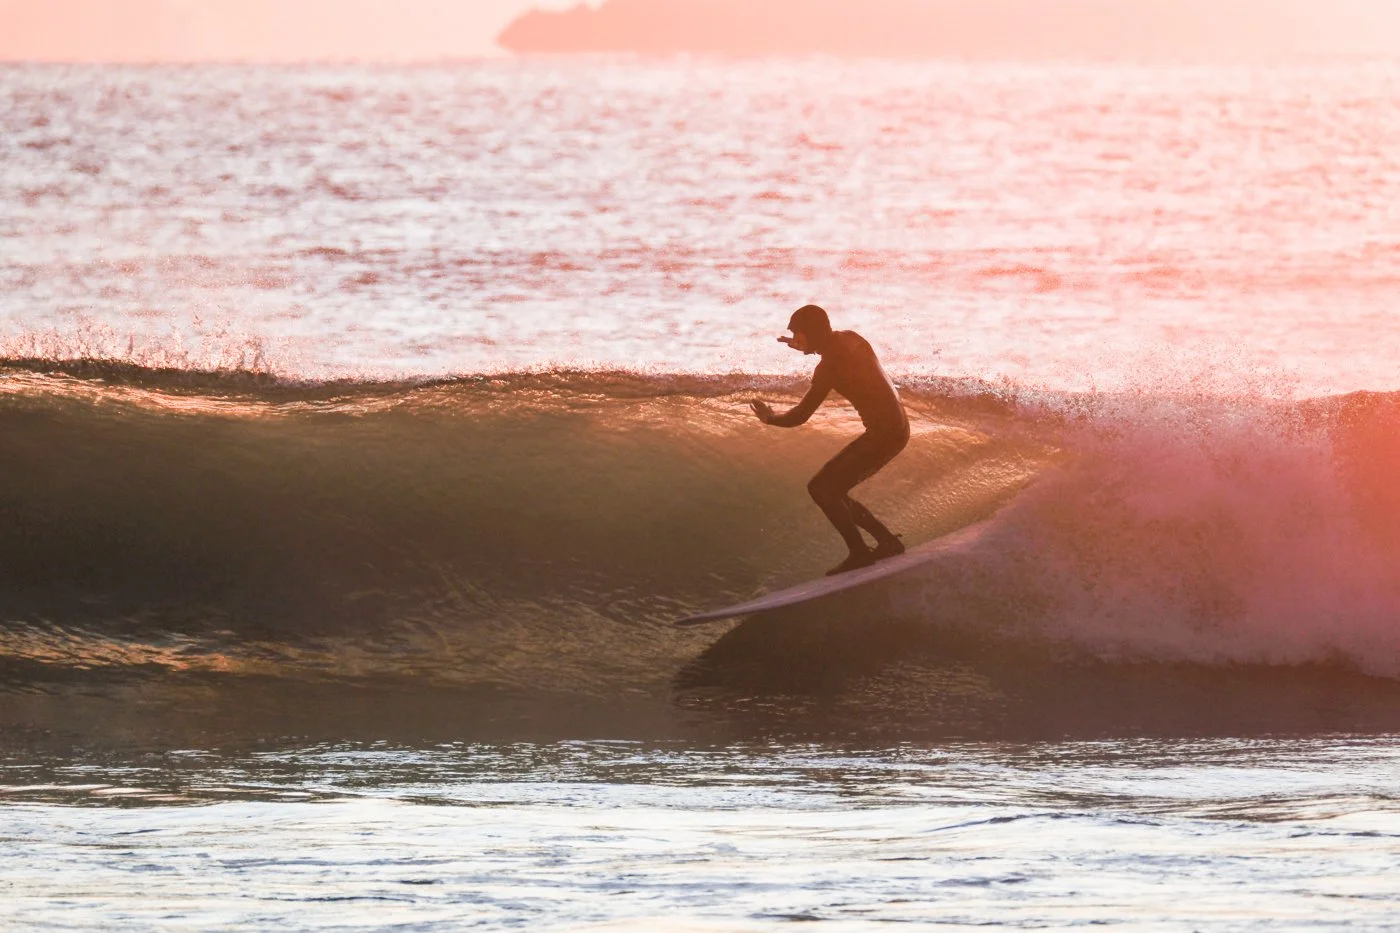
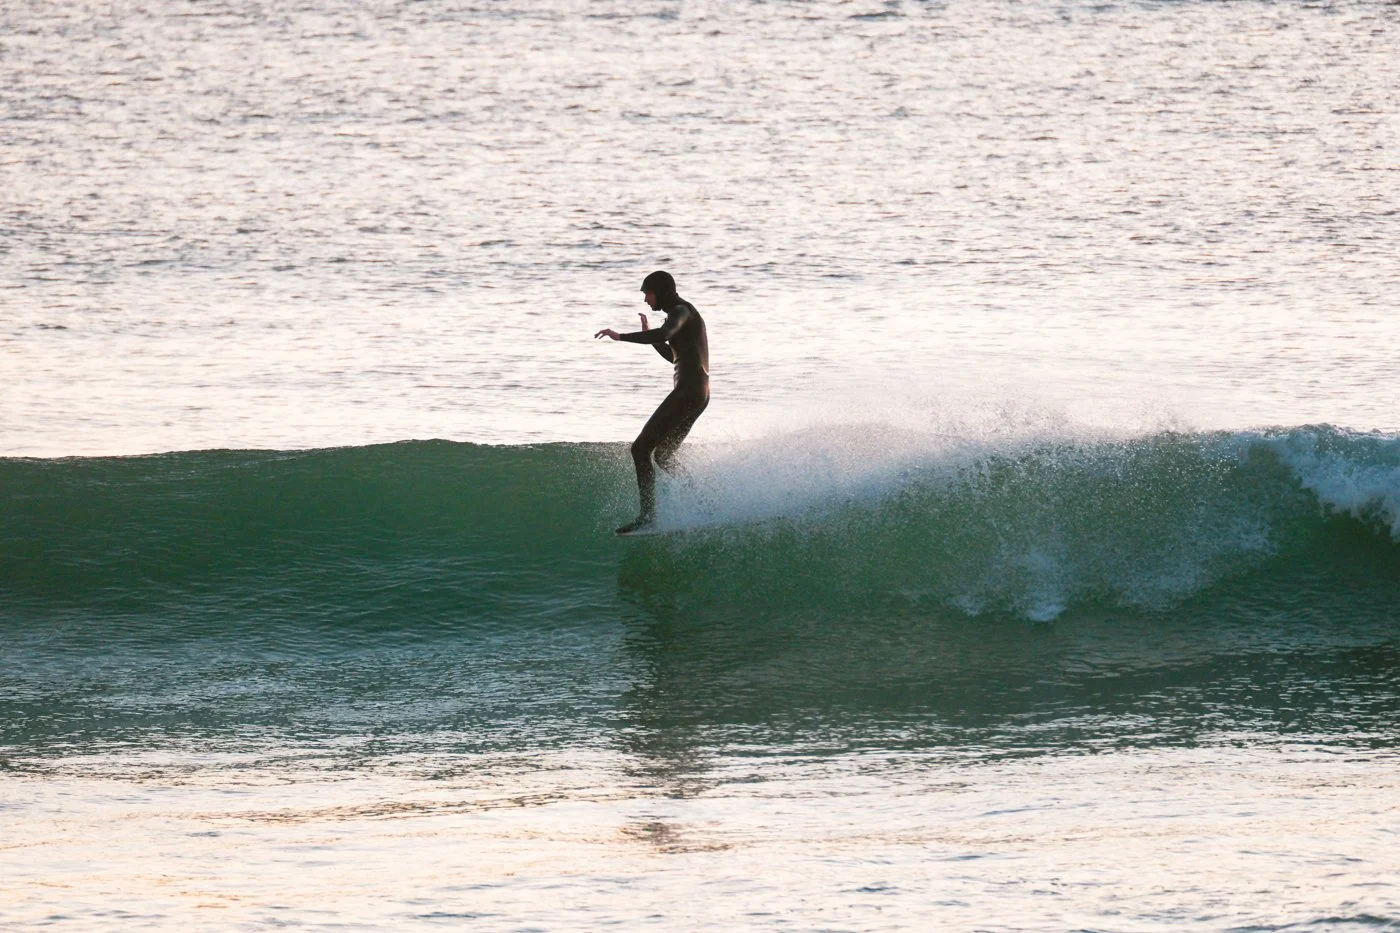
Fujifilm X-H2 | WR XF 100-400mm | 400mm | 1/1000 sec | f/5.6 | ISO 160 | These settings are part of my broader beginner workflow explained in my guide to surf photography basics.
One of the common questions I get asked about surf photography is what camera settings to use.
It sounds like it should have a simple answer, but the truth is your settings change depending on where you are in relation to the water.
Standing on the shoreline feels completely different to swimming through waves with a housing in your hand. The light moves differently. Waves arrive faster than you expect. Sometimes the best images happen when you stop adjusting your camera and start paying attention to what the ocean is doing instead.
These surf photography camera settings work whether you’re shooting from the shoreline, the shallows, or swimming with a waterproof camera housing.
Rather than memorising one perfect setup, these are the camera settings I recommend most often to photographers learning how to shoot surf from the shoreline through to working in the water.
In this guide:
The camera settings I use for surf photography
Before heading into the water, I like my setup to feel simple but easy to adapt so I can react to the changing light and movement of the ocean and surfers.
This quick reference guide shows how my camera setup usually looks for surf photography from land vs in-water.
| Setup | Mode | Starting settings | Best for |
|---|---|---|---|
| Typical shoreline setup | Manual | 1/1000 shutter speed, continuous autofocus (AF-C), burst mode, ISO 200 or below | Learning timing, following surfers, and freezing wave movement from land |
| Typical in-water setup | Shutter priority | 1/1000 starting point, auto ISO, continuous autofocus (AF-C), burst mode | Staying responsive while swimming with a housing and adapting to changing light |
And it’s not because these are perfect settings, it’s because these settings let me respond quickly when something interesting starts happening around me.
From there I adjust depending on the light and the conditions.
Below I’ll walk through how and why these settings change depending on where you’re shooting from.
Start with shutter speed and let the rest follow
Fujifilm X-T3 | 90mm | 1/1000 sec | f/4.5 | ISO 160
If there’s one setting that shapes surf photography more than anything else, it’s shutter speed.
The ocean is always moving. Spray catches the light for a split second. A surfer changes direction just as the wave stands up.
If I want to capture a wave frozen in time, I usually begin around 1/1000 shutter speed. That’s my go-to starting point when I want the shape of the wave to feel crisp while still holding detail in the spray.
From there, I adjust depending on the conditions and what I’m drawn to in the water that day.
It’s less about choosing a perfect number and more about choosing a speed you trust to capture the ocean in your visual voice.
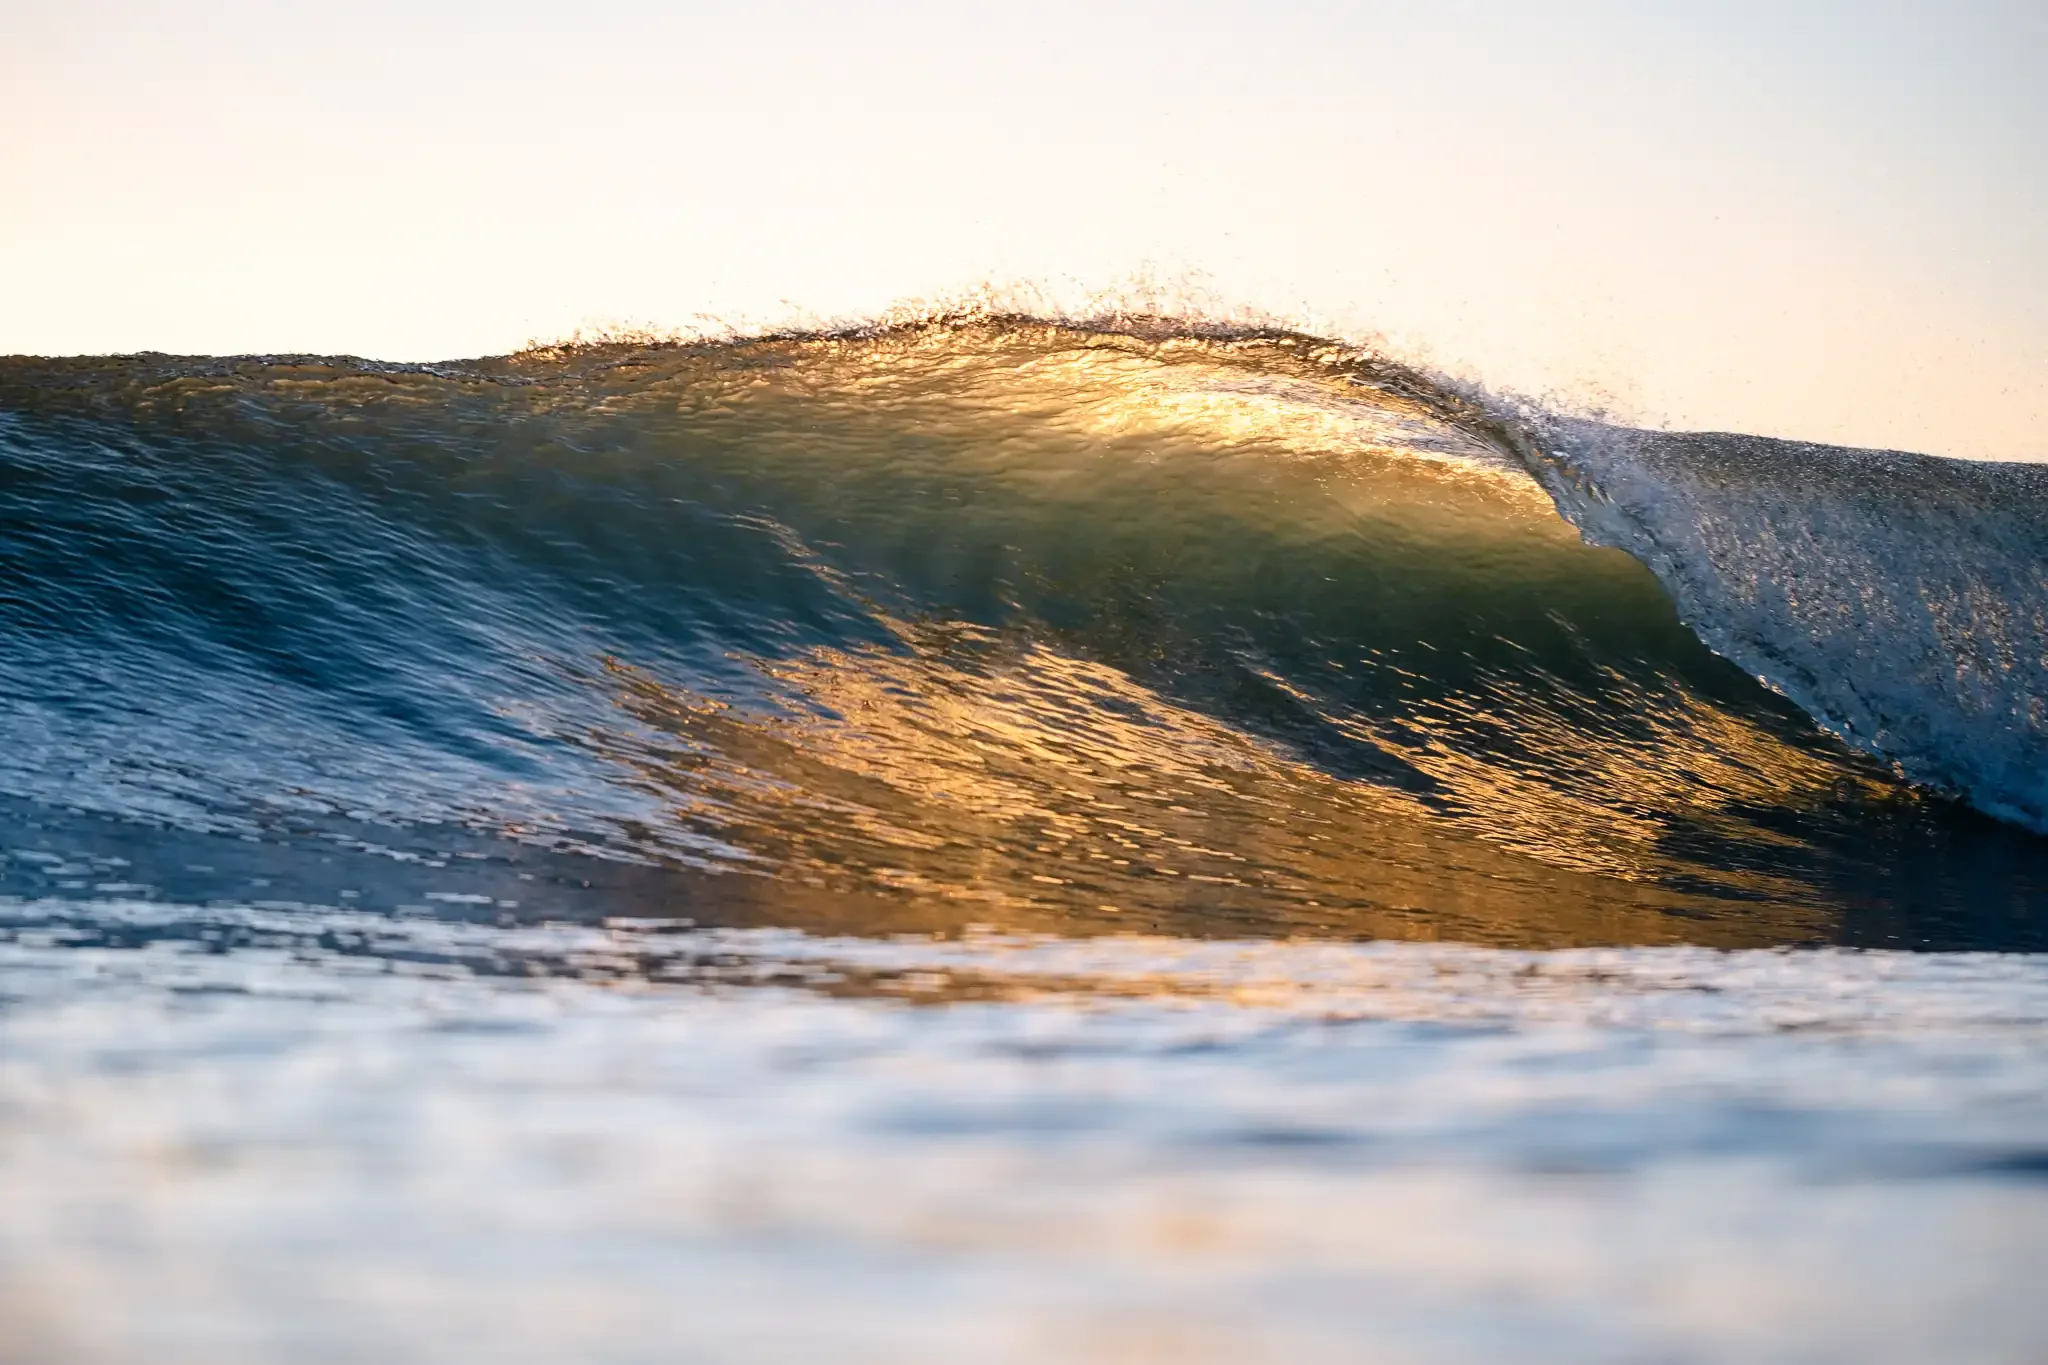
Light behaves differently on the water
Fujifilm X-T3 | WR XF 80mm | 80mm | 1/1000 sec | f/6.4 | ISO 160
One of the things that captivated me when I started taking photos in the ocean was how unpredictable the light felt (in the best way possible!)
It reflects off the surface. It appears through glassy waves and catches droplets of spray off the back of a wave as they move through the light. I wanted to capture all of this!
Some of my favourite surf photos were shot when I stopped trying to avoid shooting into the sun and started leaning into it instead.
Once you begin noticing those moments, your camera settings start to respond naturally to the light rather than fighting against it.
If I want really blue tones after first light, I’ll shoot with the sun behind me, but I love the light flares and bokeh created when I shoot into the sun too, so I tend to experiment shooting in all directions. This often means adjusting your settings quickly, because the light can change completely just by turning your body in the water.
Settings from the shoreline feel calmer for a reason
Fujifilm X-H2 | WR XF 100-400mm | 323mm | 1/1000 sec | f/5.4 | ISO 1000
When you’re photographing from land, you have time.
You can watch how the sets are moving. You can see where surfers are positioning themselves. You can follow the same section breaking more than once before taking the shot. The only real challenge is spotting your subject if the line up is busy.
From the shoreline I usually keep things simple but manual:
fast shutter speed (around 1/1000)
continuous autofocus (AF-C on most cameras)
burst mode
ISO 200 or below in bright conditions
This keeps everything responsive without overcomplicating the process while you’re still learning timing.
Hot tip: using a tripod when shooting surf from land can reduce strain from holding a telephoto lens and lets you stay out shooting for longer. I write more about the lenses I use for surf photography in this article: view here.
Settings change once you enter the water
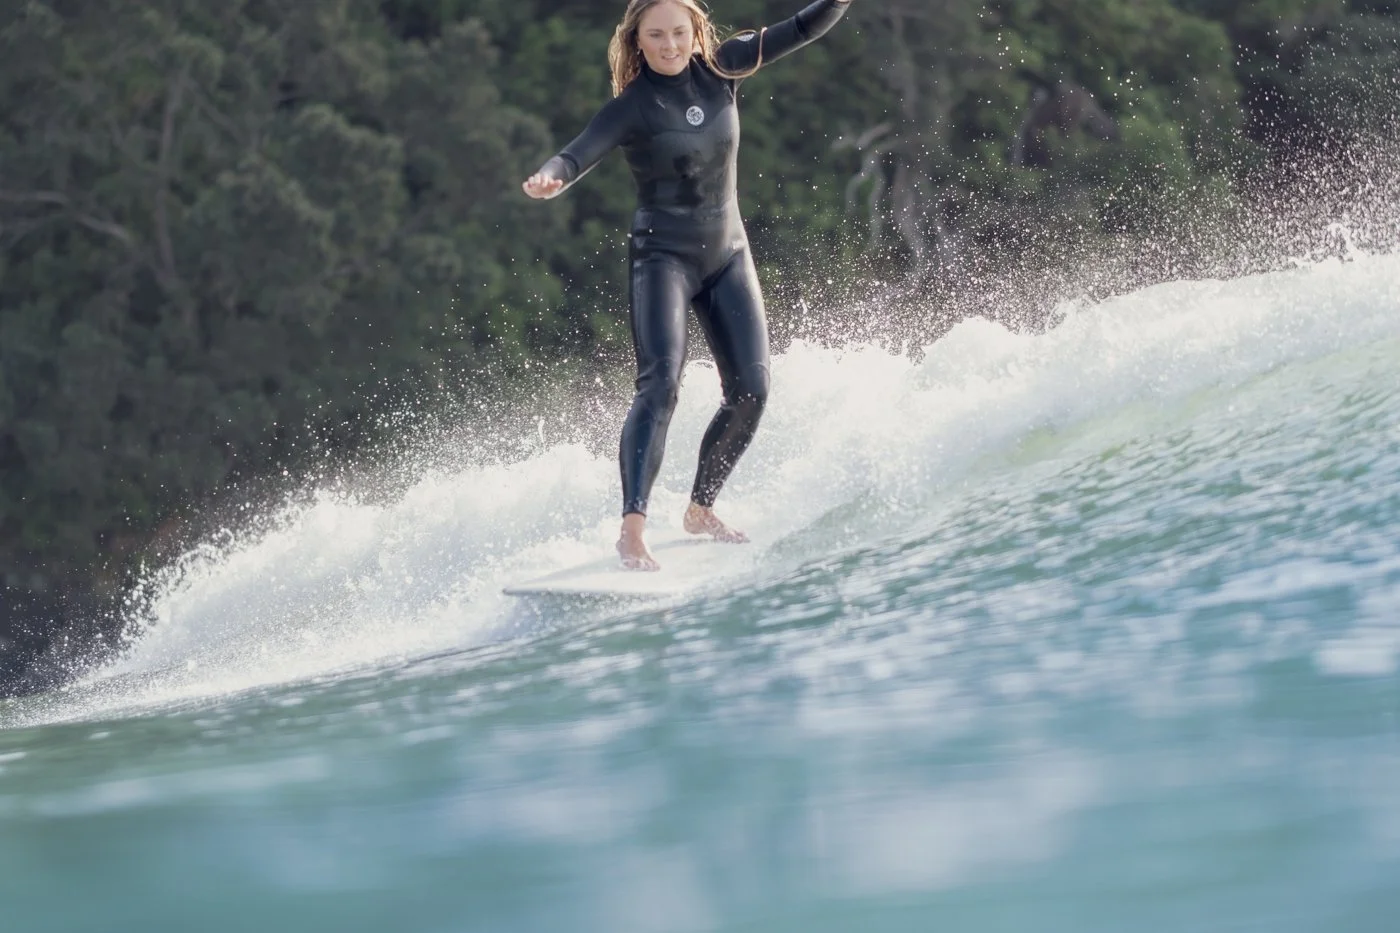
Fujifilm X-T3 | WR XF 90mm | 90mm | 1/1000 sec | f/2.0 | ISO 160
The first time you swim out with a camera, you’ll find that everything speeds up.
You don’t have the same time to adjust settings between waves. You’re watching sets approach you instead of watching them from a distance and then duck diving or having waves break on you, which is all part of the fun but makes for challenging conditions to start thinking about tweaking camera settings.
Before swimming out, I like to choose a setup I don’t need to think about again straight away.
When I’m in the water I typically shoot in shutter priority mode with auto aperture and auto ISO.
This usually keeps the aperture wide enough to separate the surfer from the background while still maintaining flexibility as the light shifts.
The shutter priority setting lets me stay flexible as the light changes without needing to adjust things constantly between waves, meaning that all I really need to play with is the shutter speed. I ask myself, is this a shot where I want to freeze action or capture the movement of the water? That decision usually determines whether I stay around 1/1000 or slow the shutter speed down.
That way my attention stays on the ocean environment surrounding me, instead of my camera.
This is how my camera setup usually looks:
shutter priority mode
around 1/1000 shutter speed
auto ISO (or set to 160/200 if it’s pre golden hour and I don’t want a blown out shot)
continuous autofocus
burst shooting enabled
If you’re planning to swim with a camera as well, I’ve written a guide to the surf photography gear I use in the water here.
Shooting into the sun changes everything
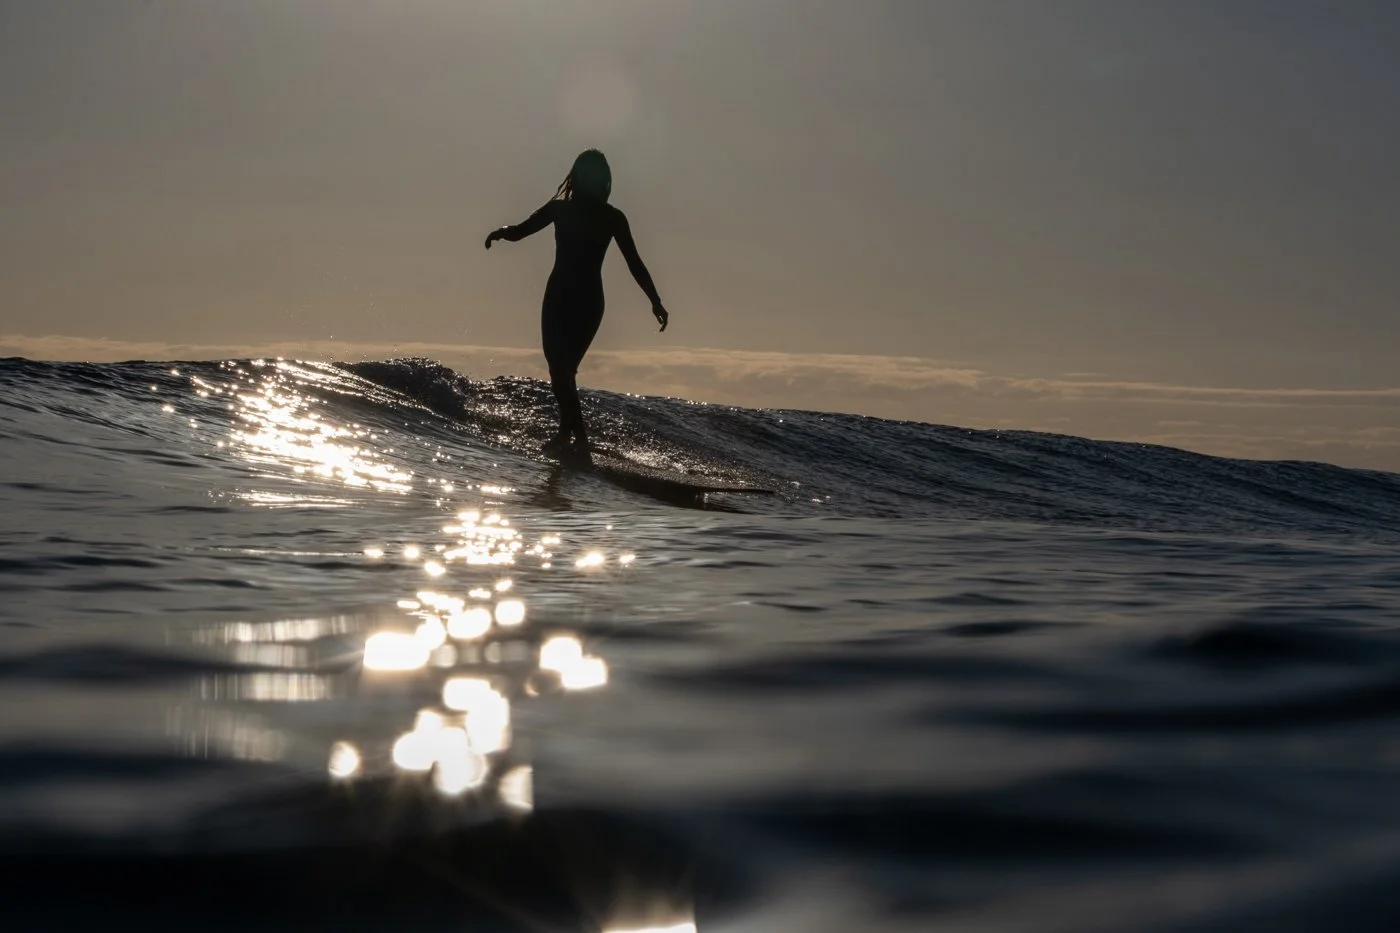
Fujifilm X-T3 | WR XF 80mm | 80mm | 1/1000 sec | f/22 | ISO 160
A lot of people avoid pointing their camera toward bright light when they start surf photography.
But some of the most interesting moments appear when the sun is low and sitting just behind your subject. Spray starts to glow. Reflections sparkle on the surface of the ocean. The whole scene simplifies into movement and shape.
Shooting into the light can add a more cinematic feel to your photos, and allows you to really play with how the scene is lit depending on where you focus your camera.
Try slowing things down once you feel comfortable

Fujifilm X-H2 | WR XF 100-400mm | 171mm | 1/10 sec | f/6.4 | ISO 125
Once you’ve spent some time freezing action, it can be surprisingly addictive to do the opposite.
One of my favourite shutter speeds to experiment with is 1/15 for panning surf photography. It introduces movement into the frame without losing the structure of the wave completely.
This is where photography starts to feel more creative, and you’ll start building out a broad portfolio that reflects your creative voice as a surf photographer.
Your settings change as your confidence changes
You might think surf photography is about learning the right technical setup.
But I reckon that’s an urban myth.
As with any art, once you’ve mastered the ‘right way’ to do something, you can start to throw the rulebook out the window.
I truly believe surf photography has a lot to do with learning how the ocean moves around you.
As you spend more time watching waves approach, recognising where surfers sit in the lineup, and understanding how light alters across the ocean’s surface, your settings begin to feel more instinctive.
The camera becomes the tool with which you respond to your environment.
That’s when you start to make art.
That’s a wrap for surf photography camera settings
There isn’t one perfect camera setting combination for surf photography.
What works from the beach feels different once you’re waist-deep in the water. And that changes again once you start swimming beyond the break.
Progress usually happens faster when you shoot in a range of conditions rather than waiting for the perfect conditions, which is one of the most common surf photography mistakes I see early on.
In my experience so far, I’ve found a few settings that are reliable time and again which I’ve shared in this post.
Start simple by choosing a reliable shutter speed like 1/1000, then observe how the light moves across the water and between waves.
Then experiment.
Until next,
L ✌️
Fujifilm X-T3 | WR XF 80mm | 80mm | 1/1000 sec | f/2.8 | ISO 160
FAQs about camera settings for surf photography
What shutter speed should I use for surf photography?
A good starting point is around 1/1000 to freeze wave movement. Faster speeds work well from the shoreline, while slower shutter speeds can be used creatively once you begin experimenting with motion.
What is shutter priority mode?
Shutter priority mode lets you choose the shutter speed while your camera automatically adjusts the aperture to maintain the correct exposure.
It’s great for surf photography because the ocean is always moving and the light changes quickly as waves pass through the frame. Setting your shutter speed first means you can decide whether you want to freeze motion or introduce movement, while the camera handles the rest.
This is why I use shutter priority when shooting in the water. It keeps my setup responsive without needing to constantly adjust settings between waves.
Should I shoot manual or shutter priority in the surf?
Shutter priority works especially well in the water because reflections and spray cause the light to change quickly.
Is auto ISO useful for surf photography?
Yes. Auto ISO helps maintain consistent exposure when light shifts across the water surface.
What shutter speed works for panning surf photography?
Around 1/15 or 1/30 is a great place to begin experimenting with panning while keeping some structure in the wave. It depends how fast your subject is moving, and how fast you choose to move as well.
Do camera settings change once you’re swimming with a housing?
They usually become simpler. A simple guide is to preset your camera before entering the water so you can focus on positioning instead of adjusting exposure.
What autofocus mode works best for surf photography?
Continuous autofocus (AF-C) works best because surfers and waves are constantly moving toward and away from you. It allows your camera to adjust focus as the action unfolds instead of locking focus in one place.